Make Flying Geese with this No-Waste Tutorial
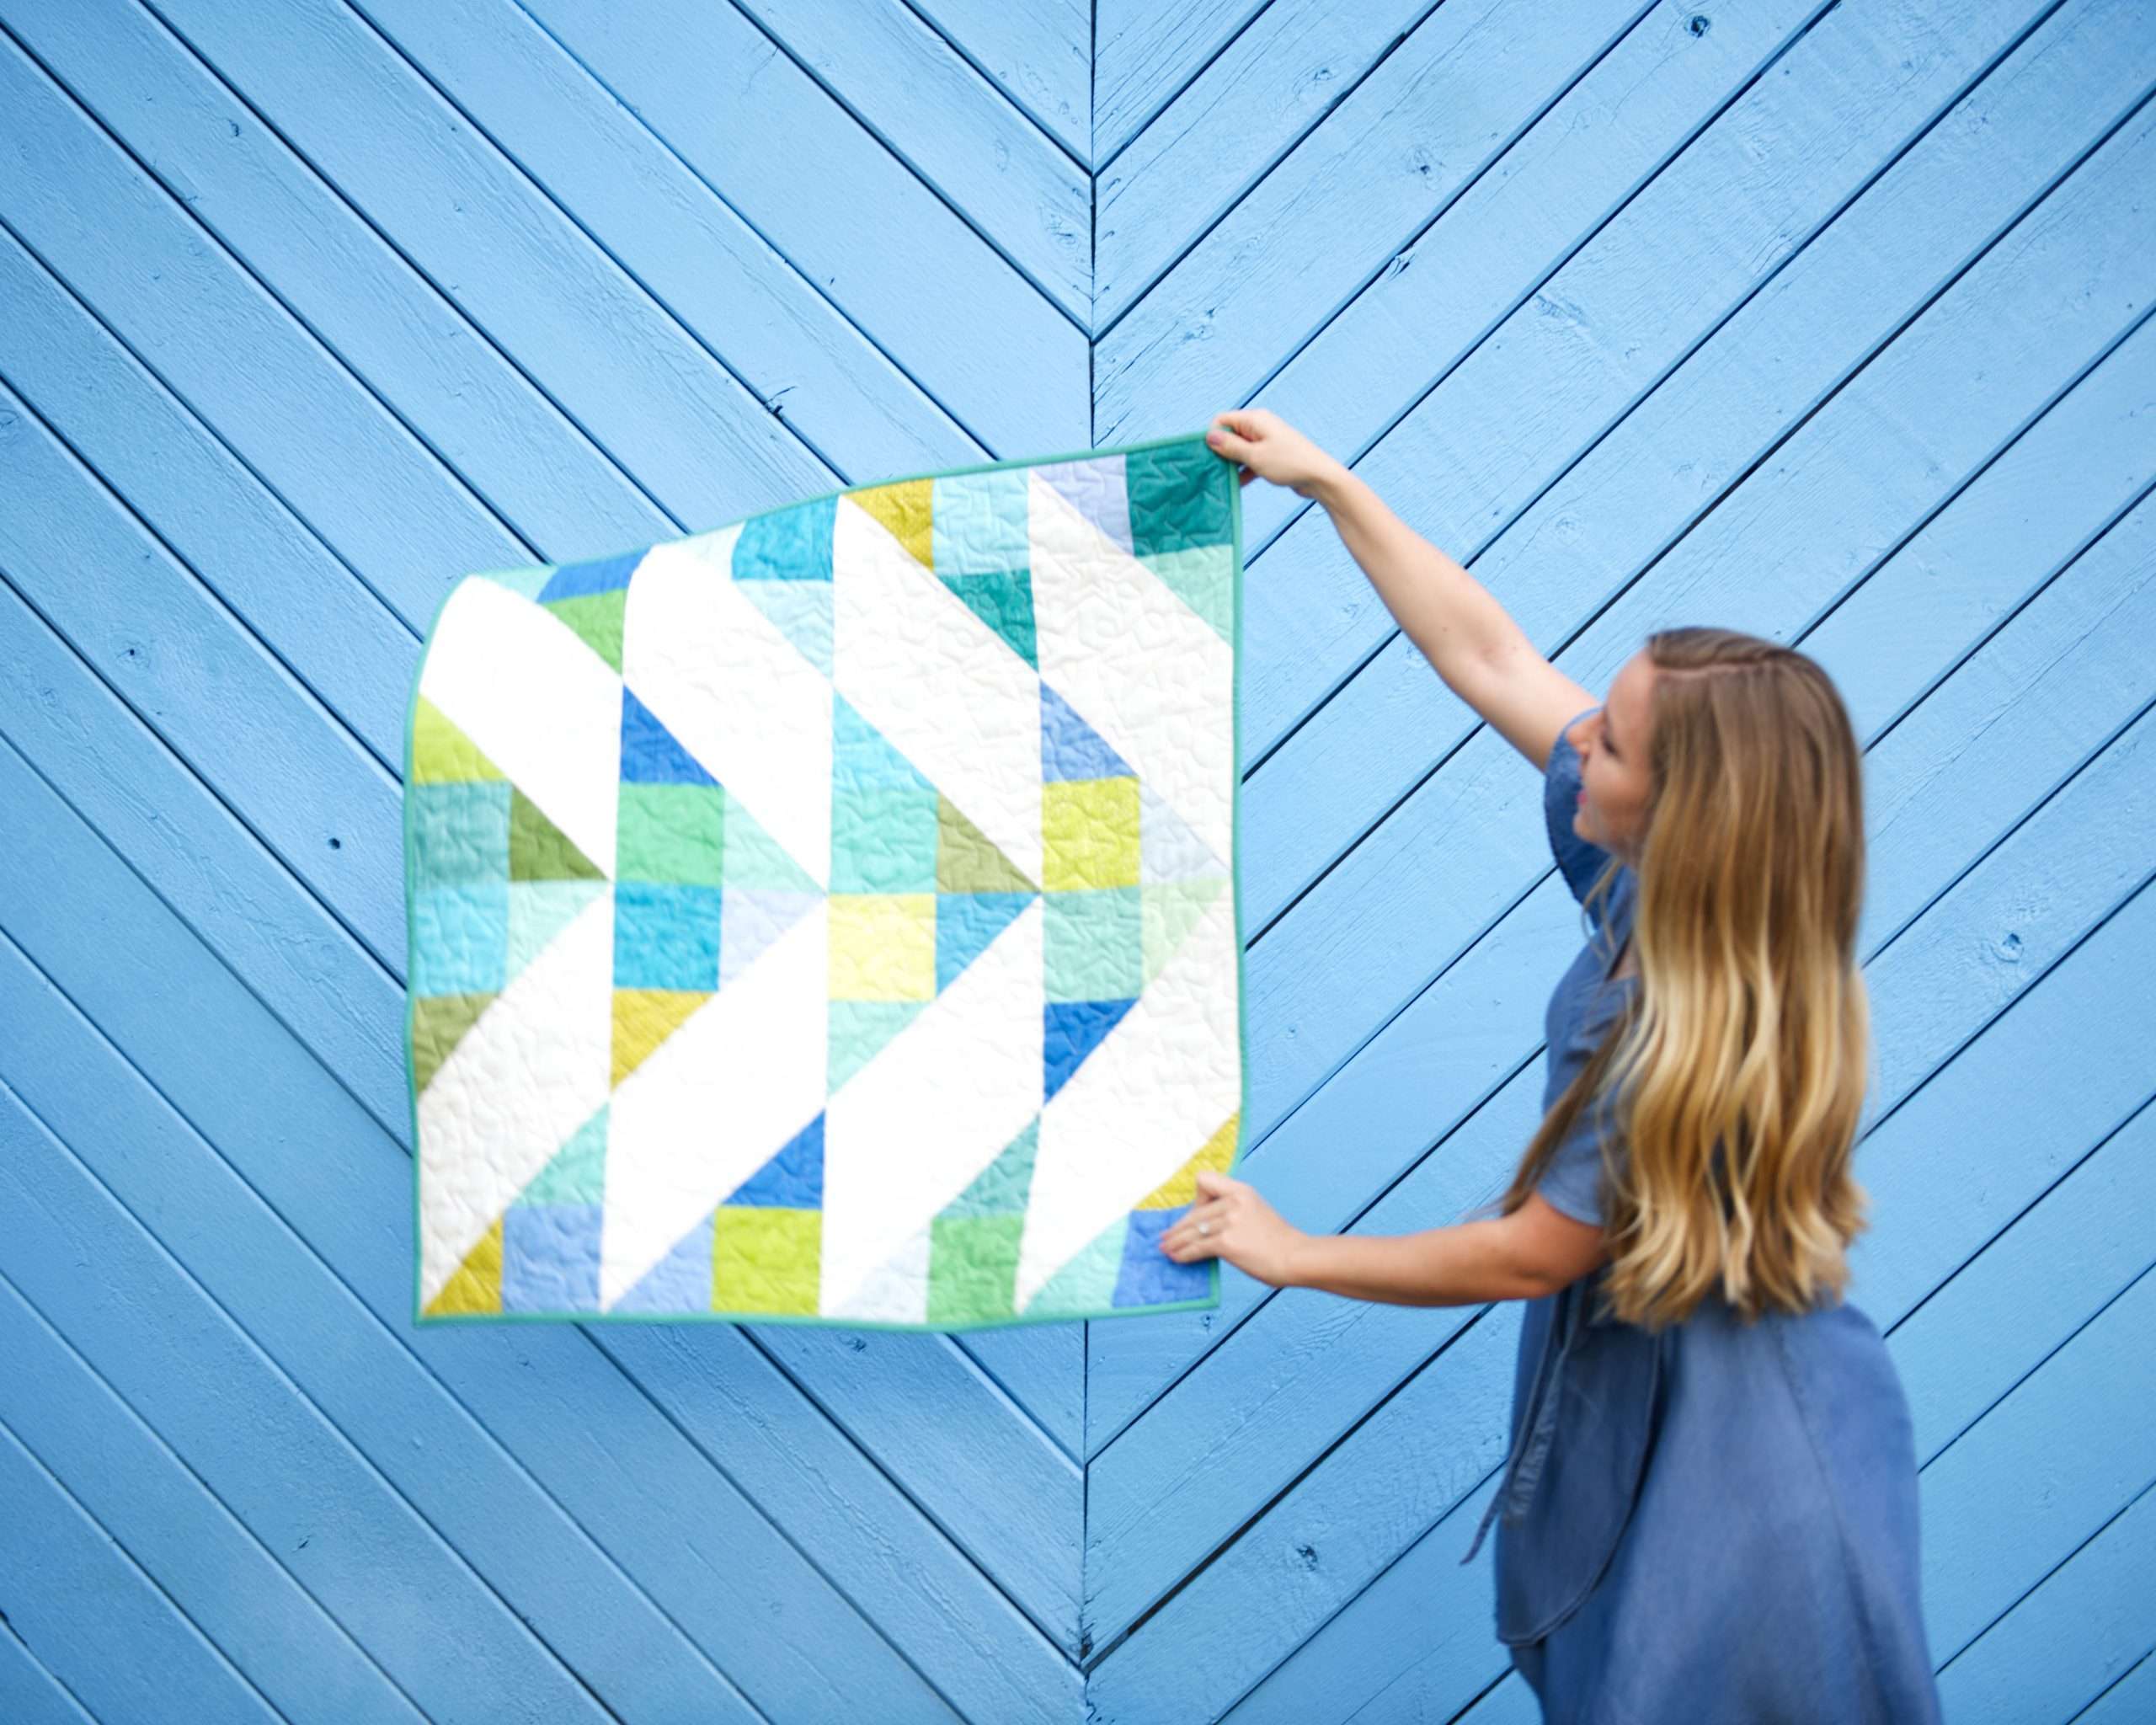
Learning how to make 4-at-a-time Flying Geese using this no-waste method was like magic for me in my early quilting days, and I hope you love it too! Flying Geese are featured in my upcoming quilt pattern Reverberate, which will be available in my pattern shop starting on October 29th.
If you’d like to watch a video to see this Flying Geese Quilt Block Tutorial in action, check it out on YouTube:
This article contains affiliate links; these links allow me to make a small commission on purchases made after clicking on the links, but does not alter the shopping experience for you!
What is a Flying Geese Quilt Block?
A “Flying Geese” is a rectangular quilt block made up of a quarter square triangle and two smaller half square triangles. The shapes come together to make a rectangle that is half as tall as it is wide, after they are sewn together. Examples of completed Flying Geese sizes could be 1″ x 2″, 2″ x 4″, 2.5″ x 5″, 3″ x 6″, 4″ x 8″, and so on.

Calculating the Sizes for the Starting Squares
This No-Waste quilt block tutorial will make 4 Flying Geese units at one time. We will use 1 large square in whatever fabric you want the inner triangle shape (goose), and 4 smaller squares in the fabric of the outer triangle shapes (sky).
To calculate the size of your starting fabrics, you can use this formula which is based on the Finished Flying Geese size. I should note that there are a few different formulas for calculating the starting square sizes for this flying geese method, but I prefer this one because the pieces are slightly larger, and you can trim them down to the perfect size once the flying geese are constructed.

You can use this nifty chart for some common Flying Geese sizes to tell you what the starting squares should be.


Constructing the Flying Geese
Here you’ll find the step-by-step guide to constructing your Flying Geese quilt blocks using the 5 starting squares:
Drawing or Marking Diagonal Lines

Before you start sewing, draw a diagonal line across the wrong side of each smaller square. I prefer using a heat-erasing pen for these lines but you could also use a chalk pencil, water-soluble marker, or even create creases with an iron.
Sewing First Two Squares
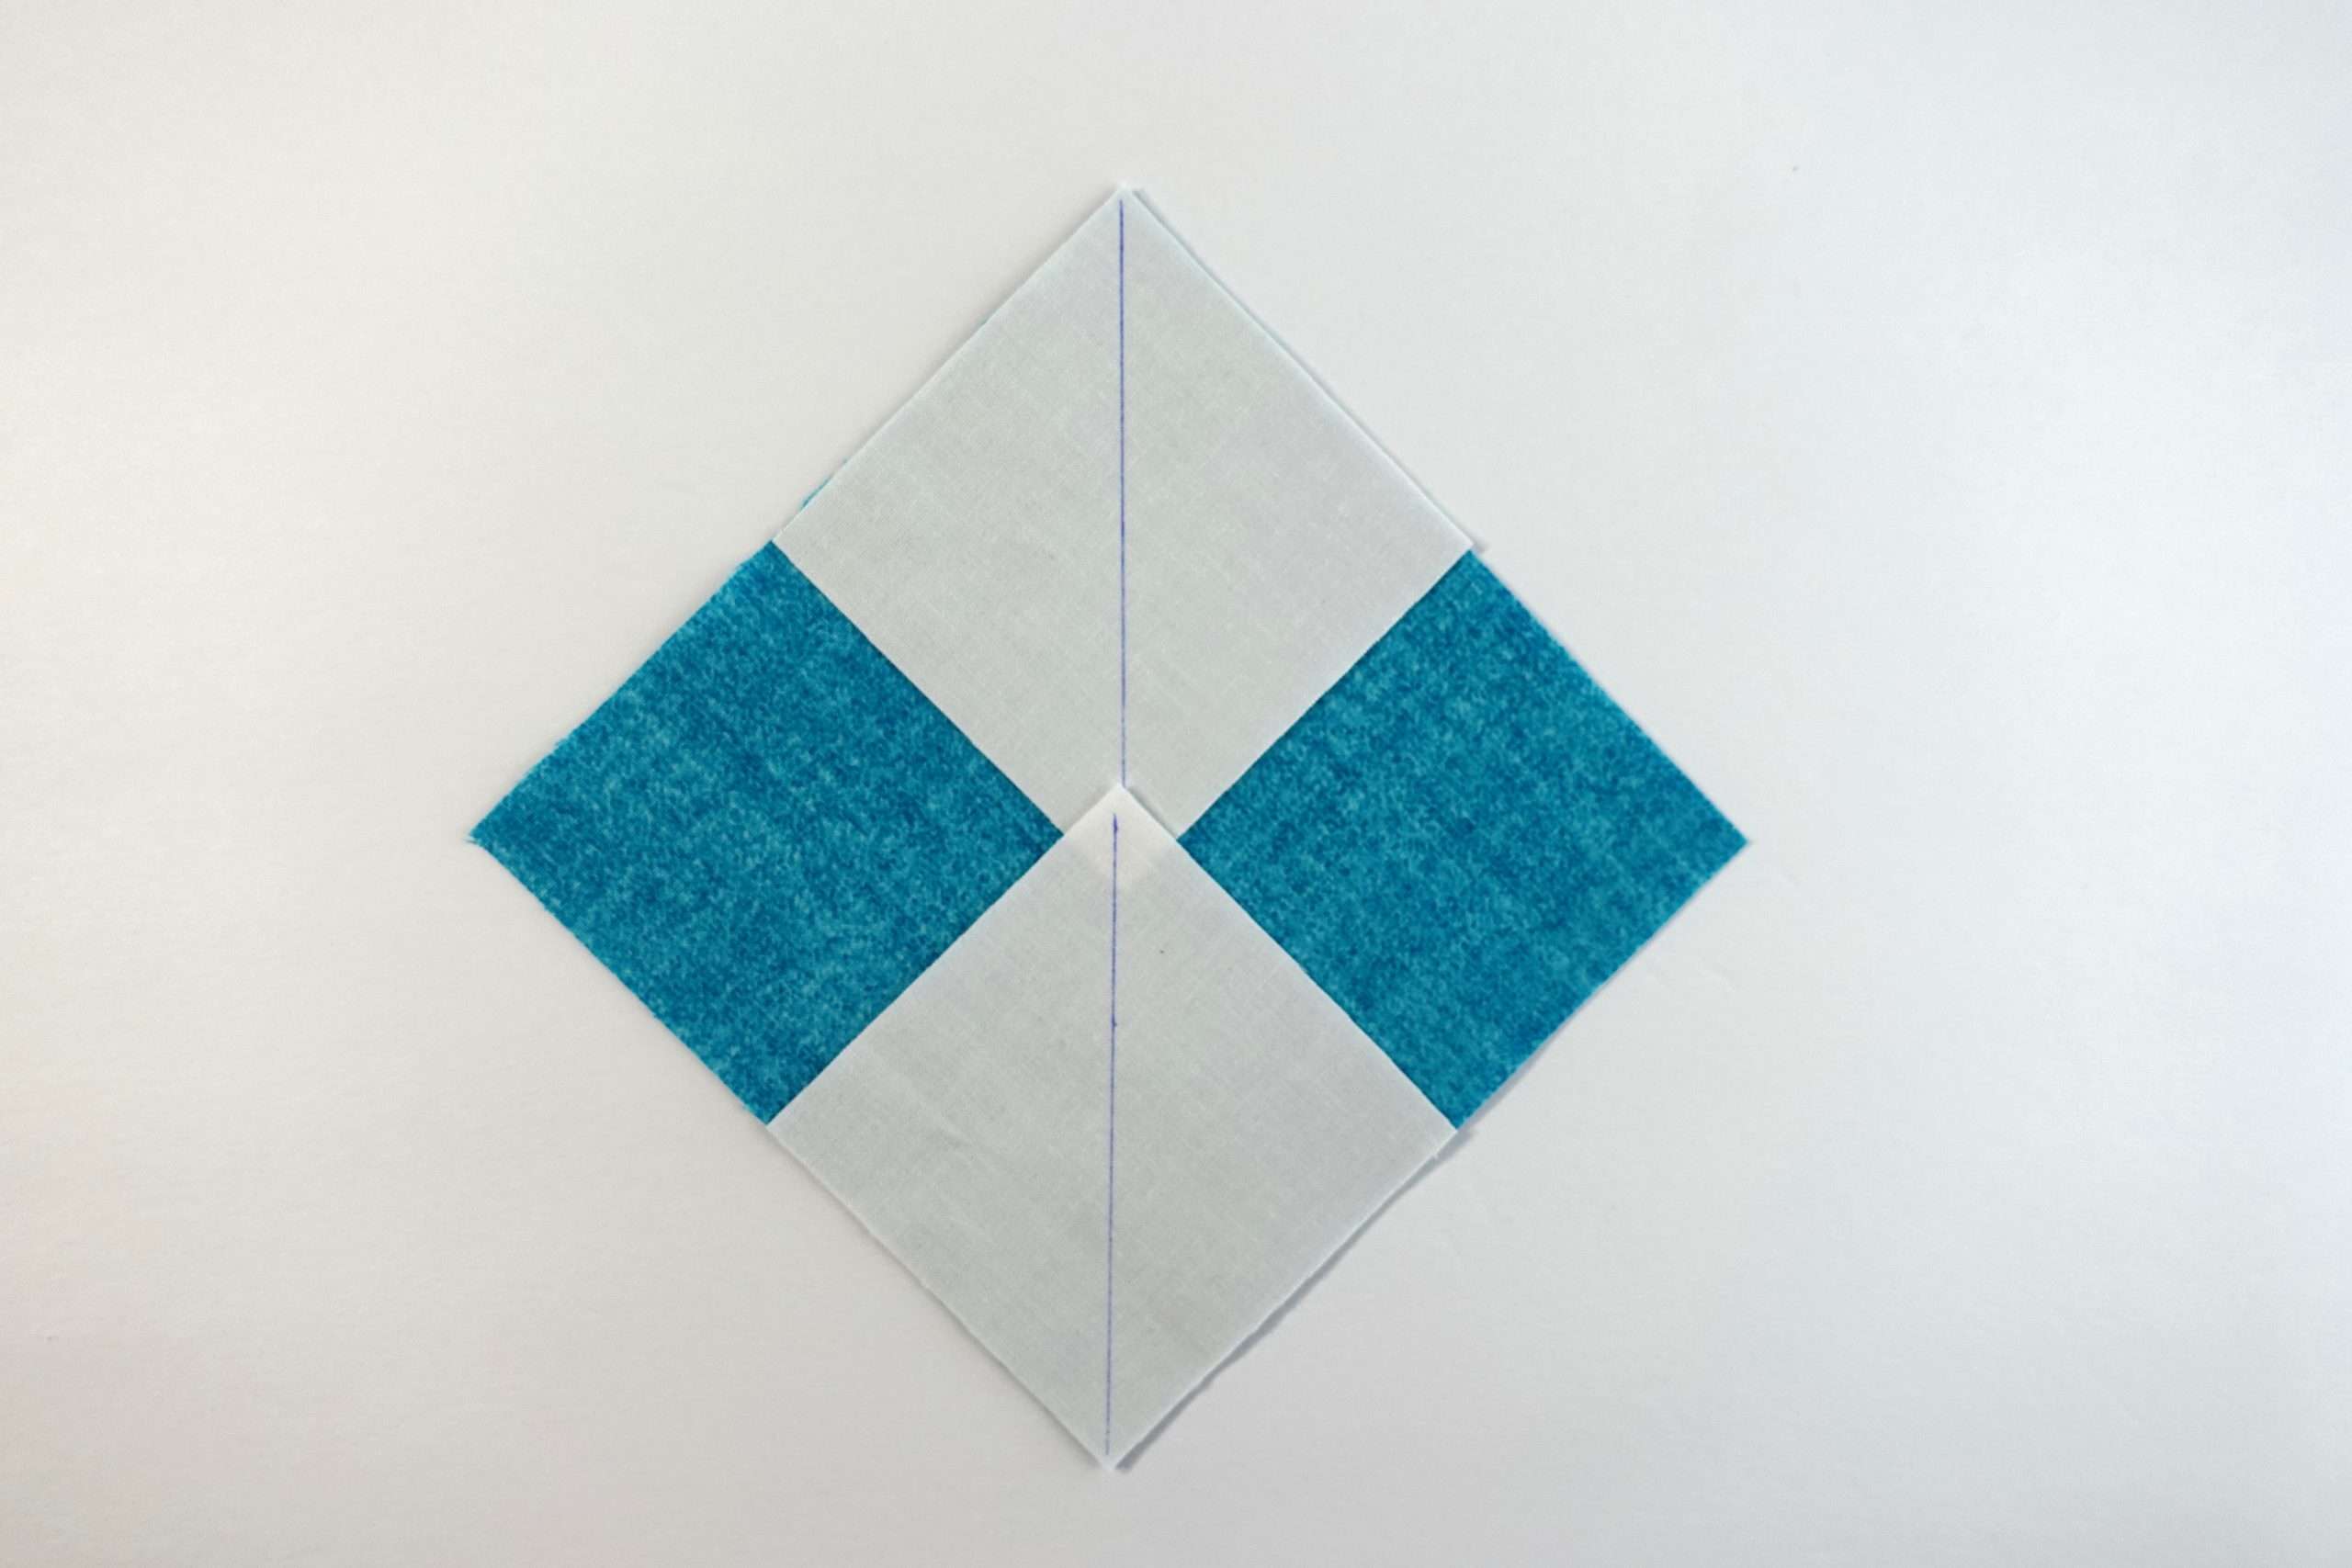
Line up two small squares with the large square, with right sides together, so that the drawn diagonal lines line up across the diagonal of the larger square. Pin in place and sew a 1/4″ seam on each side of the drawn line.

Cutting & Pressing
Using a rotary cutter or scissors, cut on the drawn line. Next, press the seams towards the smaller triangles (or open if you prefer).


Sewing Again
Now take your remaining two small squares and line each up with the edges of the large square, as shown below. Pin in place and sew 1/4″ on each side of the drawn line.

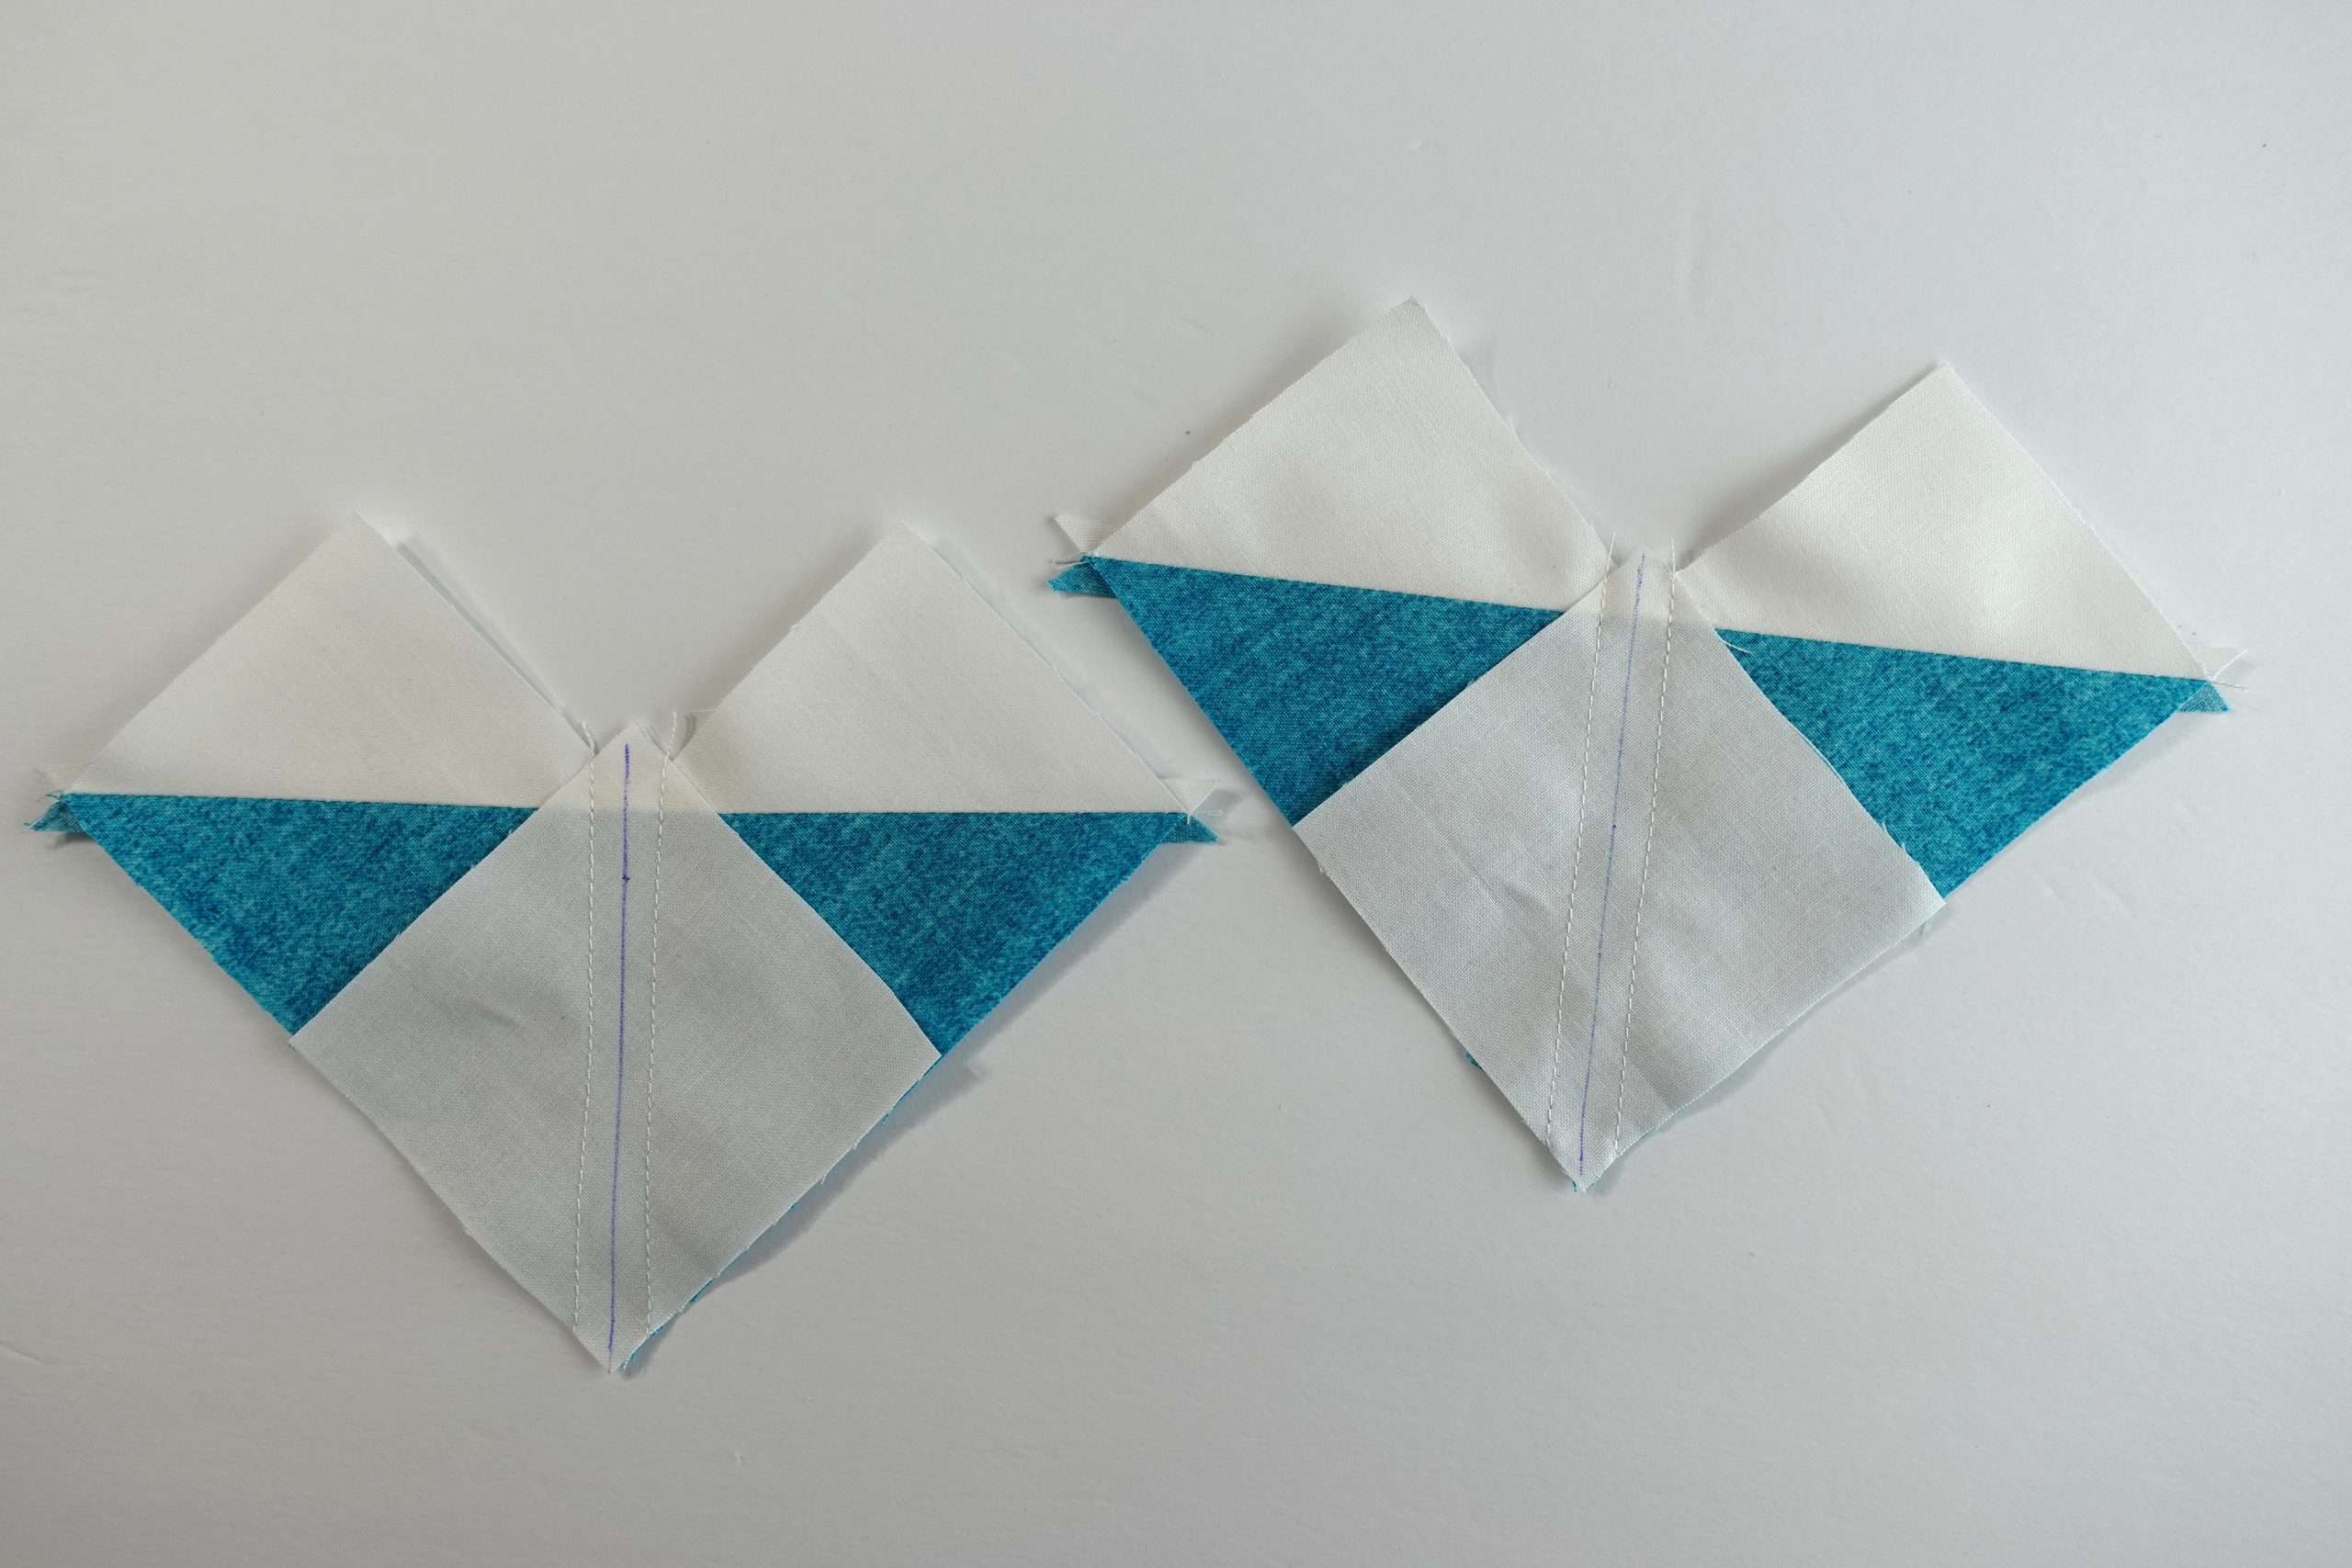
Cutting & Pressing
Cut on the drawn line, then press the seams towards the smaller triangles (or open if you prefer).


How to Trim Flying Geese Quilt Blocks

Helpful Flying Geese Trimming Tools
I find it particularly helpful to use a special trimming ruler such as the Bloc Loc rulers to make the trimming process a lot easier. The Bloc Loc ruler is intended for use when the seams have been pressed towards the side. If you prefer pressing open, this ruler by Creative Grids is also really neat, and if you like something more simple check out the Quilt in a Day rulers. And of course, you can also trim using a regular quilting ruler as long as it is as large as your unfinished unit, or larger. A rotating cutting mat definitely helps but is not essential. Oh, and don’t forget to put a nice fresh, sharp blade on your rotary cutter!
Trimming Technique
The essential thing with trimming Flying Geese units is to be sure not to trim off the 1/4″ of excess above the point. That will be your seam allowance when the units get sewn together, so we want it to be as close to 1/4″ as possible. (Which is why the special rulers really help!)
You’ll begin by lining up the diagonal line on your ruler (45 degrees) with the diagonal seam of your quilt block. Also ensure the tip of the inner triangle is 1/4″ away from the edge and trim off any excess along the right side and top of the block. Then rotate the unit and trim off the excess along the other side and bottom. See this video for a full demonstration.


Never miss a post! Subscribe to the email newsletter and follow me on Instagram @homemadeemilyjane.
If you want to learn more about quilting or get inspired for your next quilt, check out these other articles:
