How to Use AccuQuilt GO!™ to Cut Quilting Fabric
I began using my AccuQuilt GO! fabric cutting machine for quilting a few years ago, and my quilting has been easier and more precise ever since! If you’re considering getting a fabric cutting machine and aren’t sure which machine you want, you might want to check out this post: Everything You Need to Know About AccuQuilt or maybe even Which Fabric Cutting Machine is Best?
In this post I’ll share the basic steps involved in cutting your quilt fabrics using an AccuQuilt GO!™ cutting machine. If you want to see it in action, watch this quick video:
This article contains affiliate links; these links allow me to make a small commission on purchases made after clicking on the links, but does not alter the shopping experience for you!
Plan Your Quilt with AccuQuilt
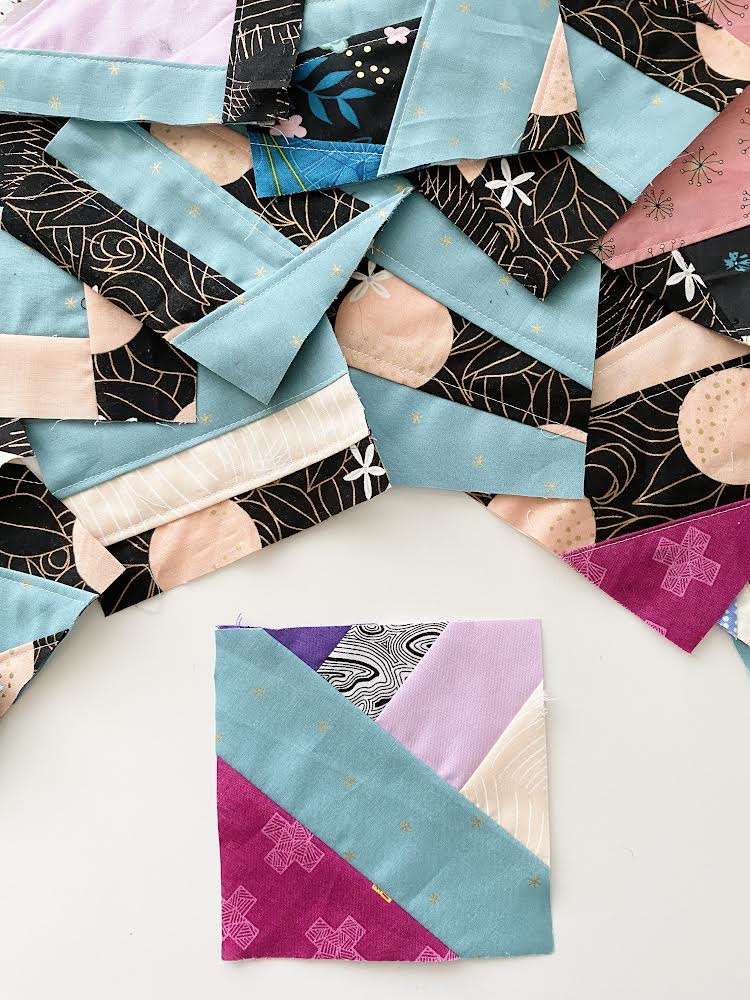
Before you start cutting fabric, you’ll want to plan out which shapes to use and how many different fabrics you’ll need, and from there how many cuts of each shape for each specific fabric. It can get a little overwhelming, because the possibilities are truly endless! There are a few ways to make things a bit easier, so let’s dive in!

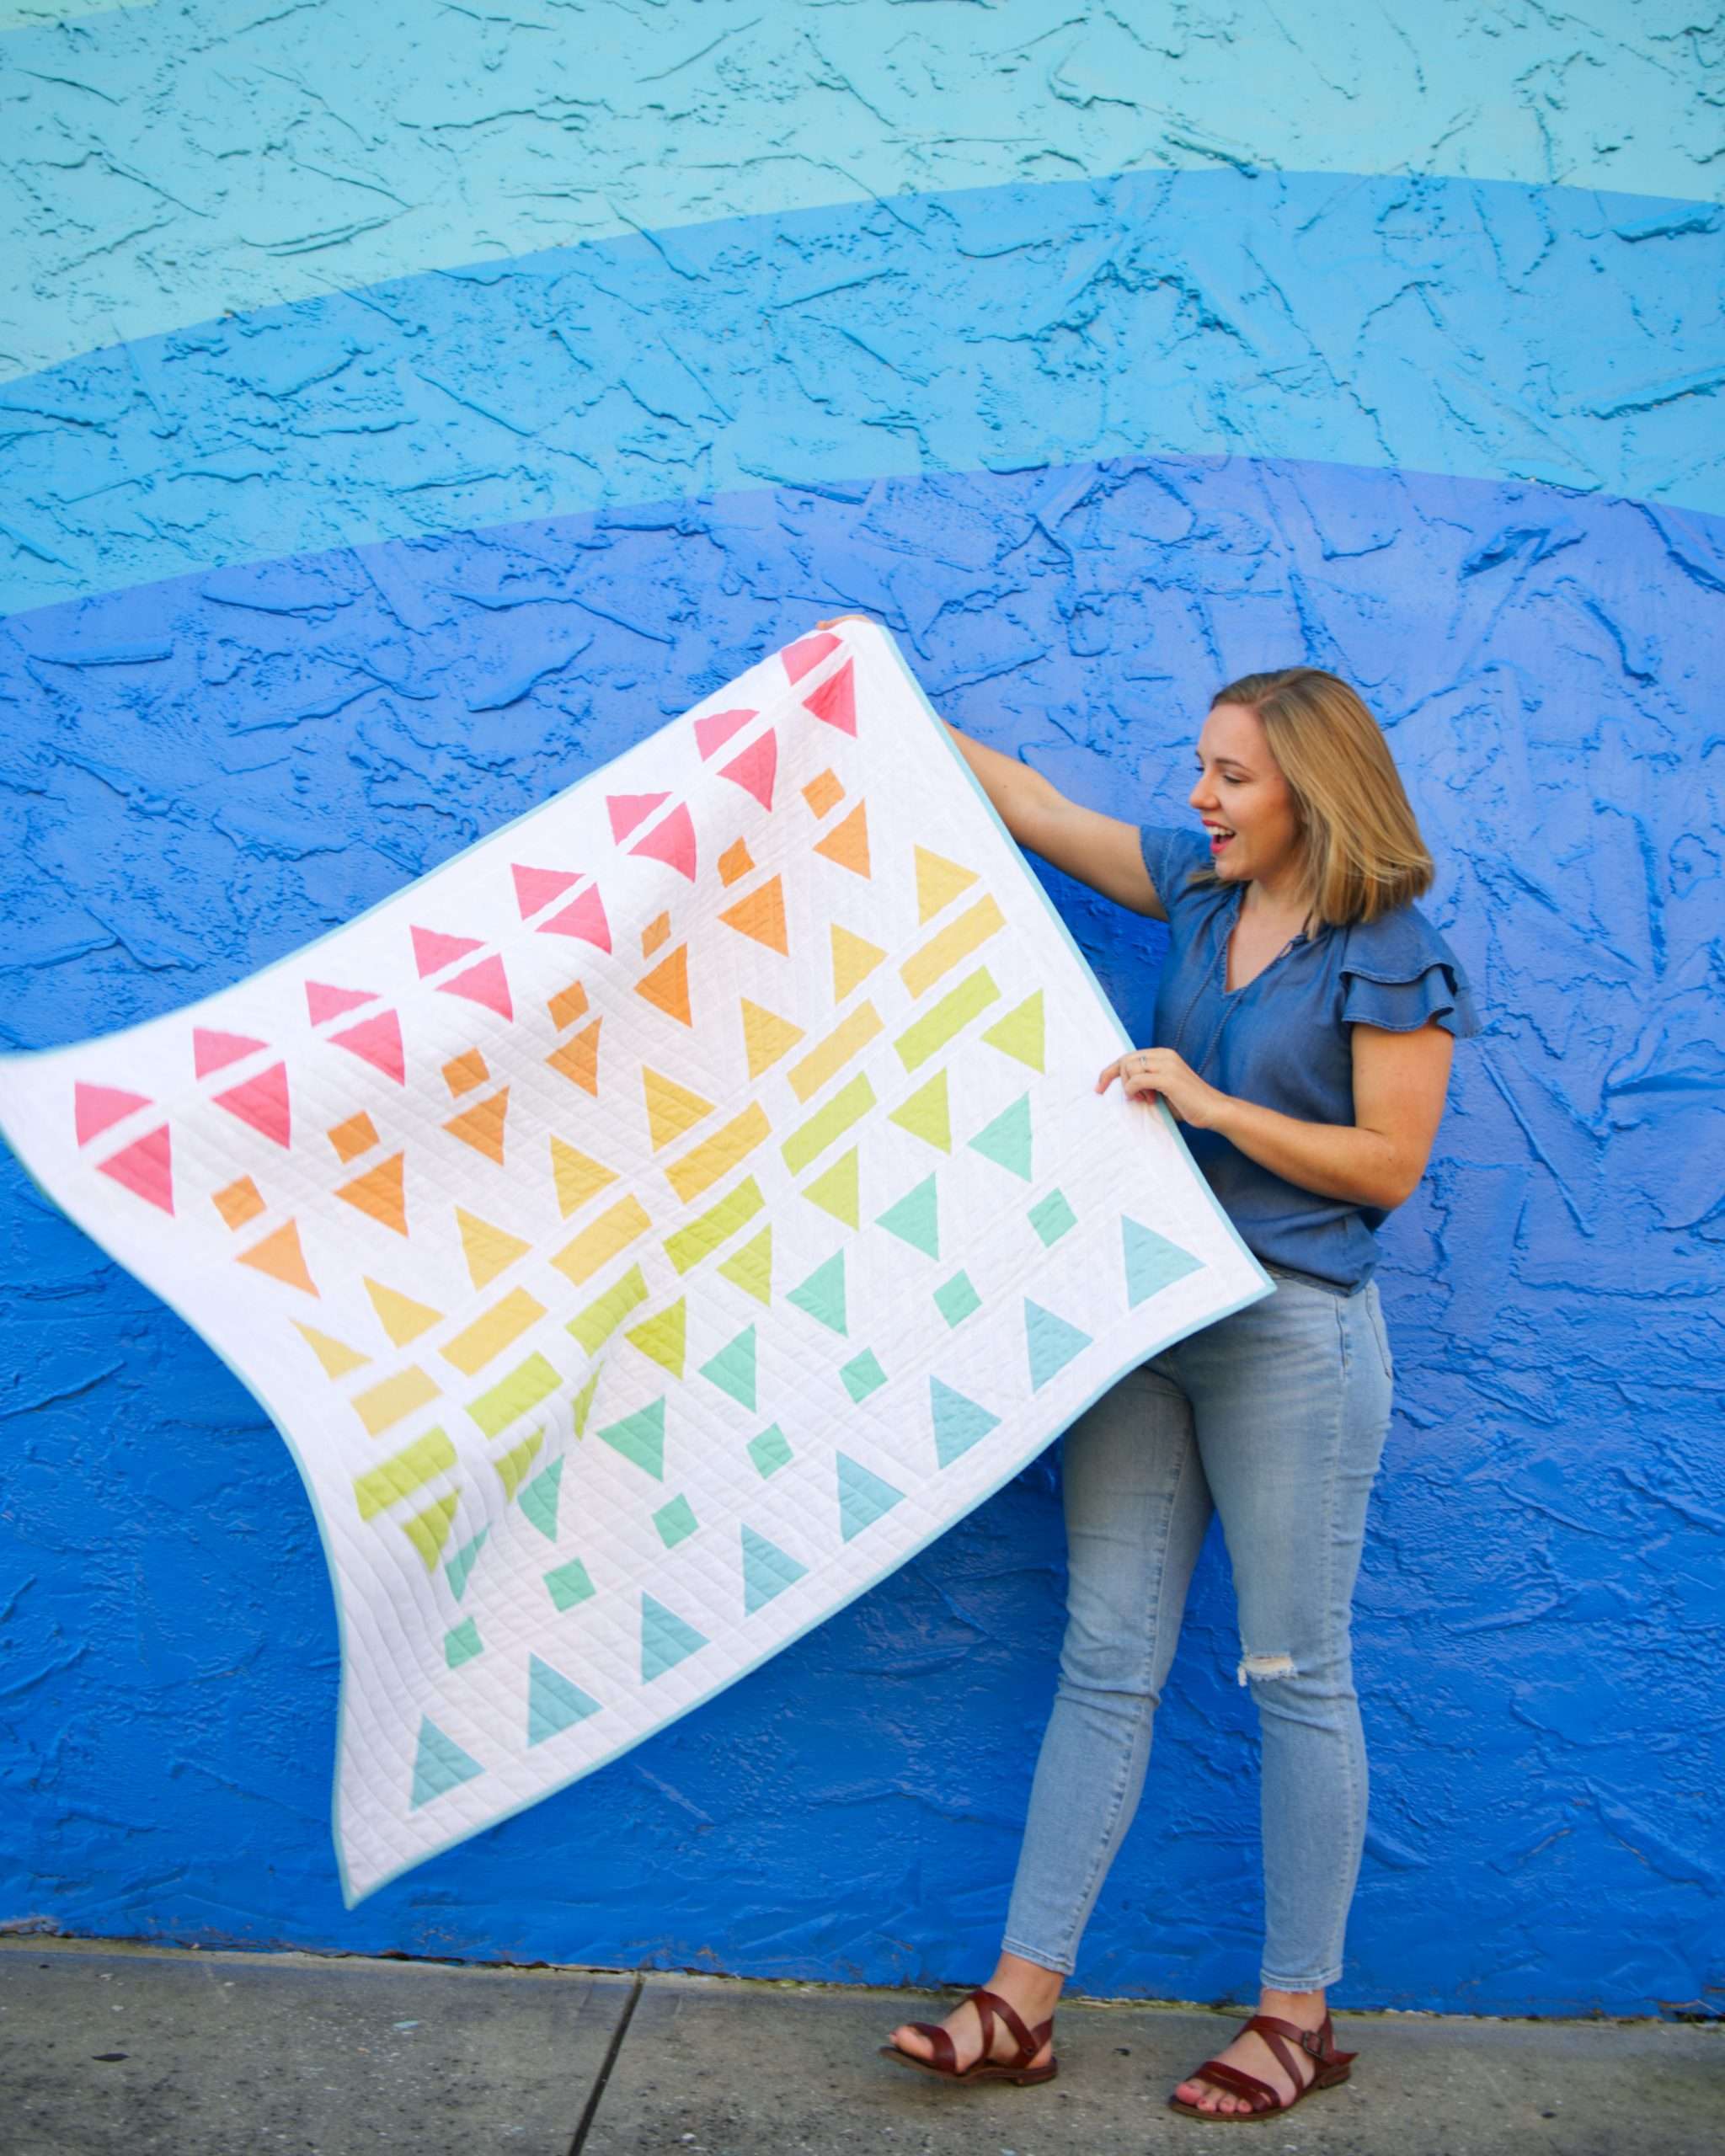
If you enjoy planning out your quilt and want an idea of what it will look like, you might want to play around a bit with AccuQuilt’s GO! Quilt software. It’s free to use and super helpful! There are tons of existing AccuQuilt patterns available for free for a wide variety of their dies. I personally recommend starting off with a Qube die set.

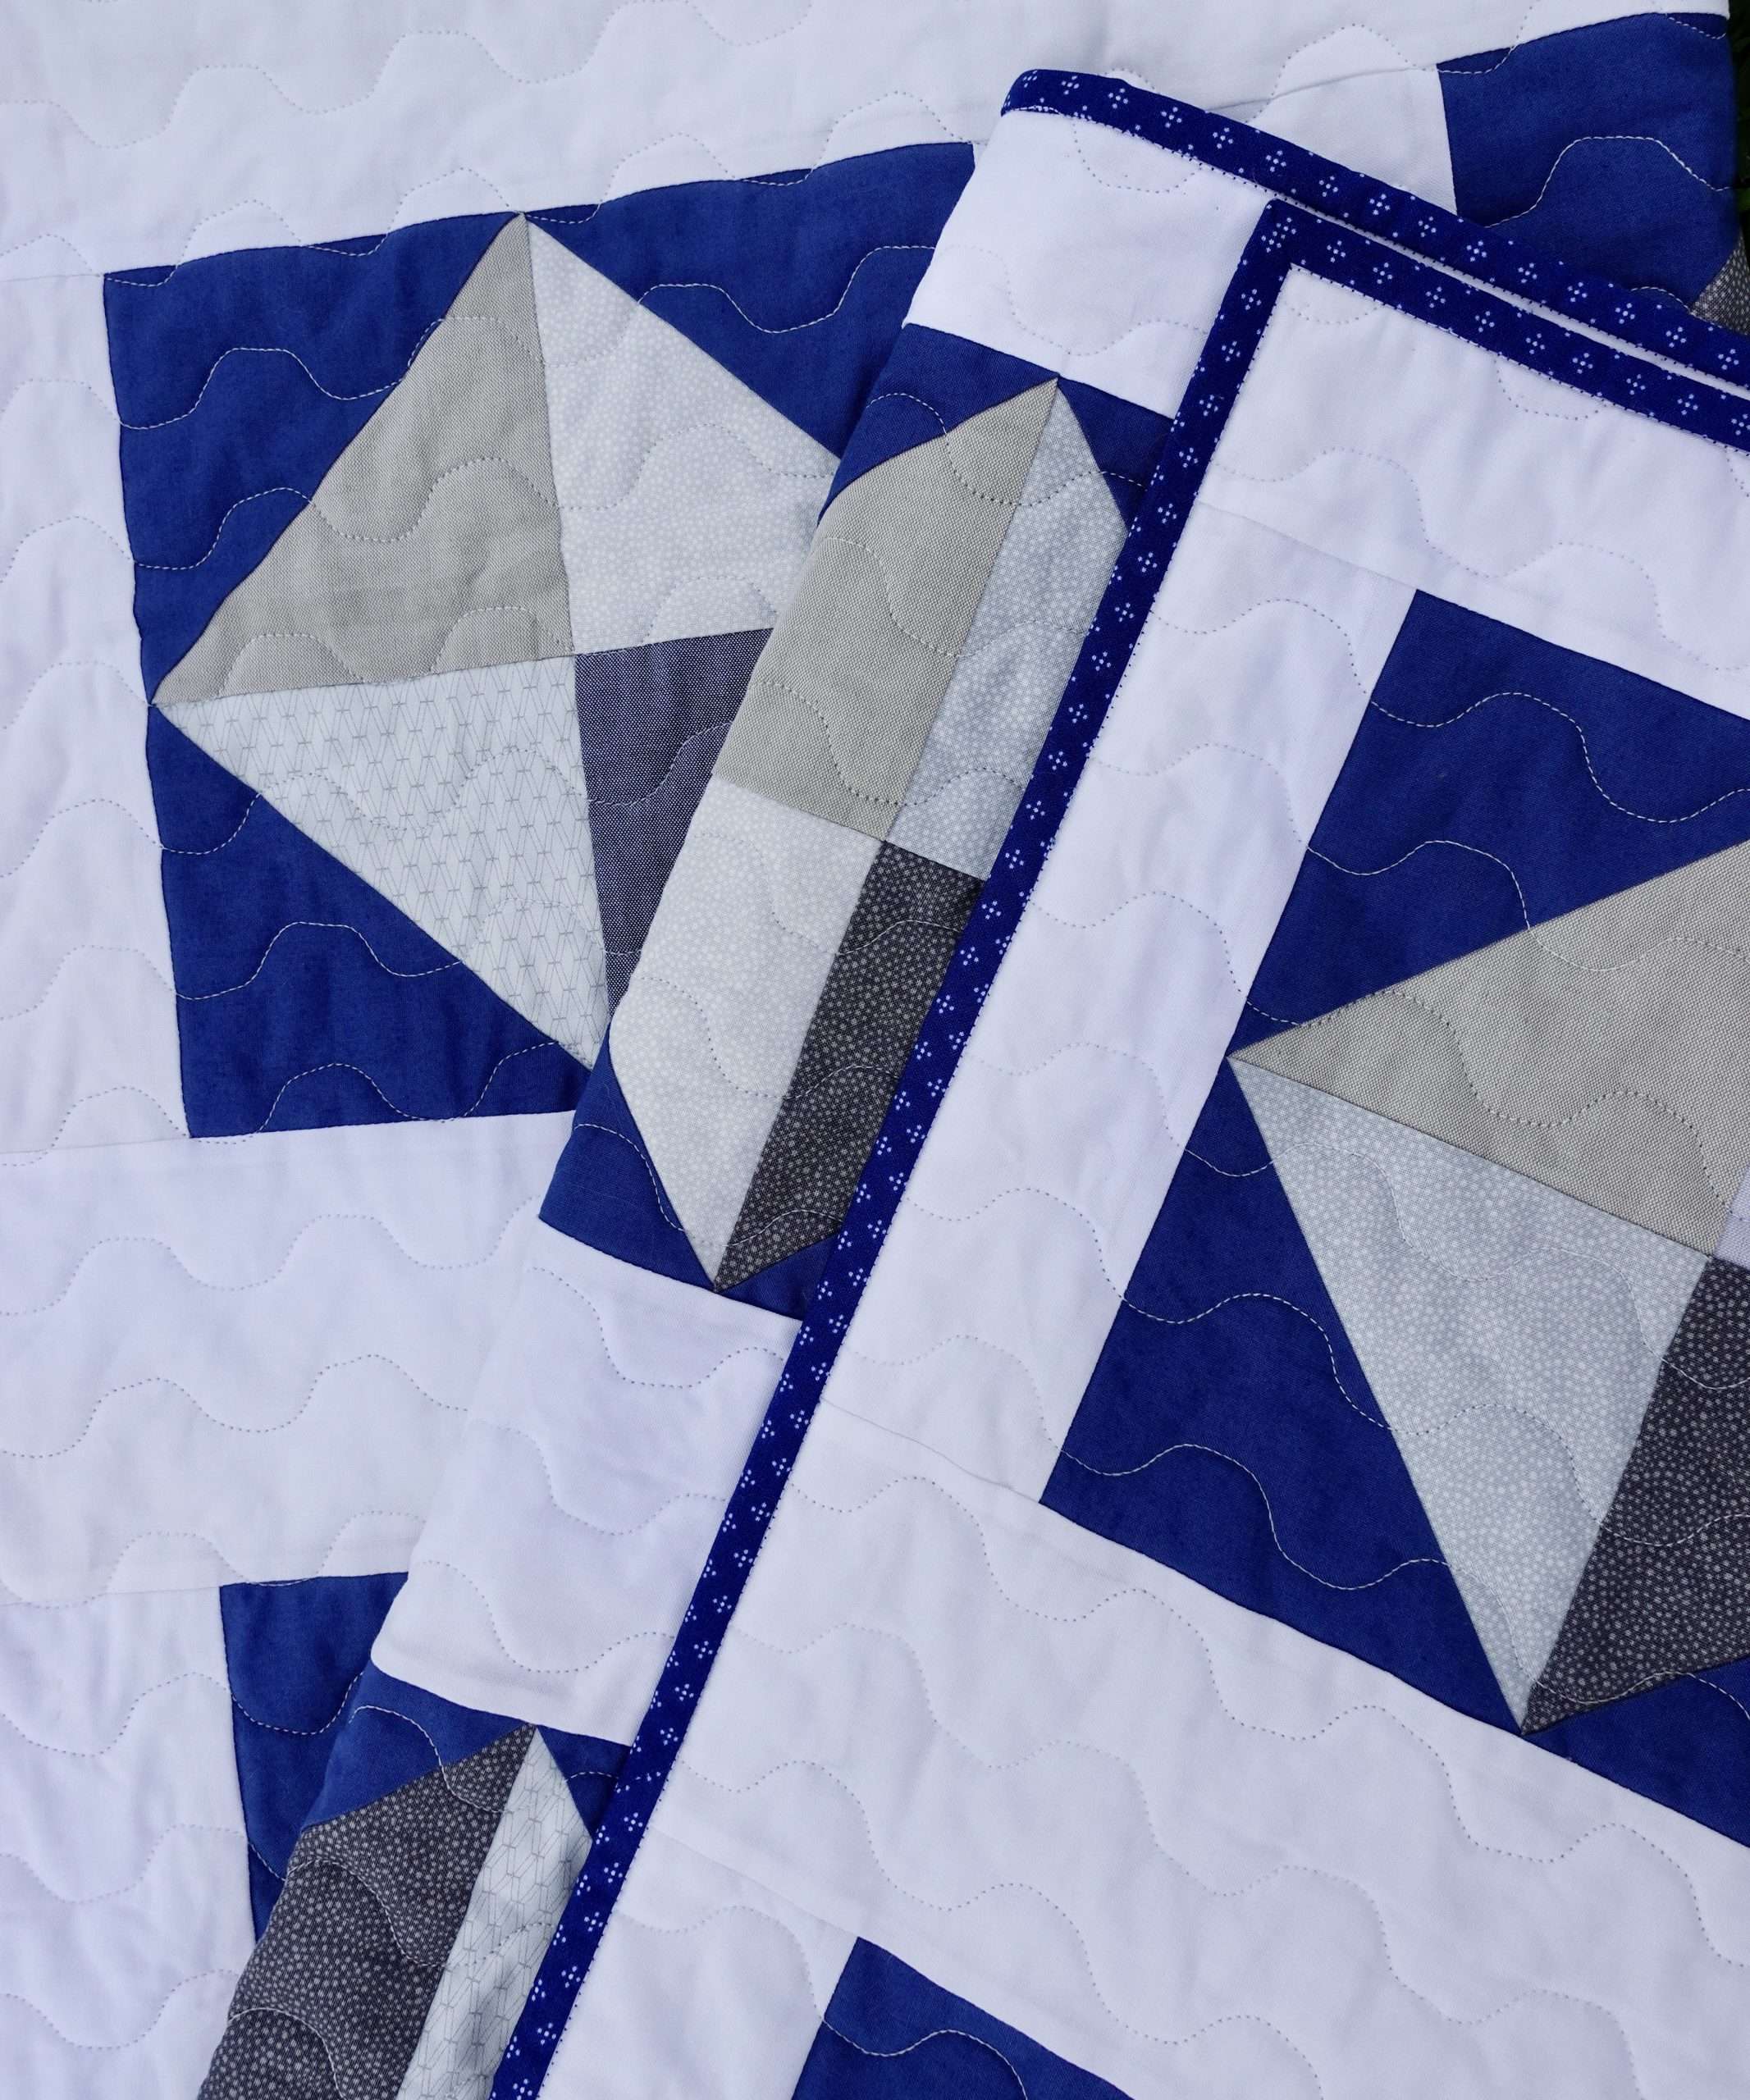
A Mix & Match Qube is a set of 8 dies that all go together to make very common quilt blocks. You can get a Qube in a set that comes together to make blocks that are 6″, 8″, 9″, 10″ or even 12″ large. I personally have the 8″ and 12″ sets and definitely recommend BOTH of them! I’ve even used the 8″ Qube to make 12″ blocks before which is also super fun — like I said, the possibilities are endless!
When you purchase a Qube, you’ll also receive patterns that you can use as well! If it’s your first time using your AccuQuilt machine, I recommend picking out one block to start with, and follow the pattern to know which dies are needed, how many fabrics you’ll need, and how many of each shape to cut.
Check out this post to find out more about the best AccuQuilt dies for a beginner!

Gather your AccuQuilt Supplies
Once you have an idea of your quilt plan, gather your AccuQuilt supplies. You’ll want to set up your cutting machine and gather the dies you selected for your project. Take a look at what size your dies are and make sure you also have corresponding cutting mats too. If you are using dies from a Qube, then the mat came with it, but if you use another type of die you likely would need to order the mat separately.

Prep Your Fabric
Properly prepping your fabrics can really help with precise piecing later on! While there is an ongoing great debate about whether you should pre-wash or not, I have found that it helps a lot if you begin with freshly pressed fabric. I’ve had the most success using lightly starched fabrics – I spray a little mist of Best Press on the fabrics and press with a hot iron to dry them. You could also use other types of starch as well, and I urge you to find one that you really enjoy using!
If you are cutting a lot of yardage into small pieces with AccuQuilt, it can help to do “rough cuts” into strips. I cut my strips about a 1/2″ wider than the blades of the shape of the die, so I’ll have a 1/4″ of wiggle room on each side for any inaccuracy in my cutting or any fabric shifting while the die goes through the machine. Another option is to fan-fold the extra fabric to the side of the die while you run it through the machine, but I personally find that method can get annoying and tedious.

Cutting with AccuQuilt GO!™
AHHH finally time for the fun part!! Cutting with your AccuQuilt machine is super easy and should be fun!

One of my favorite tips to help with accurate cutting on grain is to use a permanent marker to draw a line 1/4″ away from the blade of the die. I use that line to arrange my fabric so I know it is straight on the blades. Speaking of straight.. you might notice your die blades are at a slight diagonal on the die itself. That is completely intentional and actually helps the die glide through the machine easier without too harsh of a “speed bump”.

To maximize the number of cuts with each pass in the machine, you can cut up to 6 laters of quilting cotton at a time if you’re using AccuQuilt GO!™ dies like I do. (Pro tip: The AccuQuilt Studio dies can cut up to 8 layers!) To cut 6 layers at a time, I might fan fold the strips that I cut earlier or I might layer 3 double-layer strips on top of each other. I find layers are more precise, but fan-folding also works. Watch the full YouTube video to see a demonstration of how to fan fold to get multiple layers from a Fat Quarter (or other size cuts of fabric)
Never miss a post! Be sure to subscribe to the newsletter and follow @homemadeemilyjane on Instagram.
Want more project inspiration? Here are a few popular posts:
- Everything you need to know about AccuQuilt
- Which Fabric Cutting Machine is Best?
- Which AccuQuilt Dies should you get?
- How to make Perfect Half Square Triangles
- String Quilt Block Tutorial
- Sampler Quilt using the 12″ Qube