How to Make a Quilt from Start to Finish
Let’s start at the very ground level of quilting: How to Make a Quilt! In this article, I am going to go back to the basics of quilting and provide some beginning fundamentals. This is a complete guide for a total beginner and can also serve as a refresher for anyone else who wants to learn my own personal spin of quilt-making!
It is important to note that we all have got to start somewhere, so this guide is created specifically to help even the most novice person learn how to make a quilt! I began sewing when I was a kid, and have been quilting for over 6 years, so if there is ever a part in this process that you’d like me to expand on, please leave a comment with your questions!
I’ve broken it down into 12 steps, and I am calling it my Learn to Quilt 12-step program. Once you’ve been quilting for some time, you’ll see why! 😉
The Learn-to-Quilt 12-step Program:

This article contains affiliate links; these links allow me to make a small commission on purchases made after clicking on the links, but does not alter the shopping experience for you!
If a video is more your taste, watch this to learn how to make a quilt:
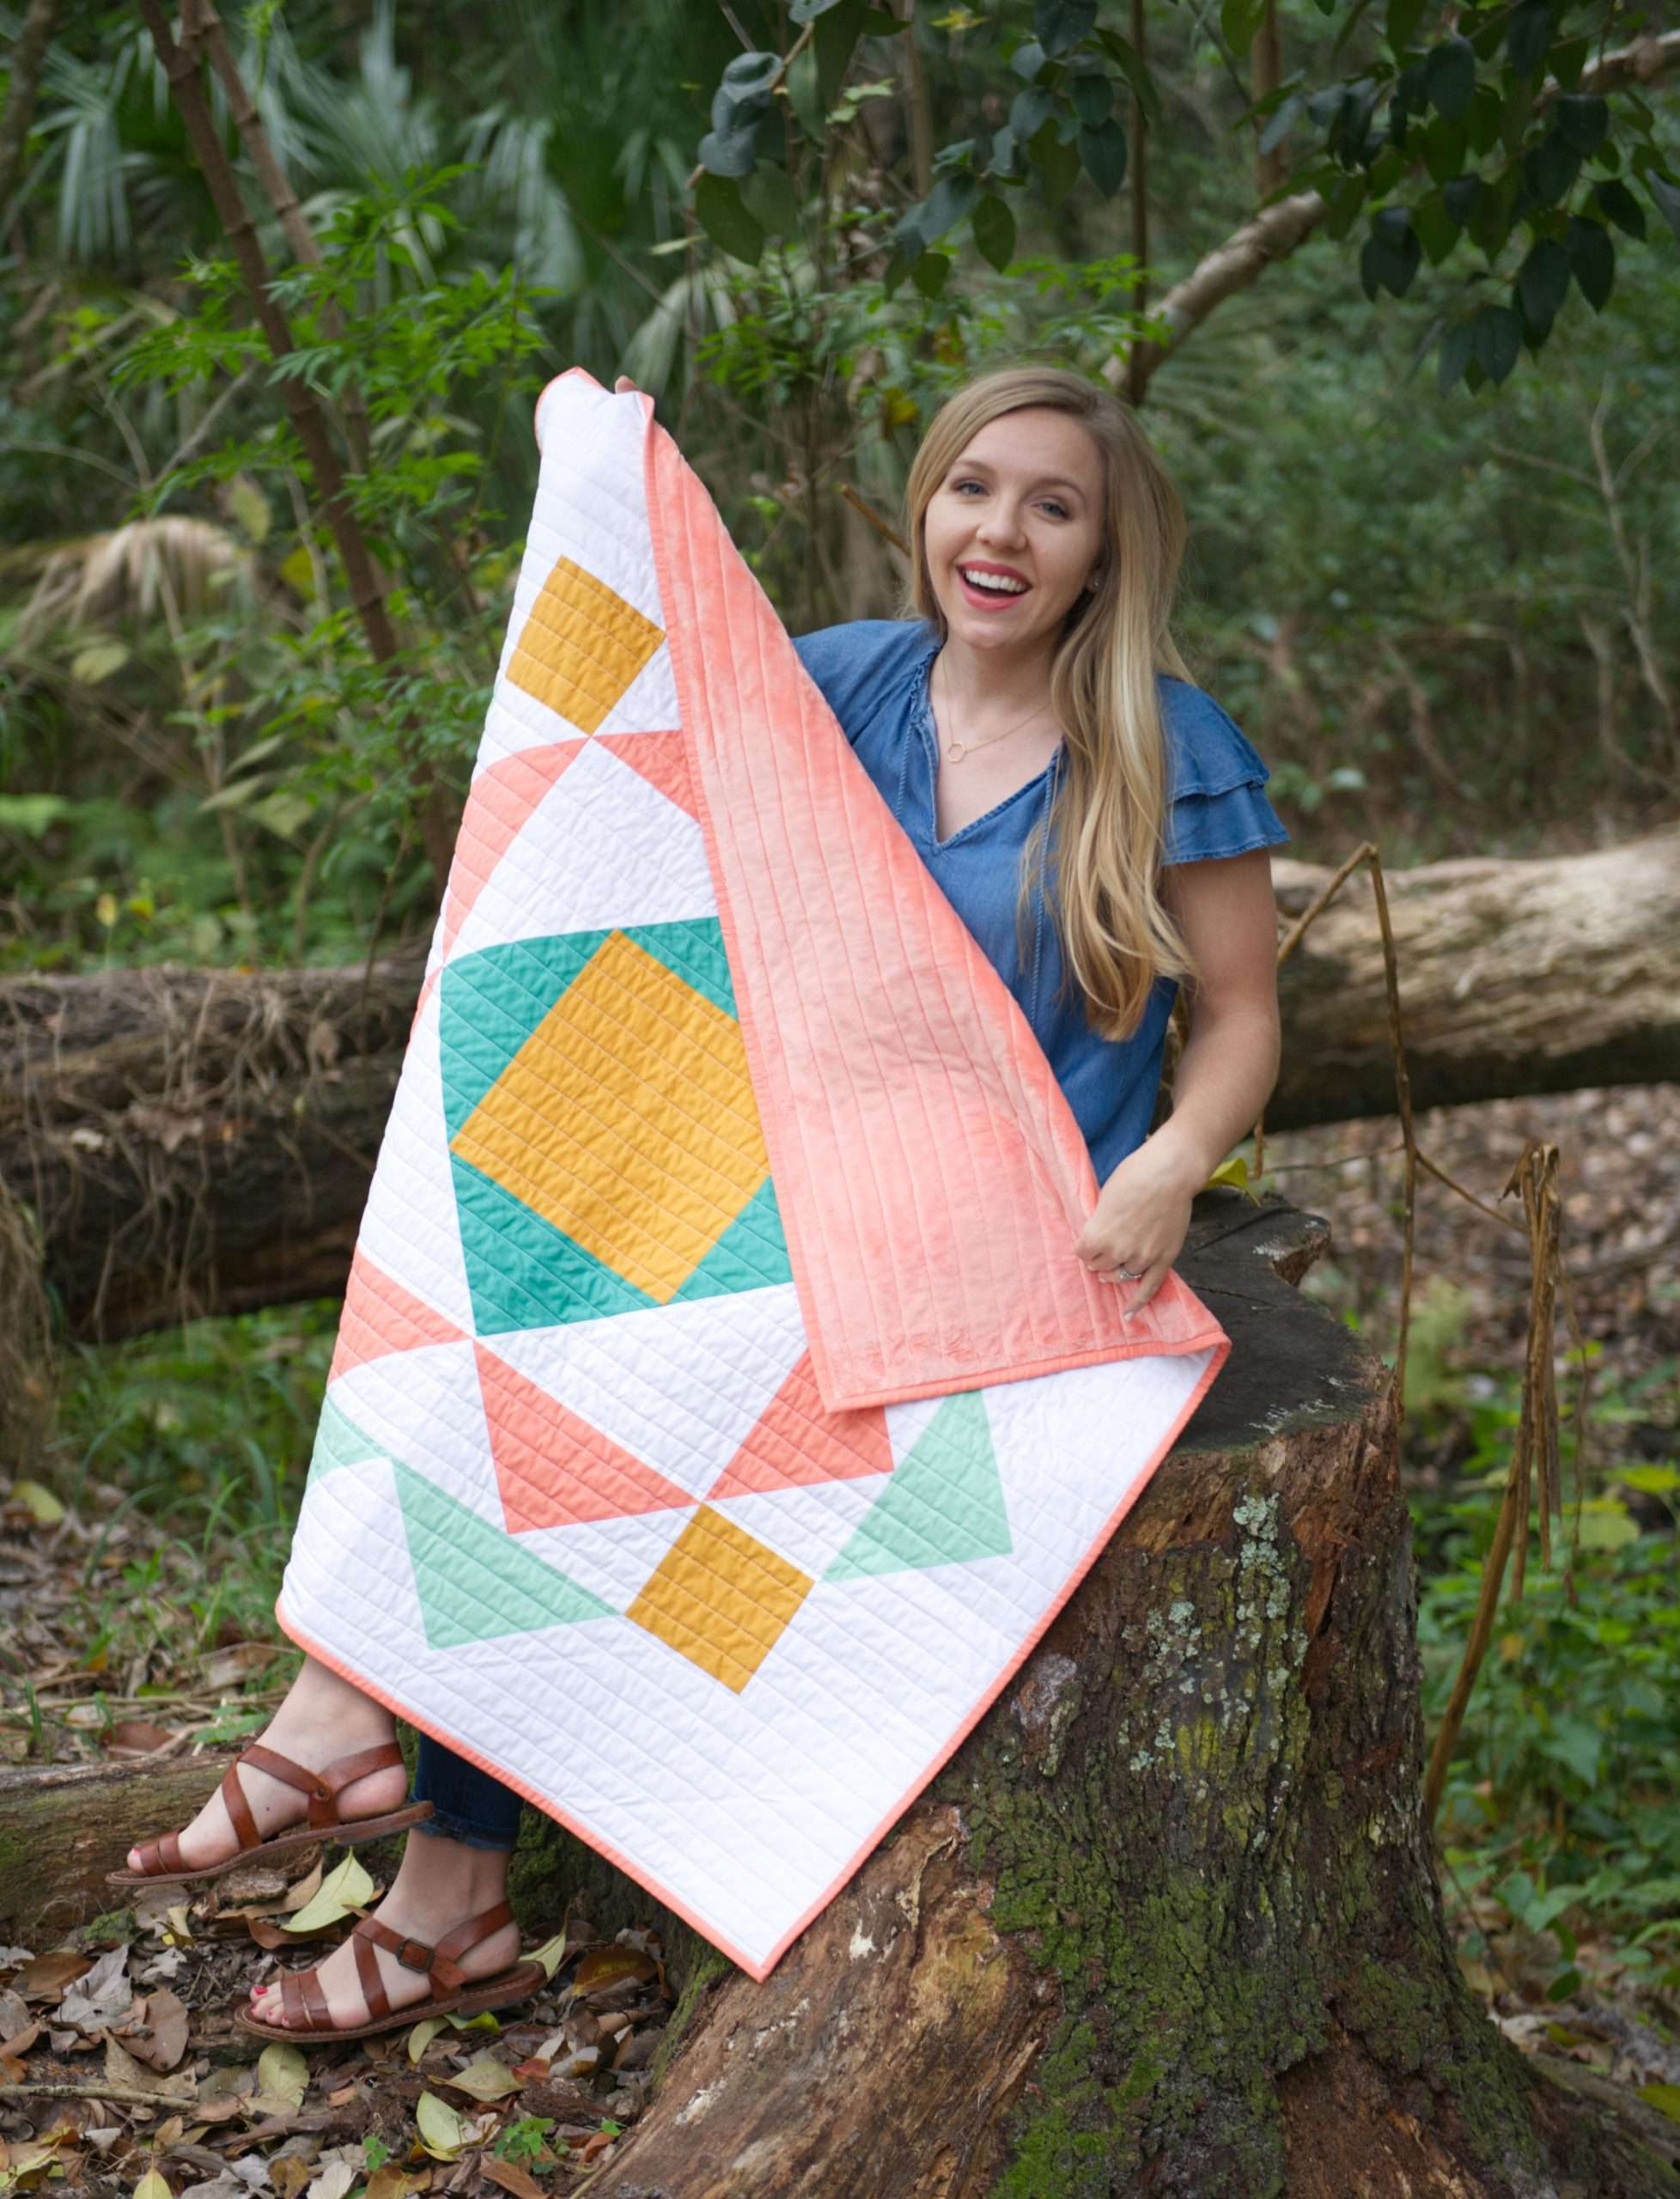
1. Choose a Pattern
As a beginner, you’ll want to start with something SIMPLE but that does not mean it has to be boring. You could go with the classic squares design if you want, but any basic straight line design would be perfect. You can find some ideas and inspiration in this post showing 7 Quick and Easy Quilt Patterns.
I have designed a couple quilt patterns I would be honored if you would take a look! The Explore Quilt pattern is free and includes 3 sizes, or you might check out my pattern shop for more ideas!
Get the EXPLORE pattern for free here!
Shop Popular EASY Quilt Patterns


2. Pick out your Fabrics
The pattern you choose to follow will tell you how many colors you need and what amount of each you’ll need. You can find some tips for buying quilt fabrics online in the video above, and also check out some of my personal favorite fabric shops over on this post all about How to Shop for Quilt Fabric.
Once you have your fabrics you can prep them. Some people pre-wash their fabrics however it is all personal preference. I choose never to prewash for quilting. (But I do pre-wash for garment sewing because I want them to fit!) I make sure to press all my fabrics flat, which is especially important if working with precuts that have been creased and folded for a while. I use unscented Best Press when ironing as I find it helps speed it up and creates a really crisp finish.

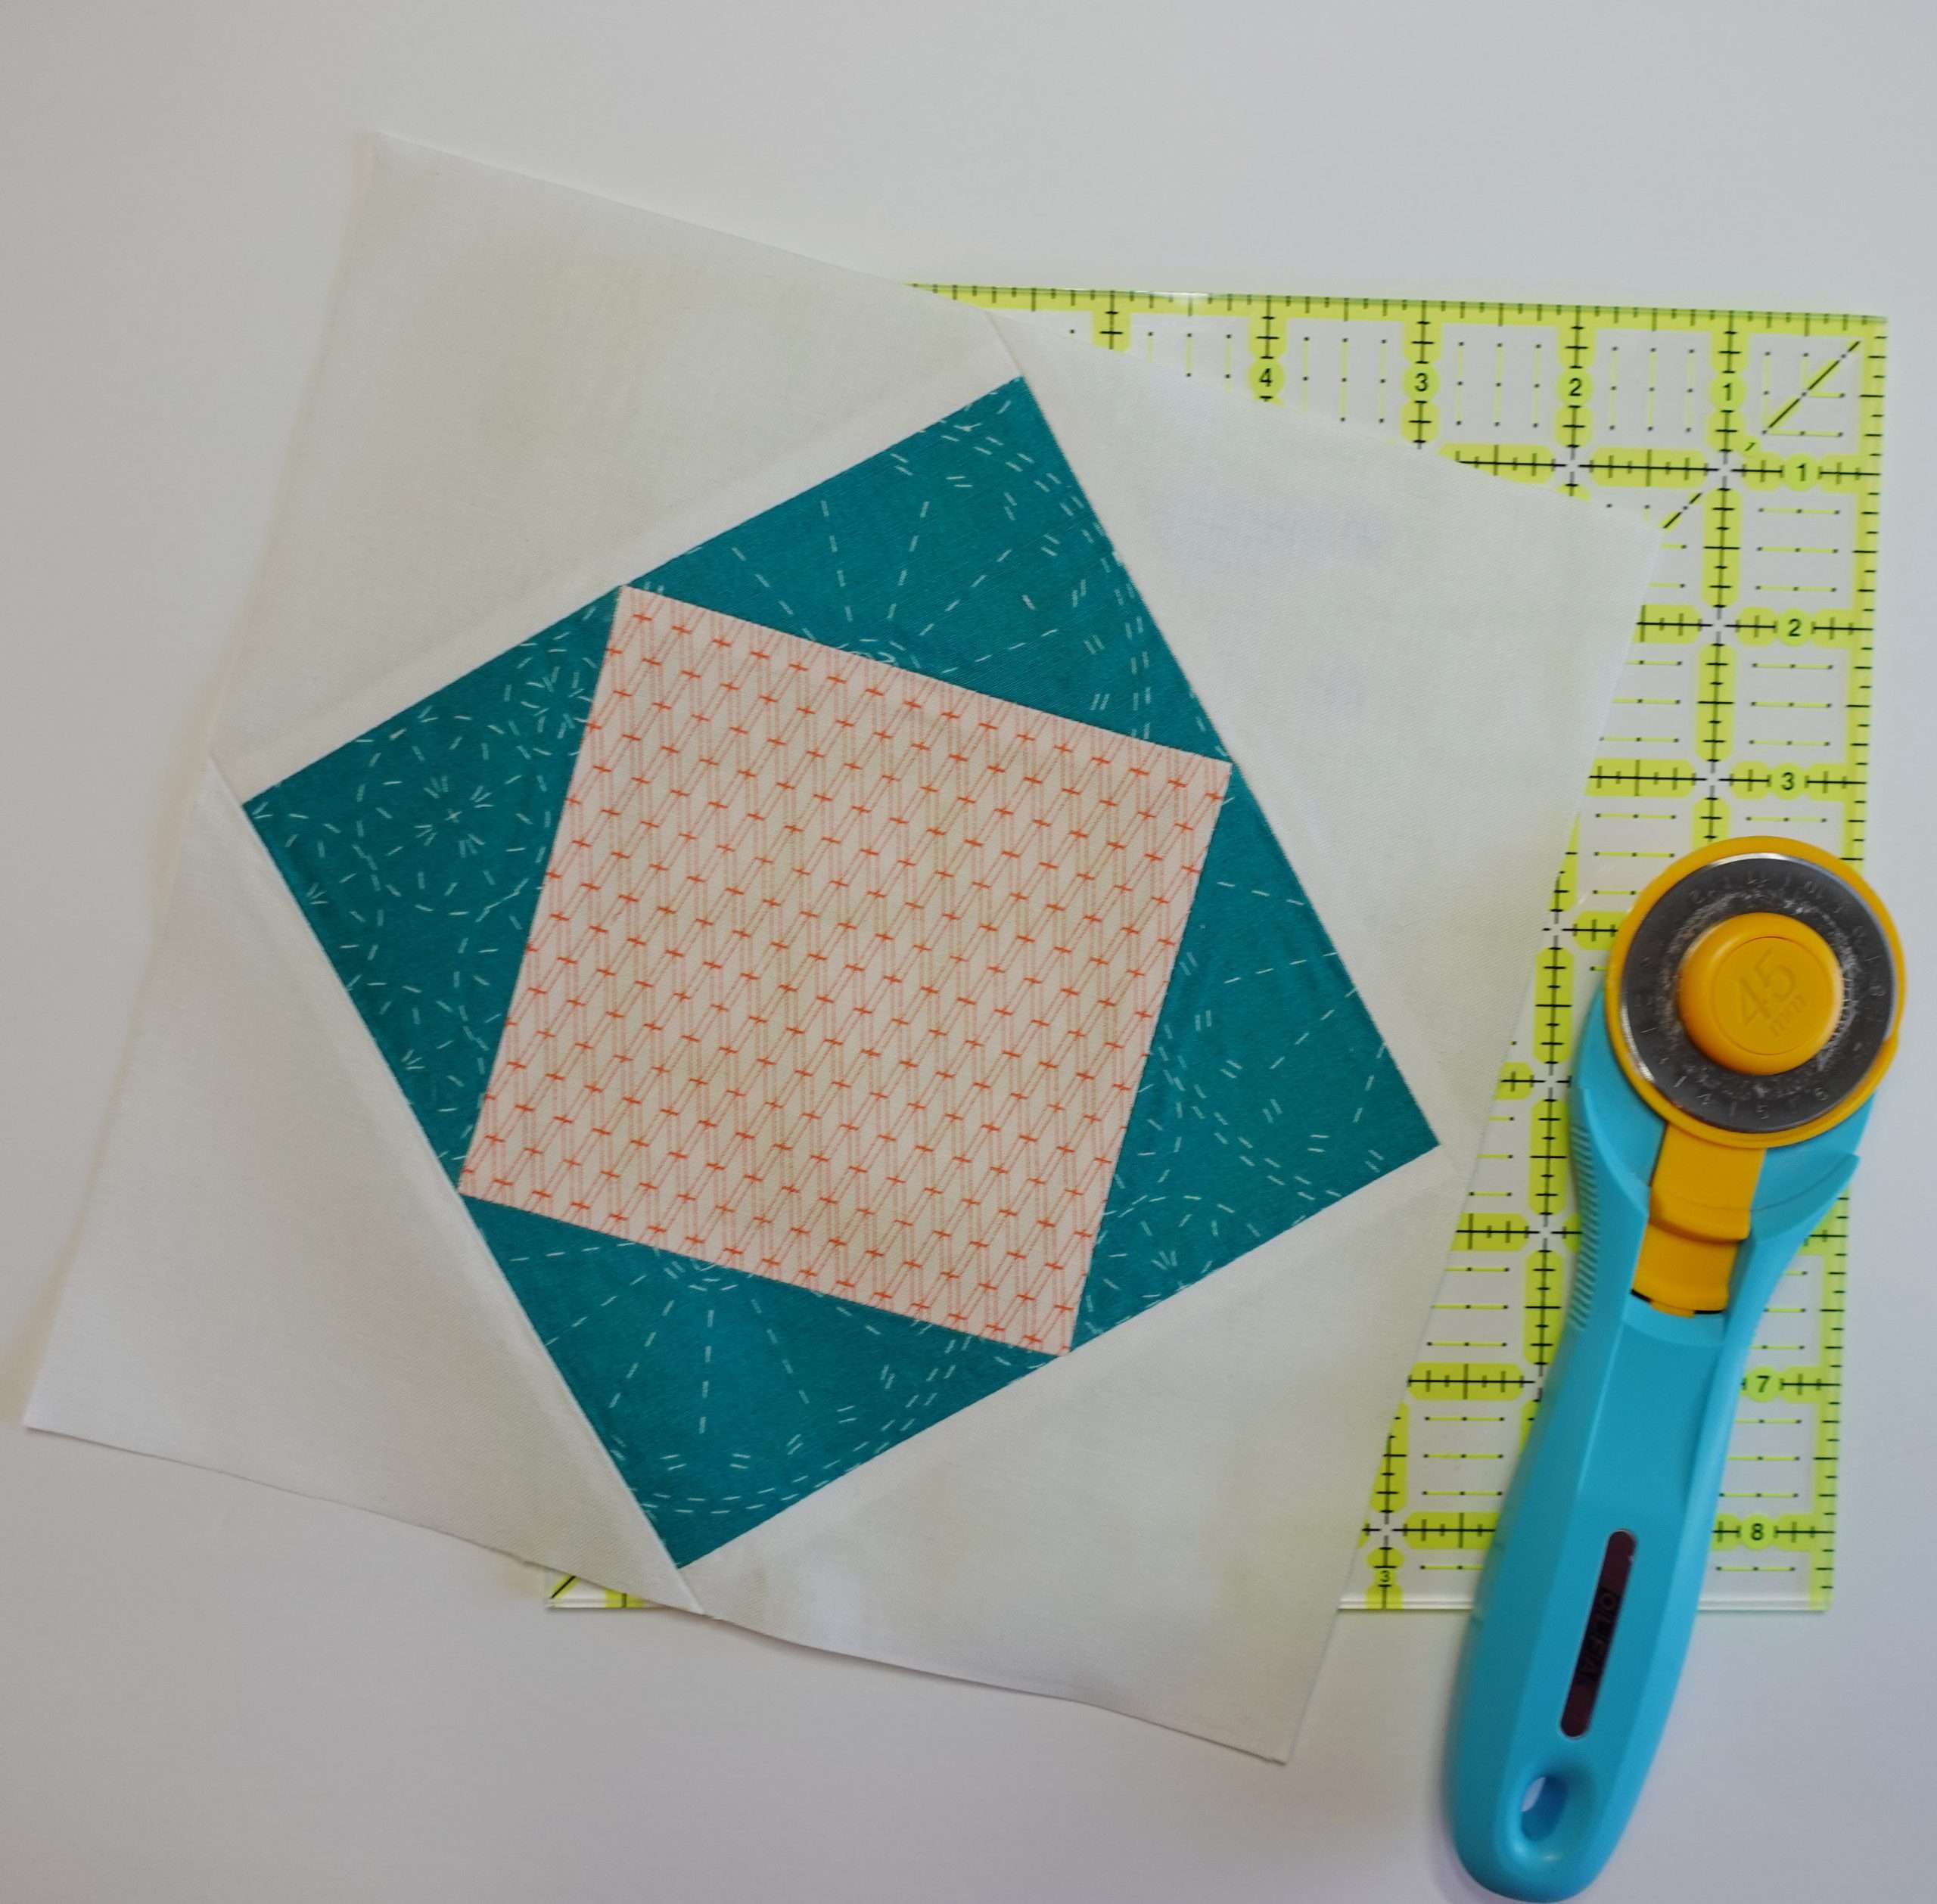
3. Cut out the Pieces
The pattern you decided to use will dictate exactly how many pieces of each size and color you need for your desired quilt. I highly suggest reading through the entire pattern before you begin just to make sure you understand the math behind it. If it is a free pattern, the likelyhood of a mistake is slightly higher since designers do not always have pattern testers, but I have personally only run into a few issues.
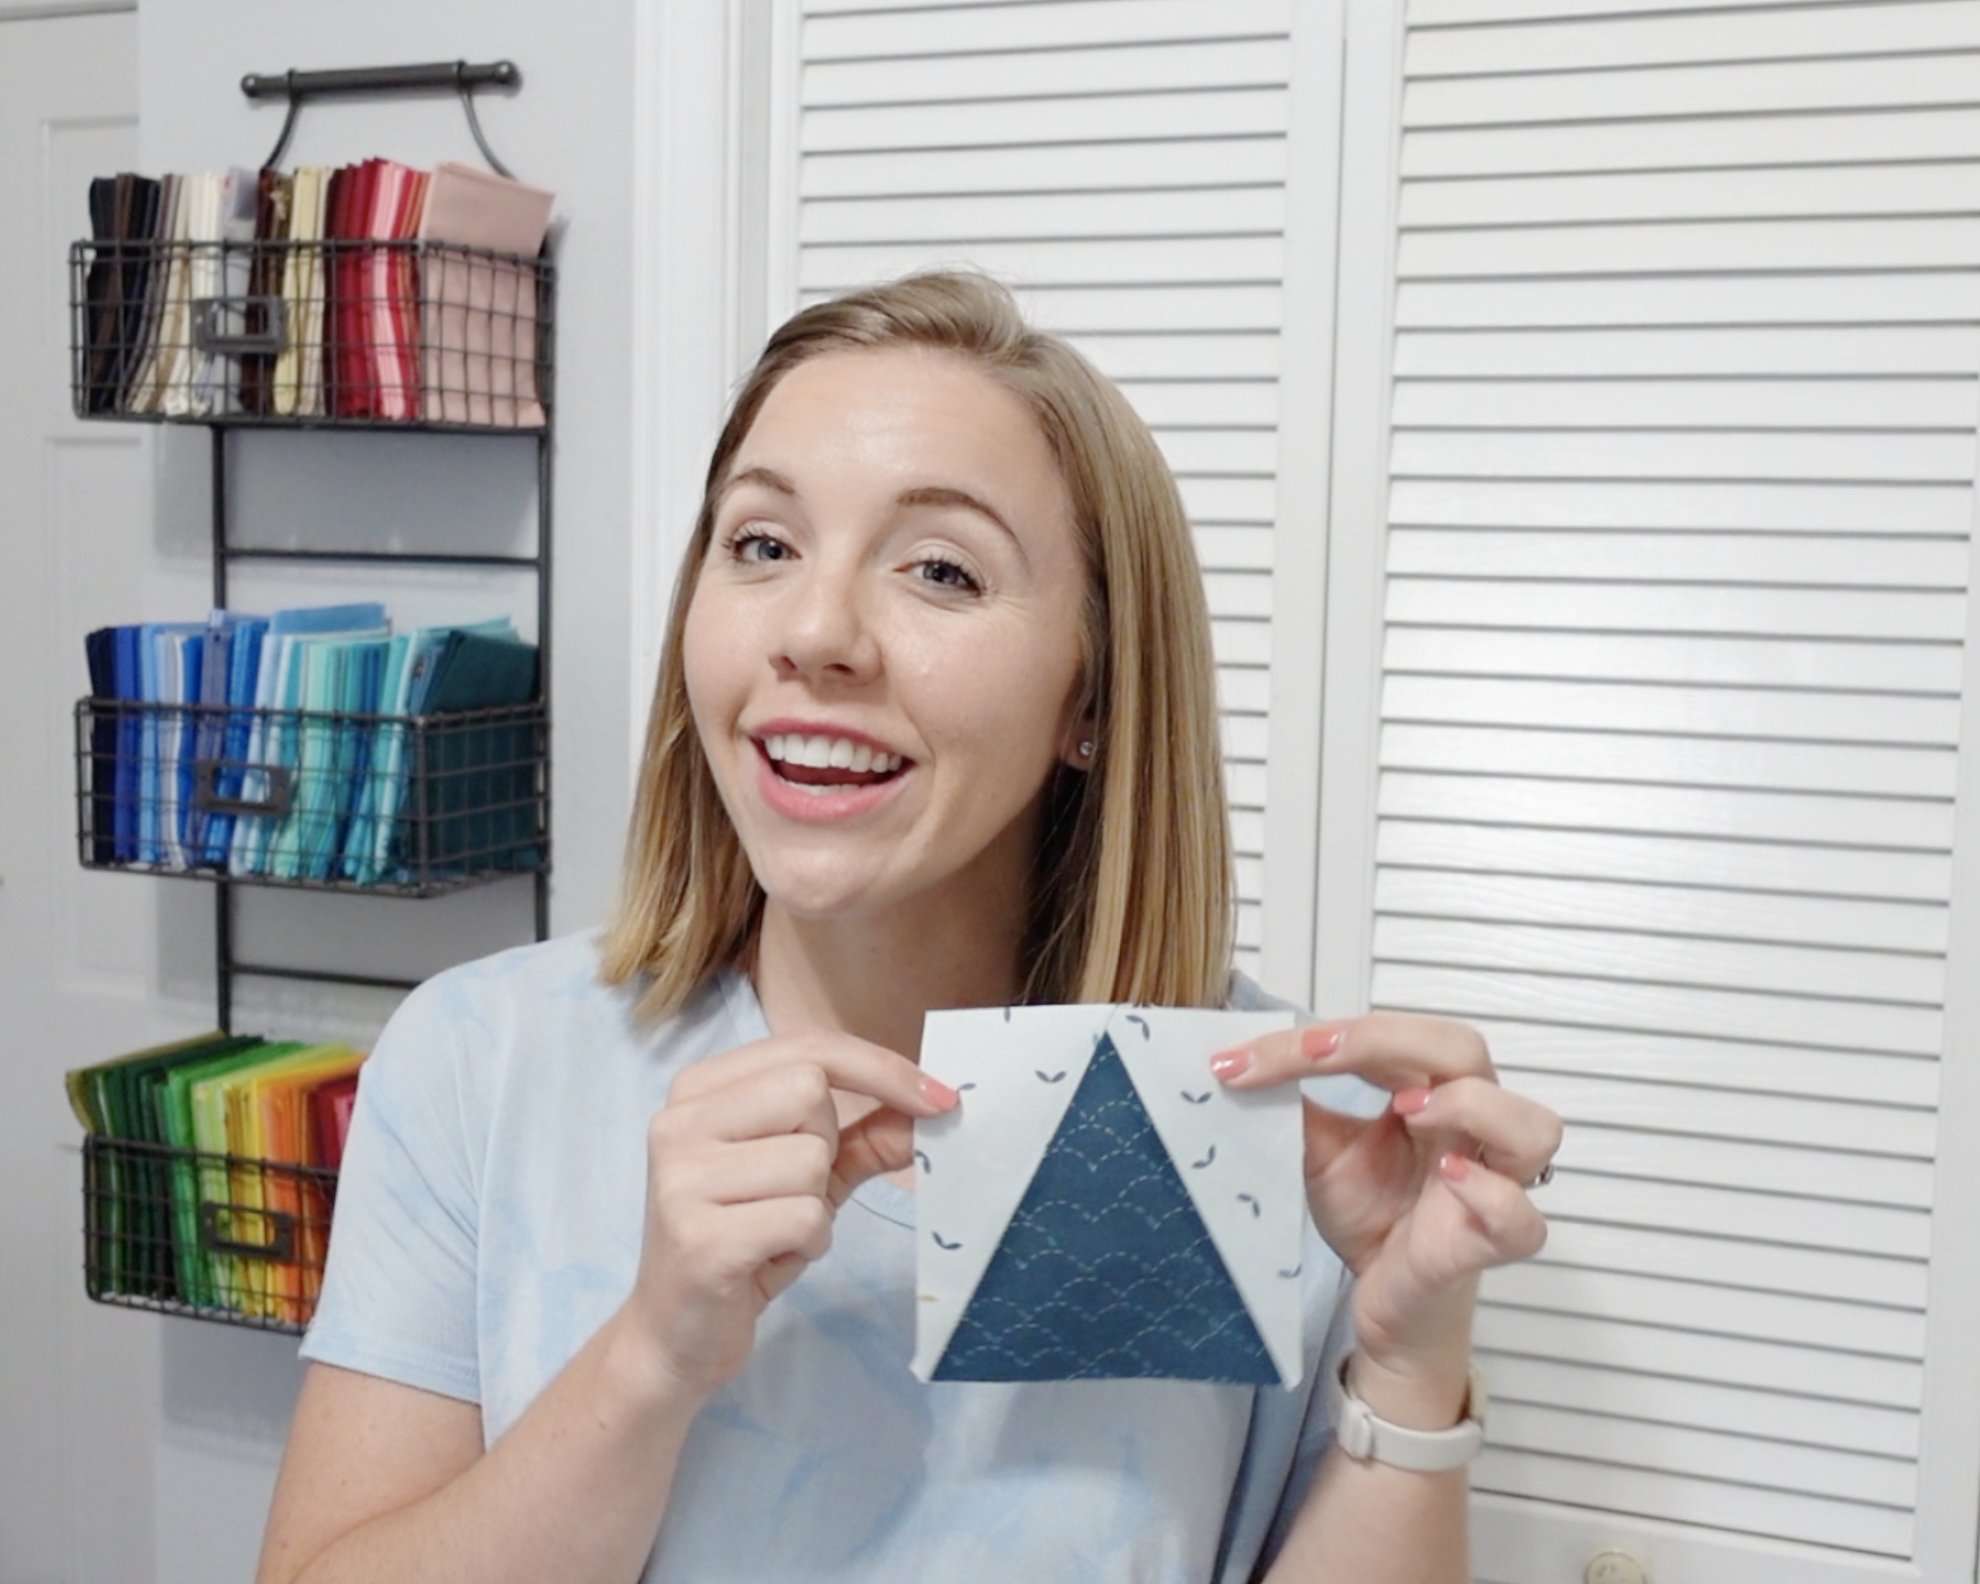
If the pattern you are working on is block-based, I suggest cutting out only one block first and making a test block before cutting the rest, just in case you notice something off or wonky that you want to adjust before cutting up all your fabrics.
When cutting fabric for quilting, there are a few tools that I HIGHLY recommend:
- Cutting Mat
- Rotary Blade
- Rulers
- OR get this combo pack!
Check out this complete Beginner Quilter’s Guide to Cutting Fabric video or find the full tutorial here.
Once you get more confident in your quilting and want to take it to the next level, I really can not say enough about how much I love using my AccuQuilt to cut out my pieces! It saves so much time and is way more precise than I could ever get it with a rotary blade. Find out more information about AccuQuilt here or watch the video below to see how it works.

4. Sew the Fabric Pieces Together
People use many different techniques when choosing how to sew their pieces together. As a beginner, I definitely suggest you use PINS – lots of pins!
If you are entirely new to quilting, and plan to use a sewing machine, you need to see if your sewing machine has a 1/4″ foot. Having a foot with a guide is helpful but not entirely necessary. Before sewing your pieces together, do a few test seams to make sure you know where the 1/4″ mark is. Many people choose to do a “scant” quarter inch which is really just a weird term to mean just a thread or two smaller than a 1/4″ to allow space for the way it turns over itself when pulled flat.
For more tips for getting a perfect patchwork seam on your sewing machine, check out this short video:
If you do not have access to a sewing machine, don’t let that deter you from quilting! Quilts have been around for much much longer than sewing machines! Find a needle and thread and practice hand sewing some 1/4″ seams. It may help to draw lines on the wrong side of your fabric at the 1/4″ point to serve as a guide for hand stitching.
As far as thread choice goes, there are SO many out there. I recommend using a 50 or 60 weight cotton thread for piecing. Sometimes I put an even smaller thread in my bobbin so I can go longer without changing it.
If you have never tried chain sewing, it saves a ton of time. Watch the video above see how to chain sew. First, lay out your pieces how they will go into the quilt, then pin them together wherever possible. And then sew the whole stack of pinned pieces one after another. Once the stack of pinned pieces is all sewn, you go back and snip in between each small segment. A tool like this one can help separate the chain once it is sewn together.
5. Press the Seams
Your pattern should tell you which way to press seams if it is going to make a difference in the quilt itself. Many pattern designers choose to press seams open so that they will lie flat. I personally hate pressing open, so I choose to try to “nest” my seams as often as possible – or simply press to the dark side and hope for the best.
Pressing seams can be very important, and is another reason making a test block is a good idea.
When pressing, it is helpful to use a nice hot iron, a wool pressing mat like this one, and spray starch such as Best Press to get your seams as flat as possible.
6. Continue sewing and pressing seams until the entire quilt top is pieced.
The amount of times you sew and press will be determined by how intricate or large the pattern is, but the key is to ENJOY THE PROCESS.
Really though, this part should be fun. I prefer to do it in as large of batches as possible so I can have long stretches of pressing at a time to watch a show or listen to an audio book while I do it. Experiment for what works for you to find your rhythm.

7. Pick out Batting & Backing, then Baste the Quilt
There are SO many different kinds of batting out there – it can be one of the most overwhelming steps of the process. There’s cotton, wool, poly, even blends of multiple fibers! Don’t let it overwhelm you. I personally prefer a bamboo blend but called Quilter’s Dream Orient but I suggest you find what works best for you! The only type I do NOT recommend would be super high loft as it can be very difficult to work with. Learn all about the different types of batting on this blog post or watch this video:
You might want to check out Warm and White, or this simple cotton batting. Be sure to read the packaging to see how far apart the stitching can be – this will dictate how densely you should quilt it to keep it from falling apart in the wash. One of the many reasons I choose Quilter’s Dream Orient is that I can quilt up to 8″ apart and works great for hand quilting or machine quilting!
Quilt Backing
Once you’ve chosen your batting, grab your quilt backing too! If your quilt is over 40″ wide, I suggest searching for “wide back” quilt fabric. Your other options would include piecing your quilt back, or even using a cotton flat sheet!
Making the Quilt Sandwich
Next, let’s put our quilt layers together. You’ll need your quilt top, batting, and quilt backing to make your “quilt sandwich”. The process of temporarily adhering your 3 layers together is called “Basteing” your quilt. Basteing the quilt can be done in a variety of techniques, including pinning, spraying, or hand stitching. Find out more details and my preferred basteing method in this post about Spray Baste comparisons.
8. Decide on your quilting plans
Now that you know how far apart you can get away with quilting your quilt, you get to think about and plan out how you want to do the quilting. Do you want to do it on your machine? or how about hand sewing? Or maybe you want to try tying it like our ancestors did! This is one of the steps of quilting that provides the most options!
If you decide to do it on your machine, there are two main ways to do it – straight lines or Free Motion, both having their own values and challenges. If doing straight line quilting I highly recommend finding a walking foot for your sewing machine! I didn’t know these amazing tools existed for the first few years of my quilting journey and I can’t live without mine now!
To read more about the things you need to get started with hand quilting check out my list of Hand Quilting Essentials.
Once you have decided on your plans, you can mark the designs on your quilt – I like to use a Hera Marker to show me where to quilt. If you are choosing to do Free Motion Quilting, marking is not necessary but having a plan of what motifs to do in each section can be really helpful!

9. Quilt It
Finally, it is time to QUILT! My advice here is to take it slow and not be afraid to rip out seams. If you are truly brand new, try making a practice mini sandwich with some scraps and test out some stitches to determine stitch length and see if you tension is working well.
If you have no idea how to tell if your tension is ok, you want to make sure the place the top thread and bobbin thread meet is hidden inside the layers of the quilt. Check out your specific machine user manual to find out more.
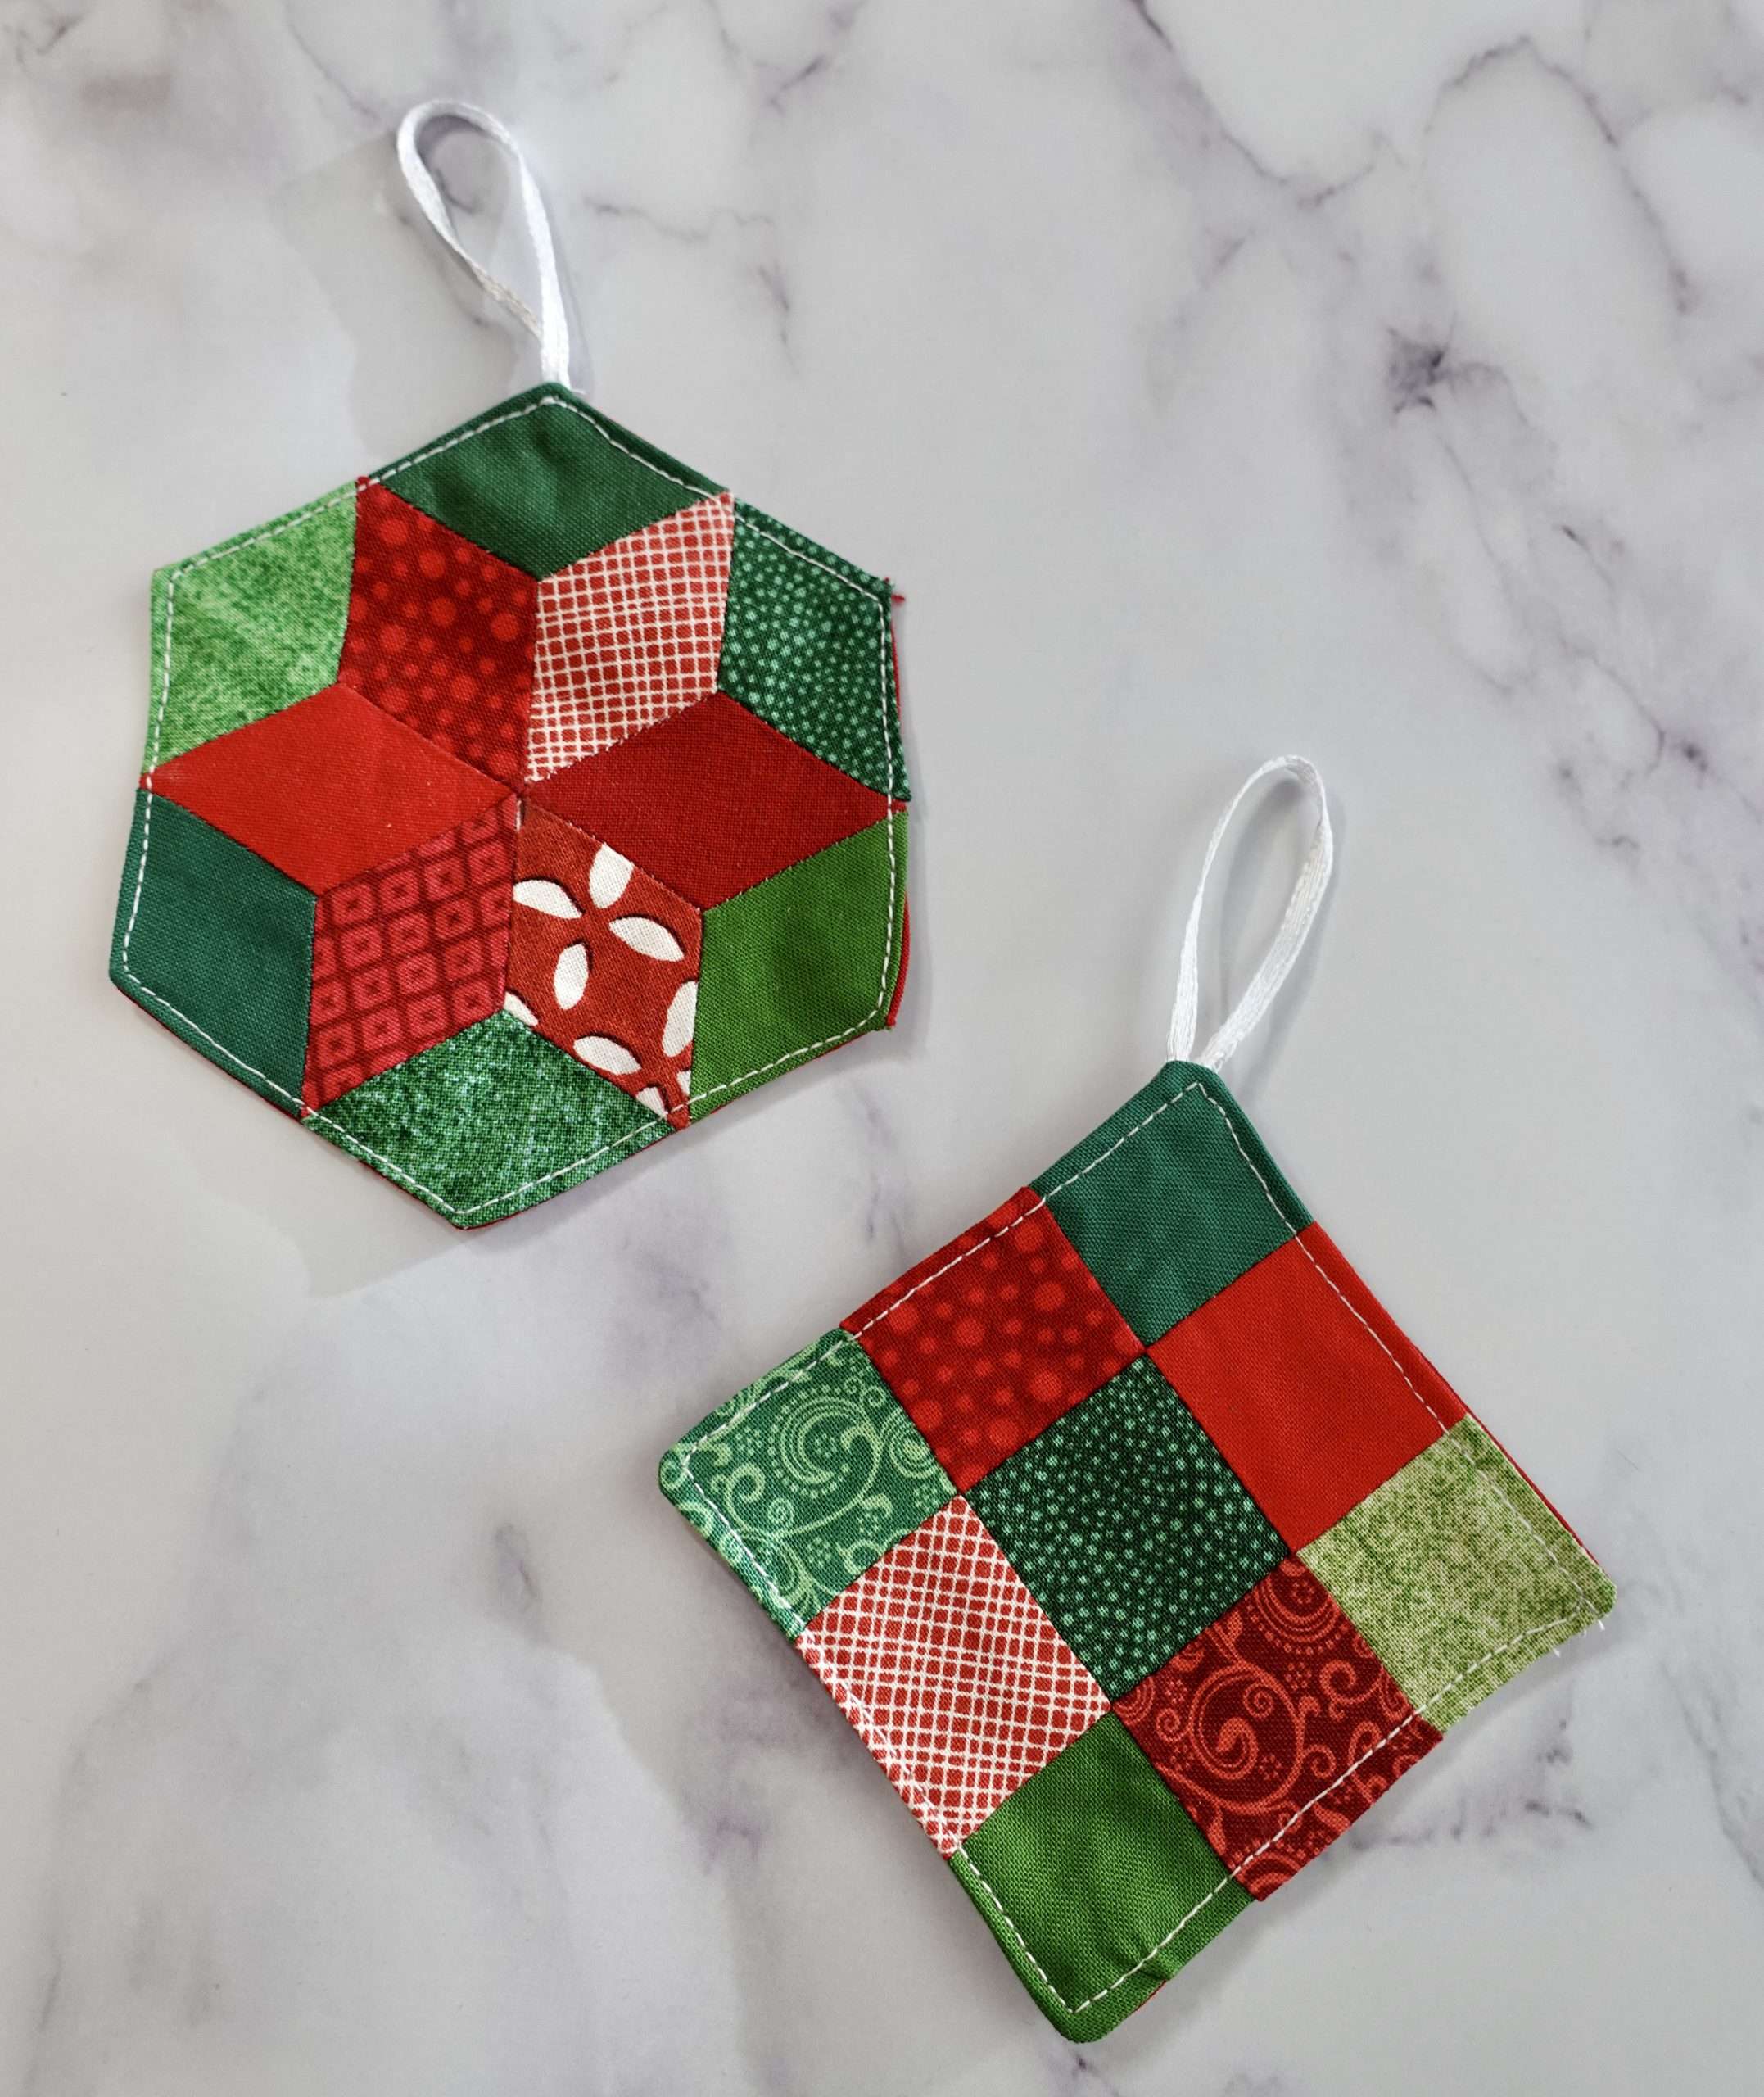
10. Bind it
Binding a quilt is often something people LOVE or HATE. I fall squarely on the LOVE side. Just like many of the other steps of quilting, there are of course many ways to bind a quilt! You can bind it completely with your sewing machine, or sew it on first on one side and then flip and hand stitch onto the other side. Check out these blog posts to learn how to bind a quilt:
11. Put a Quilt Label on it!
I could go on for days about my love of quilt labels! Quilt labels are the reason why I got an embroidery machine, because I adore how professional and lasting an embroidered quilt label is, but of course, you can also make it as simple as writing on the back of the quilt with a nice fabric marker. Do what suits you best, and check out this post for common things to put on your label and to learn exactly how I make mine.

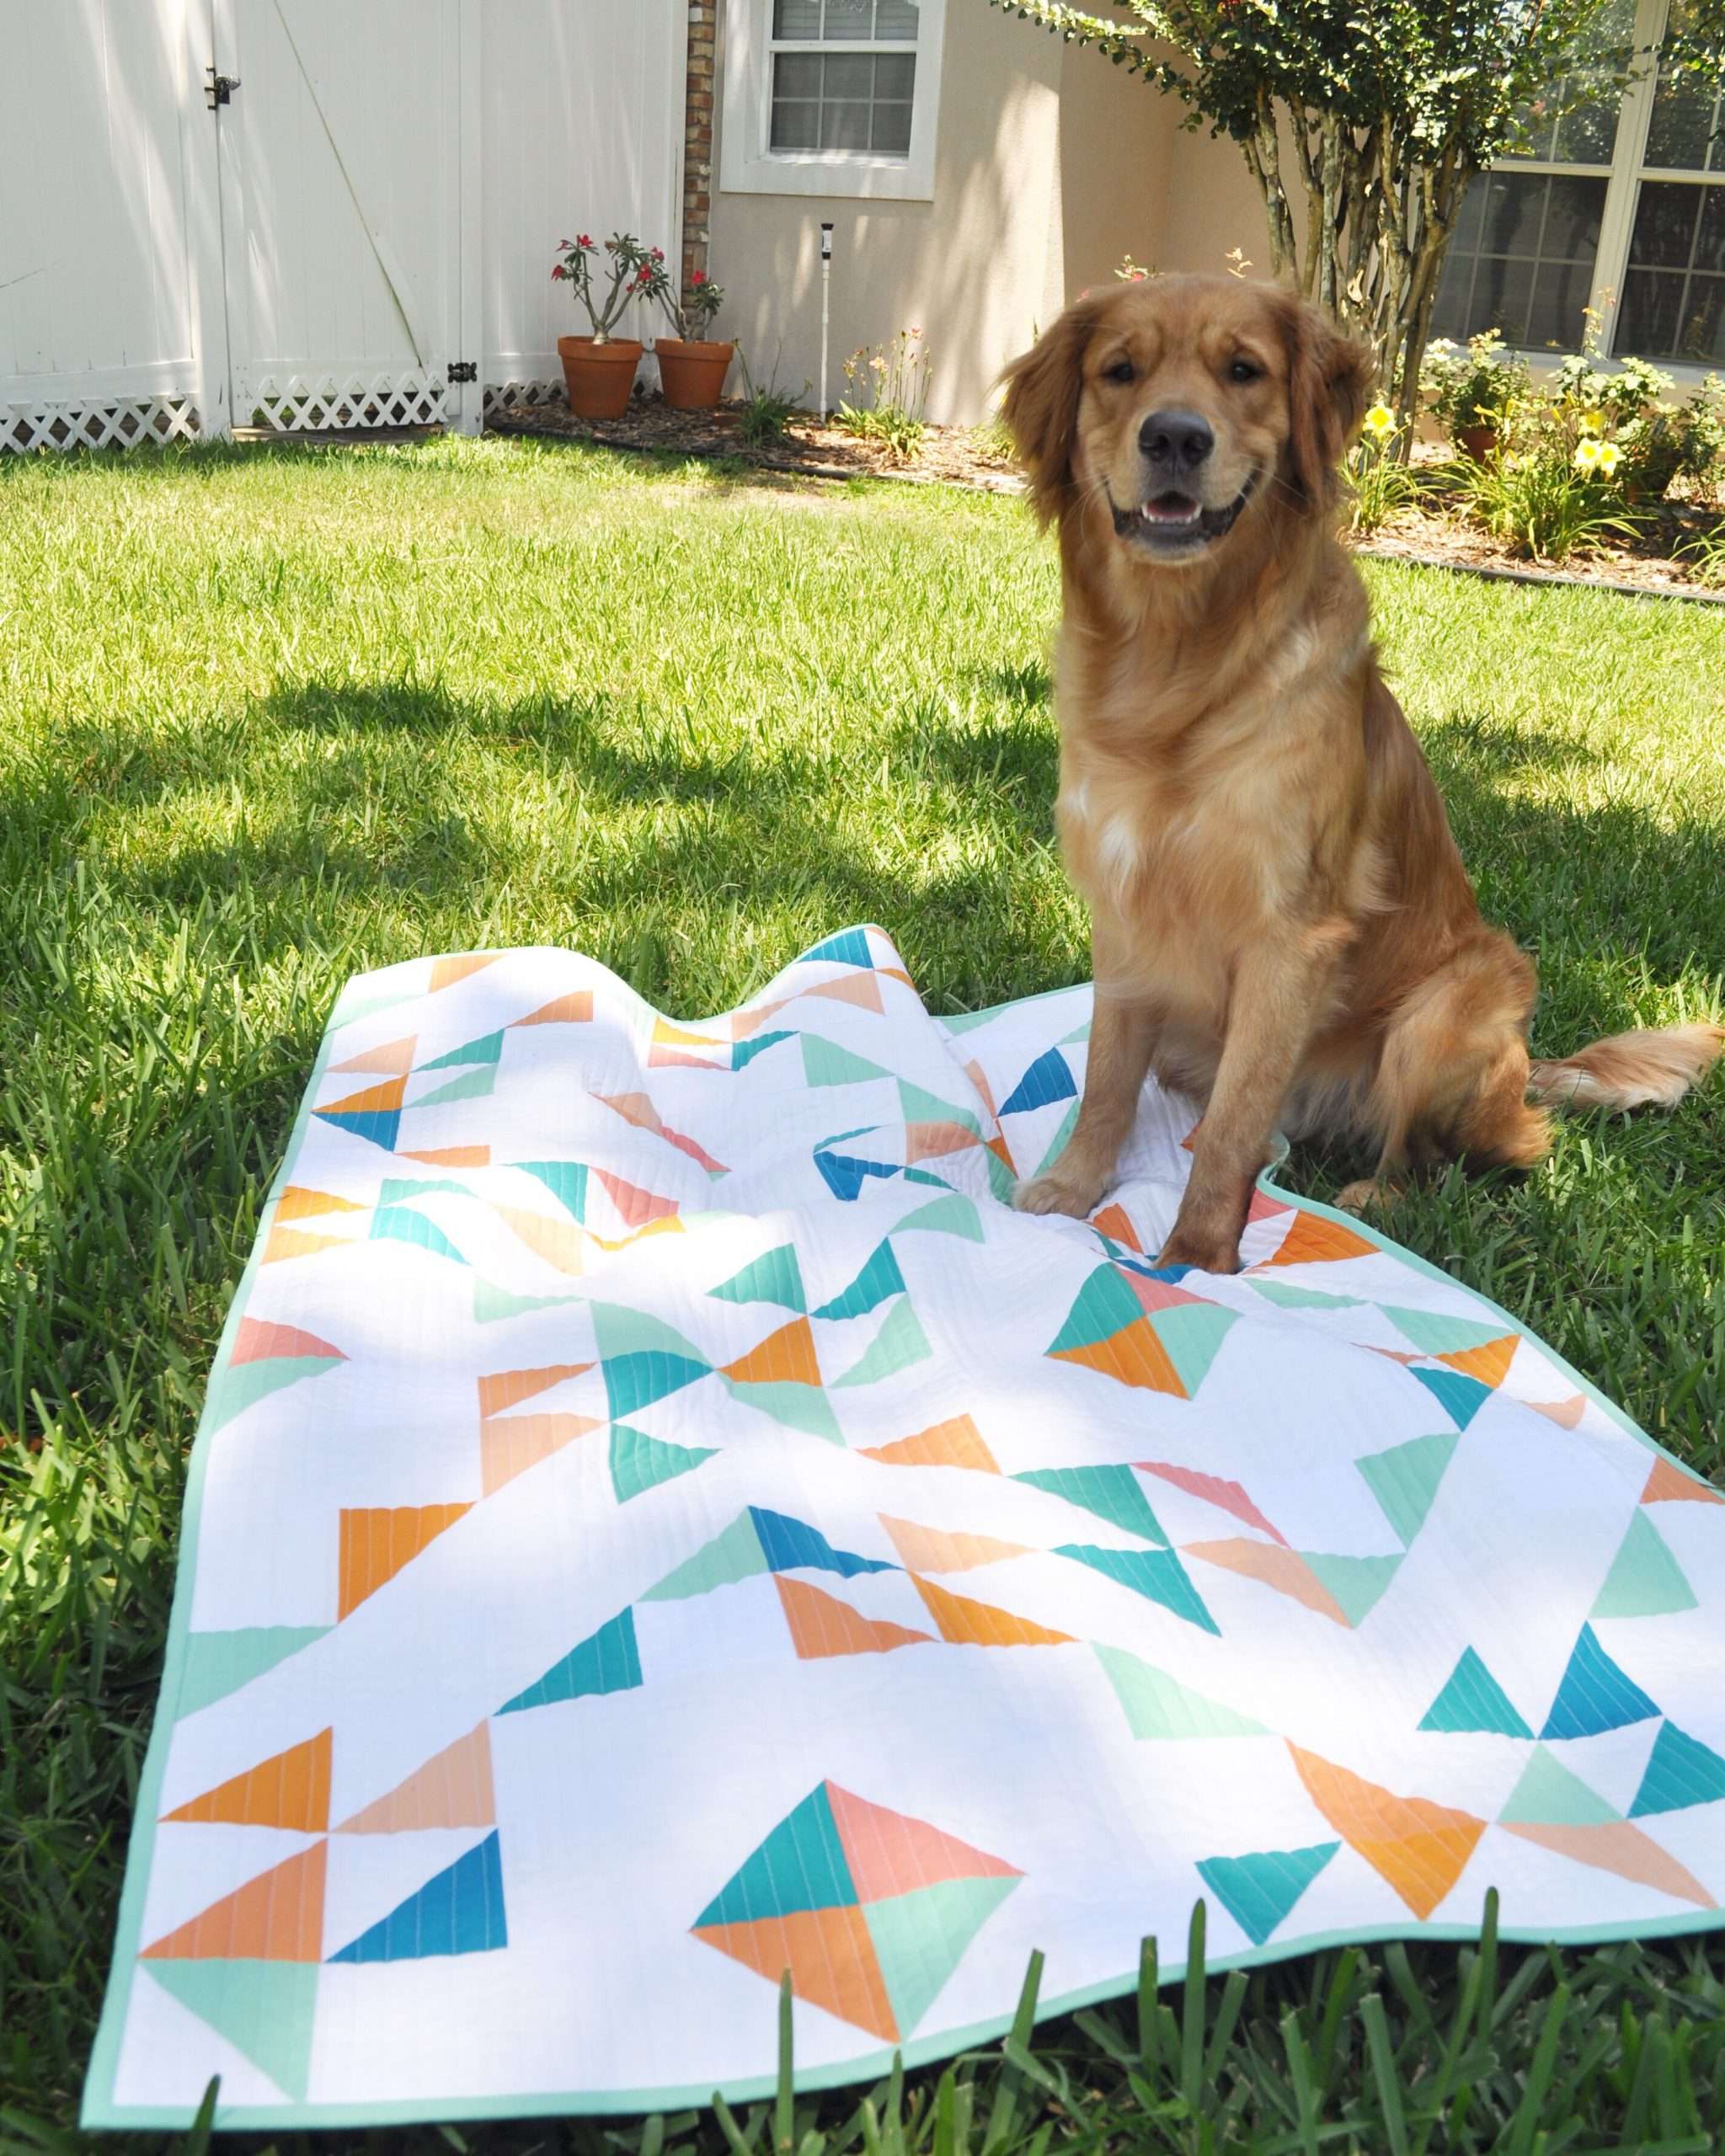
12. Wash and snuggle up!
This step might sound pretty easy, but if you decided not to prewash your fabrics, this can also be the scariest part! I have heard way too many horror stories about colors bleeding, so I am always sure to wash mine with a few Color Catchers. I prefer to wash on cold and tumble dry low.

My Favorite Quilting Resources:
As a millennial, you might imagine that I am all about web-based resources and you wouldn’t be wrong, but nothing quite compares to the amazing transfer of knowledge that can happen face-to-face with other quilters. Find your local quilt shop, quilting guild, or even a fellow someone wanting to learn with you. Community is key to success when it comes to creative works.
Constant Inspiration: Instagram and Pinterest! Its easy to get sucked into both of these apps but for good reason! Instagram is where you can go to find all the latest news in the quilting world, and Pinterest is great to bookmark techniques that you want to try! Be sure to follow me @homemadeemilyjane on both sites! On Instagram, you can also check out #homemadeemilyjane and #homemadeemilyjanepatterns
Facebook groups are an amazing way to build community and learn from other creative people! I am in a few and love the hive-mind mentality!
Youtube! I began creating and posting videos to YouTube not too long ago and already find that it can be so helpful for learning new skills or seeing how someone else does a particular step of the quilt-making process. Subscribe to my channel here.
Quilting Books can be super helpful for learning skills or even just getting a lot of quilt patterns. Here are some of my favorites: