How to Make a Perfect Half Square Triangle using AccuQuilt
I’ve been using my AccuQuilt fabric cutting machine for nearly a year now, and hands down, my favorite thing about it is how EASY it makes Half Square Triangle quilt blocks.
The ever-popular Half Square Triangle quilt block is also referred to as a HST and is one of the most versatile and iconic quilt blocks out there – used in a variety of both traditional and modern quilt designs.

In this article I will show you why I love HSTs as much as I do, and how to get them pretty darn close to perfect without ever needing to trim them! The main secret to my HST success is the AccuQuilt fabric cutting machine. The are tons of ways to make a good Half Square Triangle without using a fabric cutting machine, but using my AccuQuilt has cut the time involved drastically and I am so thrilled with the results!
If you want to see my AccuQuilt Half Square Triangle tips in action, watch this video:

My Half Square Triangle (HST) Quilt
The quilt shown here is Aglow by Modernly Morgan.
Aglow is a beautiful, wonderful pattern and is Fat Quarter friendly or even scrap friendly! I chose to do mine with yardage and did it using my AccuQuilt 8″ Qube to cut out all the Half Square Triangles (HSTs).
The fabrics I selected are all PBS Painter’s Palette Solids. Here are the colors I used:

What AccuQuilt Dies do I need for Perfect HSTs?
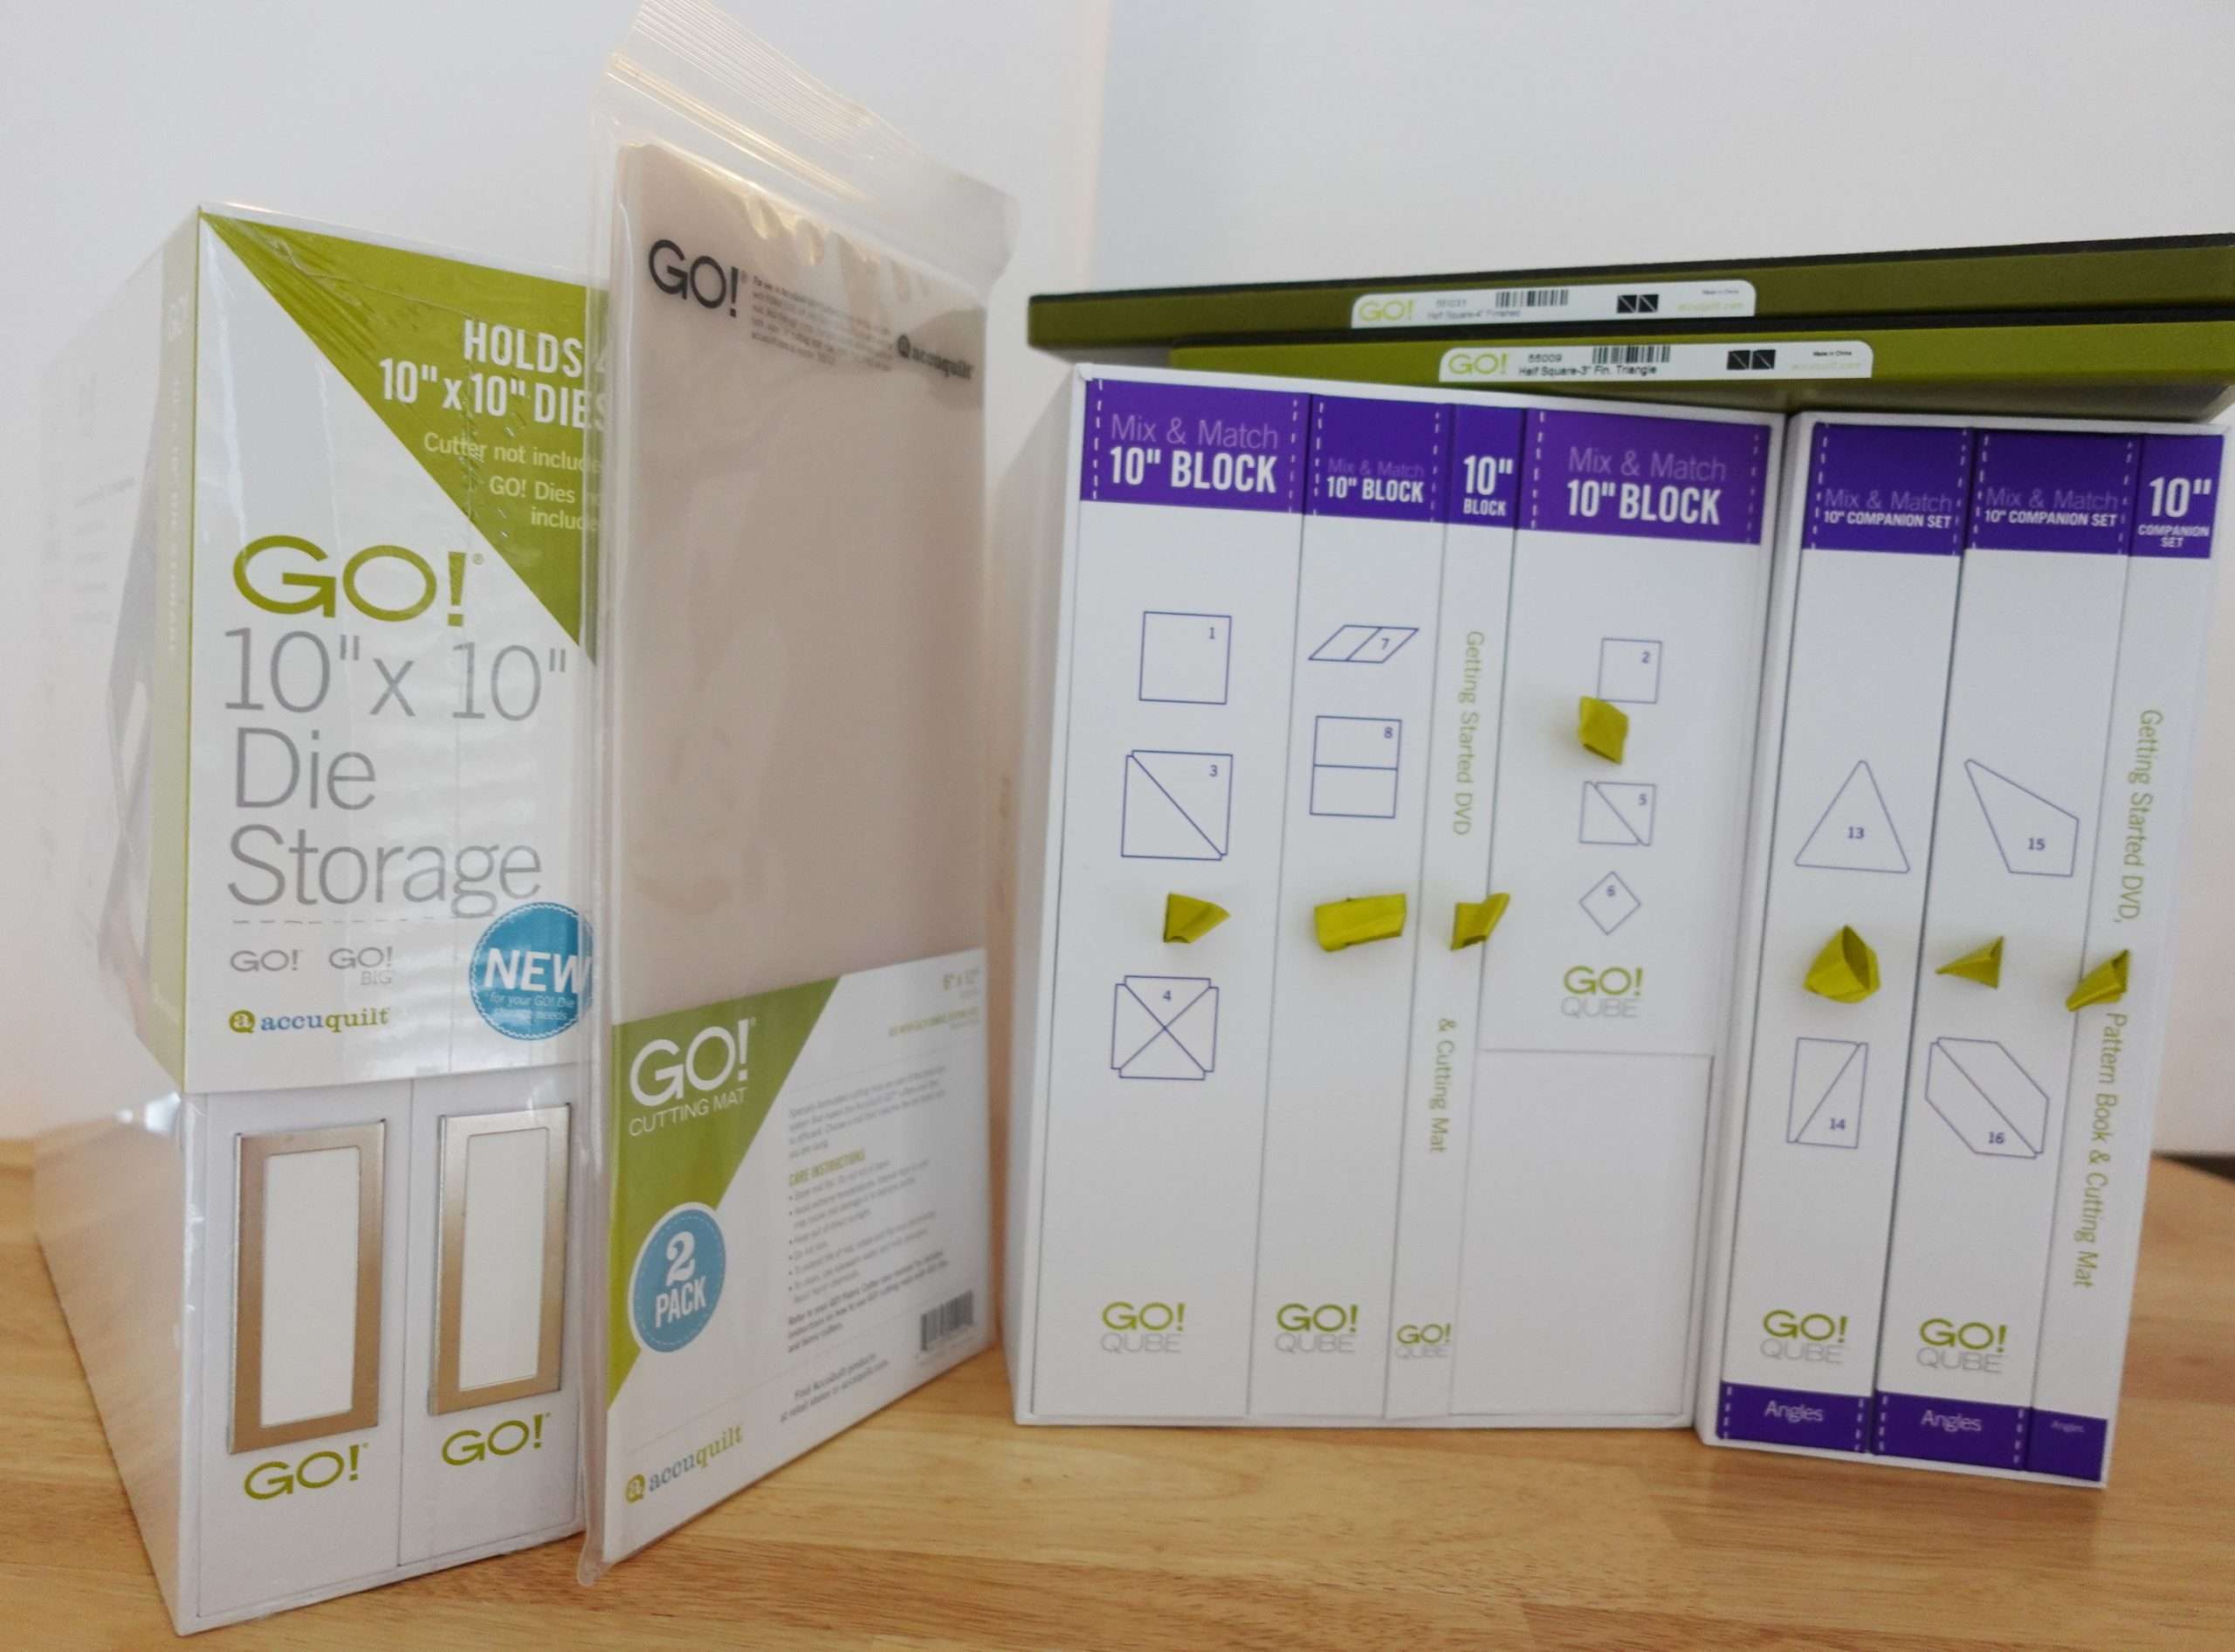
AccuQuilt has quite a few dies available to make Half Square Triangles. I personally used the dies that came with my GO! Qube Mix & Match 8″ Block, but it would have been an even quicker process if I used this one to cut 12 at a time.

You might consider checking out these different dies for HSTs:
- GO! Half Square Triangle-2 1/2″ Finished Square Die
- GO! Half Square Triangle-3″ Finished Square Die
- GO! Half Square Triangle-4″ Finished Square
- GO! Half Square Triangle-4 1/2″ Finished Square Die
- GO! Half Square Triangle-6″ Finished Square die
- GO! Half Square Triangle-8″ Finished Square Die

Tips and Tricks for using AccuQuilt on Half Square Triangles (HSTs)
The tips and tricks I share below are divided into three stage categories: cutting out the fabrics using AccuQuilt, sewing together your fabric pieces, and finally, pressing the HSTs into final quilt blocks.
Tips for Cutting out HSTs with your AccuQuilt
First off, I like to iron and starch my fabric with Best Press to make them nice and crisp before beginning to cut. I find this helps them not stretch later when sewing on the bias.
When cutting, make sure your fabric is on grain with the edges of the shapes, not with the edges of the dies. This means your fabric will be placed slanted on the die in order to line up the edges of the fabric parallel to the blades themselves. I like to make my “rough cuts” about a 1/2″ wider than the die shape itself so I have a little wiggle room for error while not wasting much fabric.

Tips for Sewing Together your HSTs
While AccuQuilt takes away any cutting errors that may happen when making HSTs, it does not alleviate any sewing errors. This means that sewing with accuracy is incredibly important if you’re like me and don’t plan on squaring them up later on down the road. (The no-trim life is the life for me)!

Be sure to use a “Leader” when sewing HSTS. A leader is simply a scrap of fabric that you run through the machine prior to sewing your triangles together. Do not snip your tread until the pieces are sewn. You’ll end up with a long chain of HSTs. Feeding the piece of fabric through your machine before the triangle helps keep the machine from eating your tiny corner and increases accuracy.
Another handy way you can help prevent your sewing machine from “eating” the tips of your triangle fabric is to use a Straight Stitch plate on your machine (if it has one). The smaller hole on the straight stitch hole makes it a little harder for the tips of your fabric to get pulled down into it.
If your fabric does get pulled down into the machine and won’t progress forward, you’ll want to stop sewing as soon as you notice a problem and gently take those stitches out. Then start again from the other end after using a leader first.
You can see how I trim the chained pieces in this quick video on Instagram.

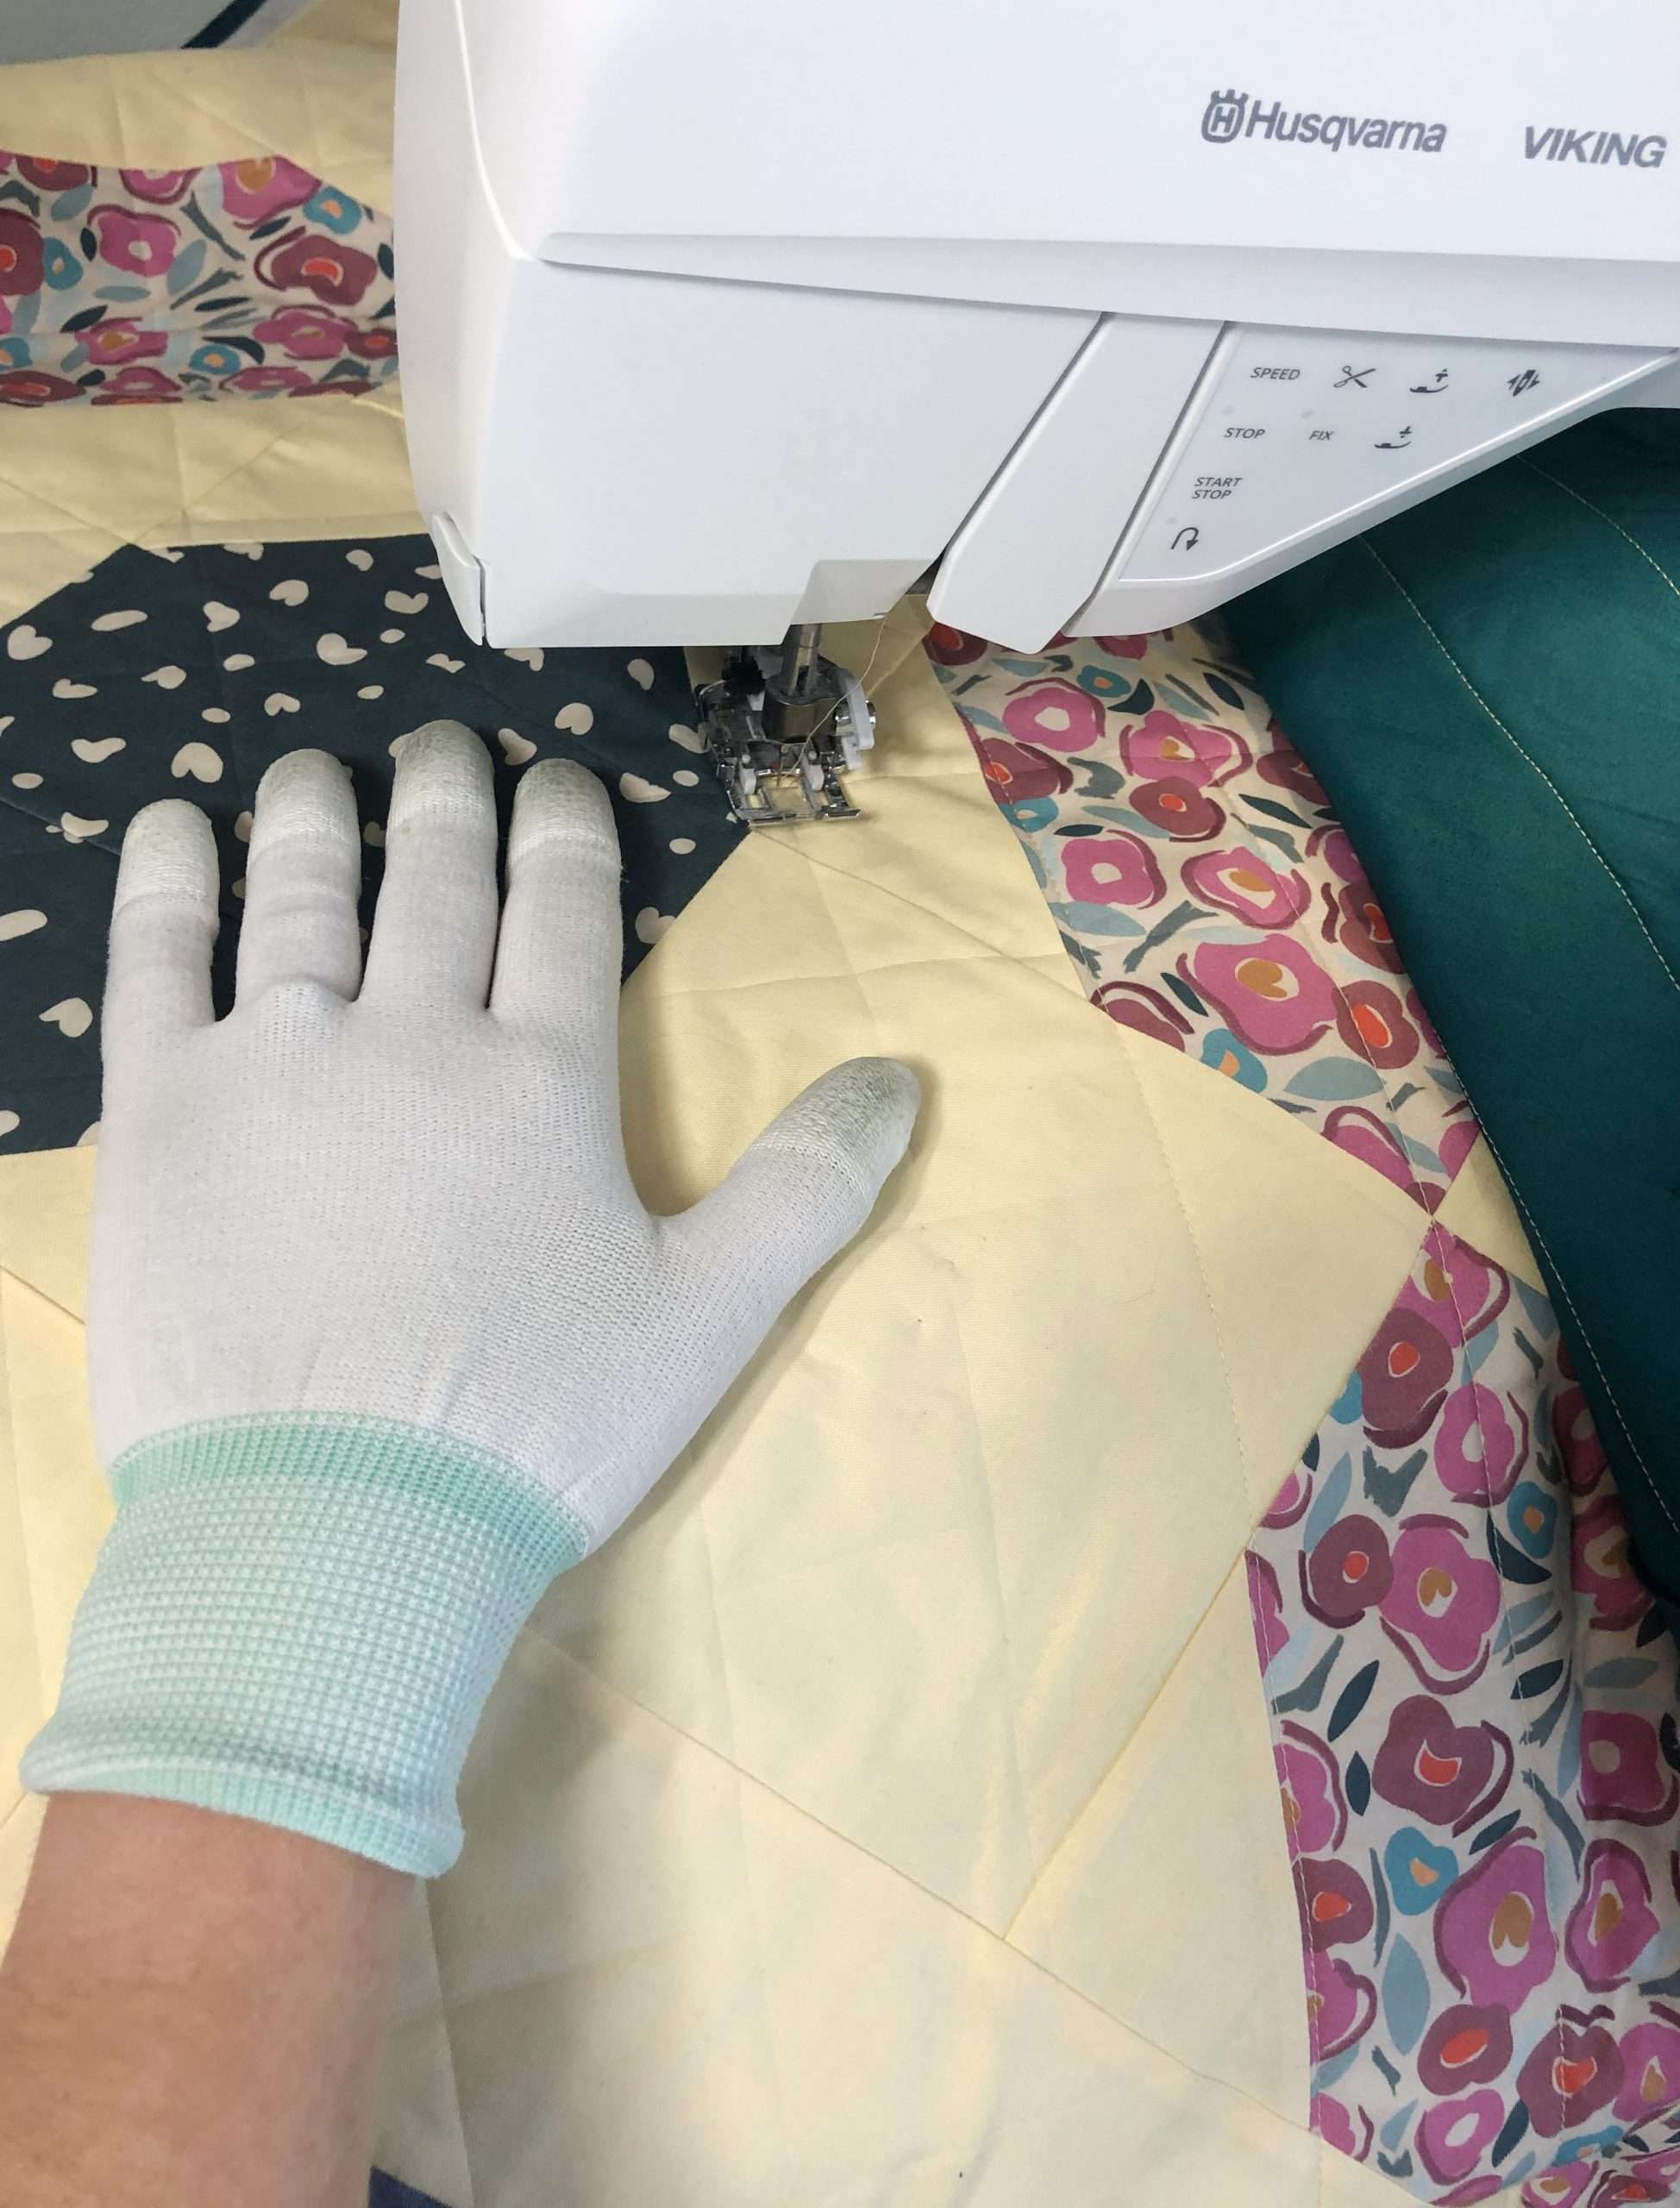
Another way to increase accuracy when sewing Half Square Triangles is to use a 1/4″ foot with a guide. If your sewing machine did not come with a guide, see if your local dealer has one or if you can find a universal one to fit your machine like this one.
When sewing your Half Square Triangles together, you’ll want to make sure your sewing machine needle is sharp and the right size for your fabric. When sewing regular quilting cotton I choose to use a size 80/12 like these.

Tips for Pressing Your HSTs
When pressing or ironing your HSTs, the first step is to “set your seam” which means pressing it flat before opening up the triangle. Next, gently open the triangle and press the seam to the dark side with your fingers, careful not to stretch the fabric. Press with a hot iron to make it crisp.
Once your Half Square Triangles are pressed flat they should be pretty darn close to perfect. You have the option now to trim them to get them exact, or if you hate trimming, you can be like me and forgo that step altogether! I find that if you invest more time ensuring accurate piecing while sewing you can save a lot of time by not needing to trim, but of course it’s a personal decision and you can do whatever feels the best for you.
Next Steps for a Half Square Triangle Quilt
After your HSTs are complete, you can start sewing them together to finish your quilt top. I would suggest making one test block first just to be sure things are aligning the way you want them to.
Good luck with completing your Half Square Triangle quilt! I hope you find them as easy and fun as I do!
Never miss a post! Be sure to subscribe to the newsletter and follow @homemadeemilyjane on Instagram.

Want more project inspiration? Here are a few popular posts:
