Modern Mini Quilts: The Ultimate Pillow/Wall-Hanging Duo

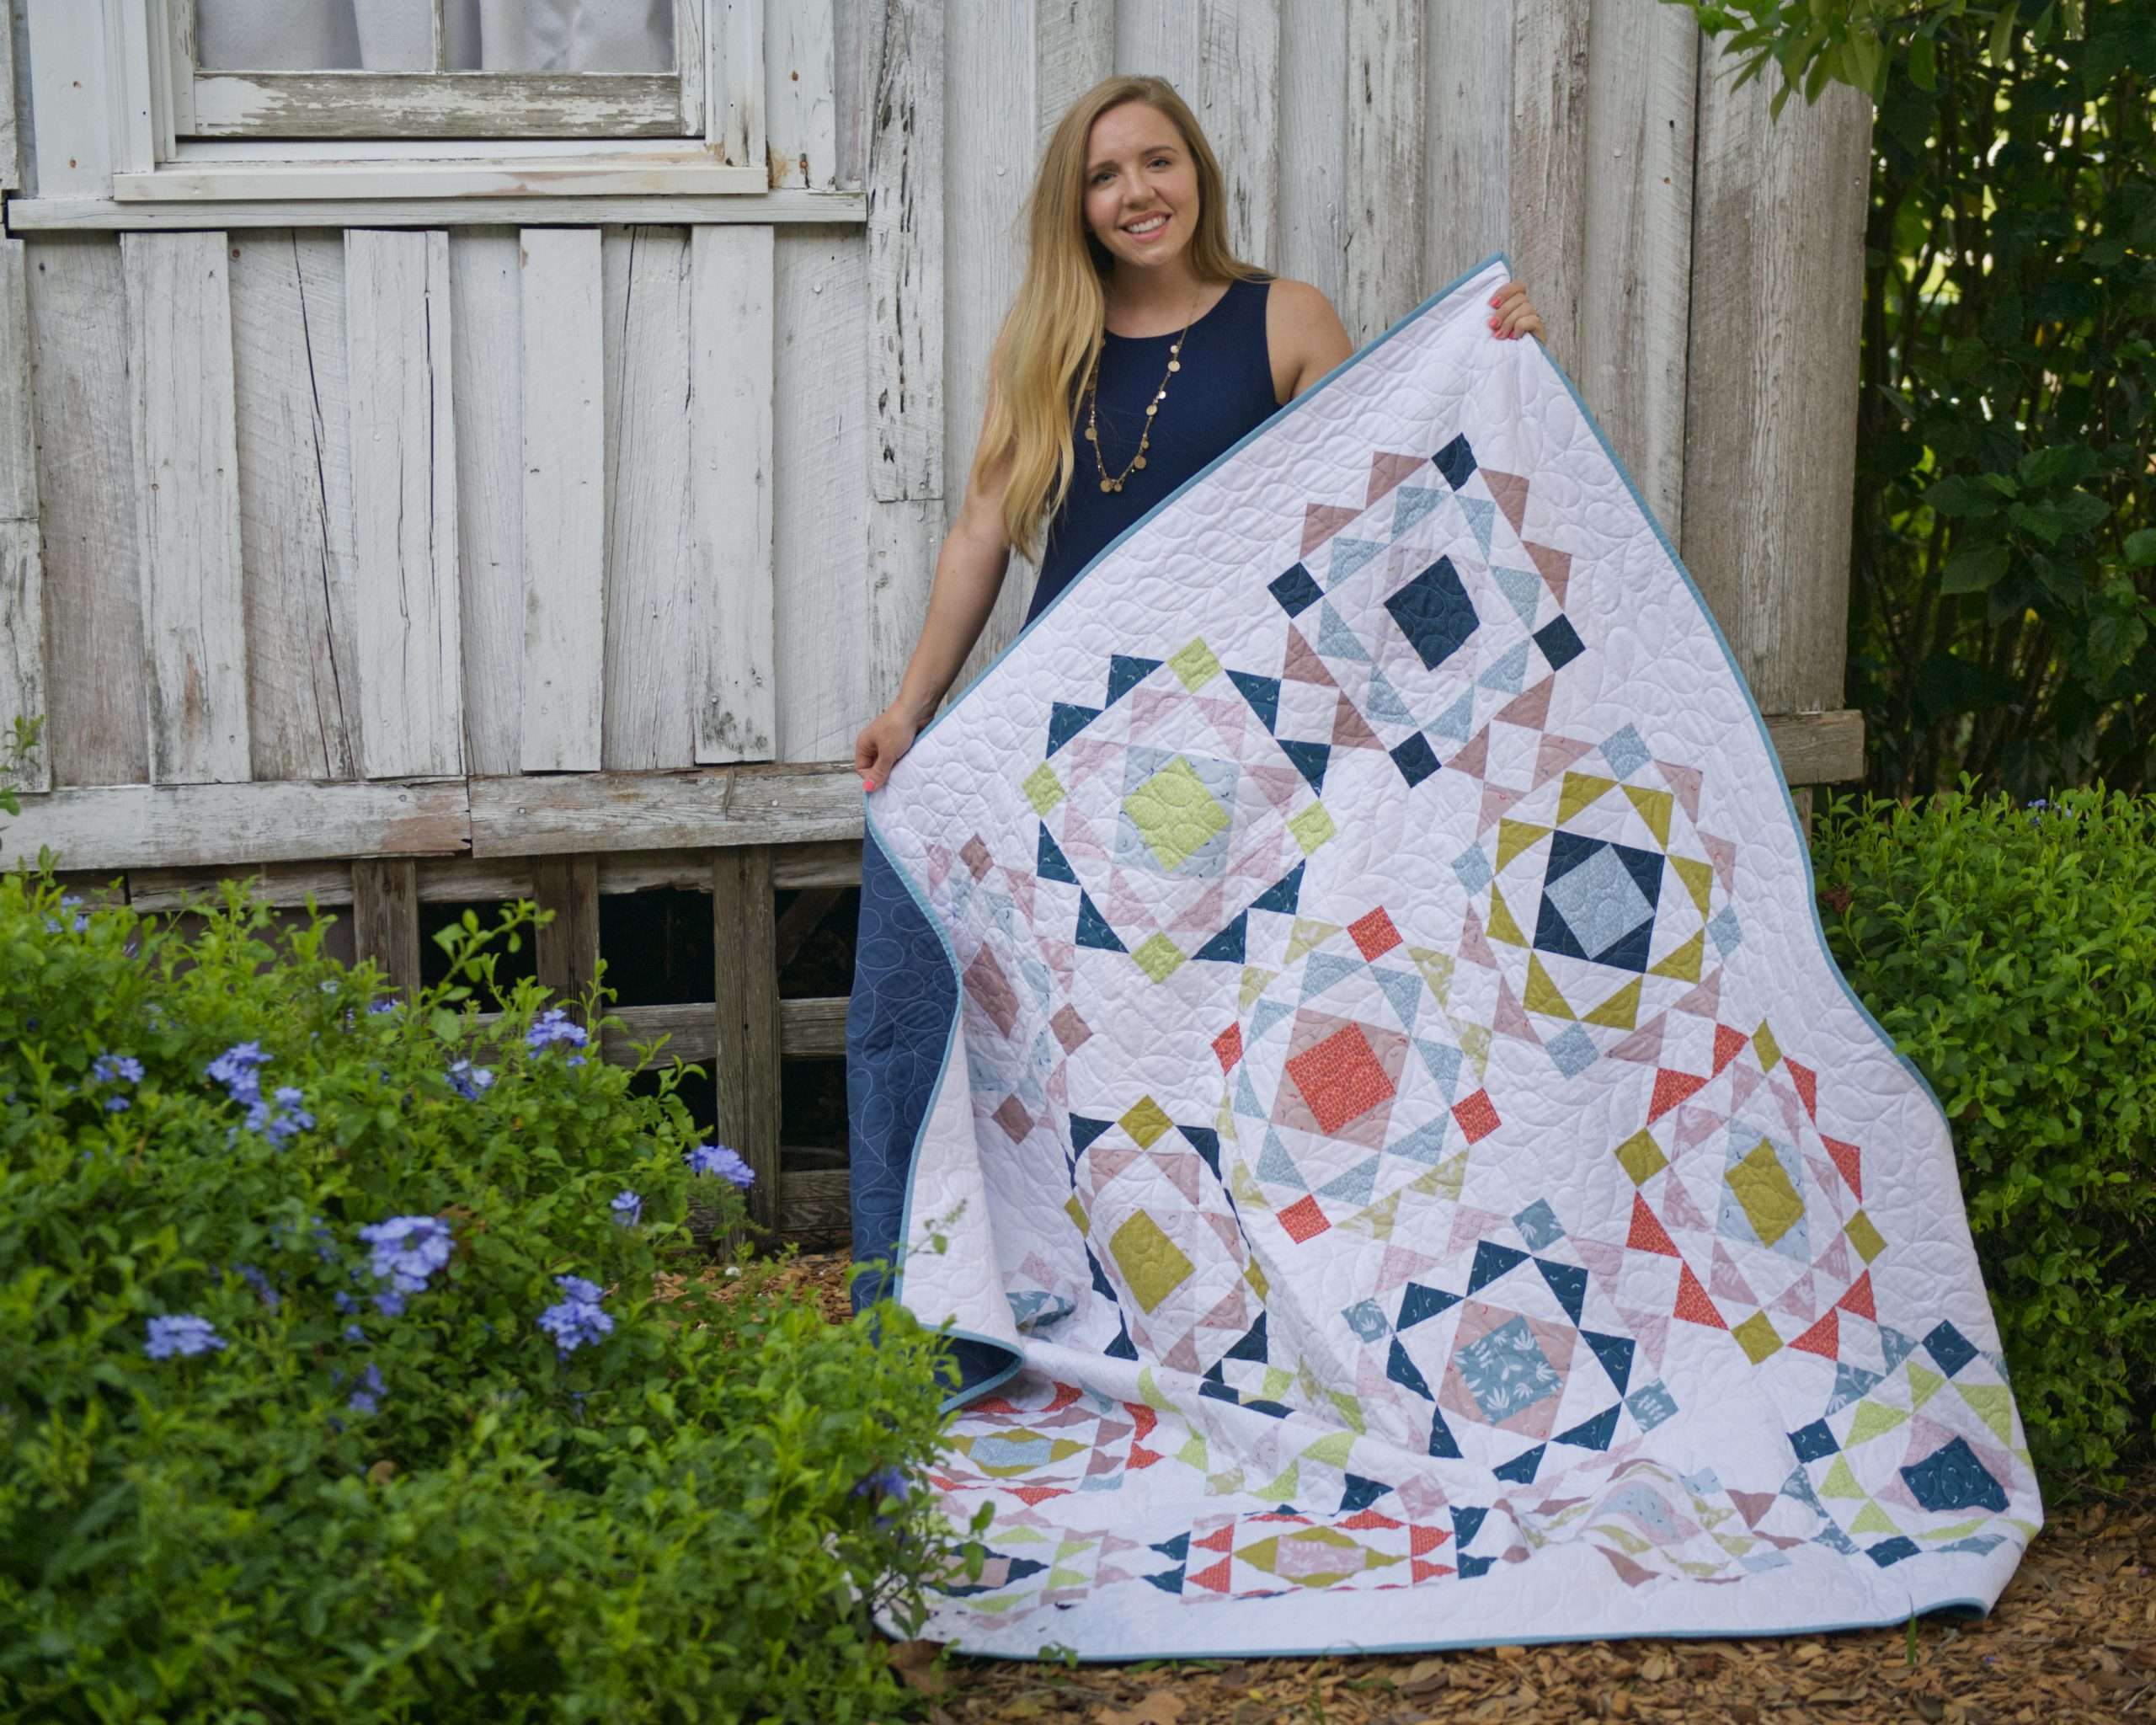
Have you ever made a mini quilt and then not been able to decide if you want it to be a pillow or a wall hanging? I have the perfect solution! In this post I am going to walk you through exactly all the steps I took to make this mini quilt, and how I made it into BOTH a pillow cover AND a wall hanging – so it is officially the most versatile mini quilt I own.

Materials Needed:
- 4 – 8.5″ unfinished blocks
- 10 – 1.5″ x 8.5″ pieces of sashing fabric
- 9 – 1.5″ square pieces of cornerstone fabric
- 22″ x 22″ batting
- 22 ” x 22″ muslin for back (not seen in the final pillow/wall hanging)
- 2 – 12 x 19.5″ fabrics for the pillow back
- 2.25″ strips for binding (at least 80″ long once sewn together)
- Pillow Insert (optional)
- Thread of your choosing

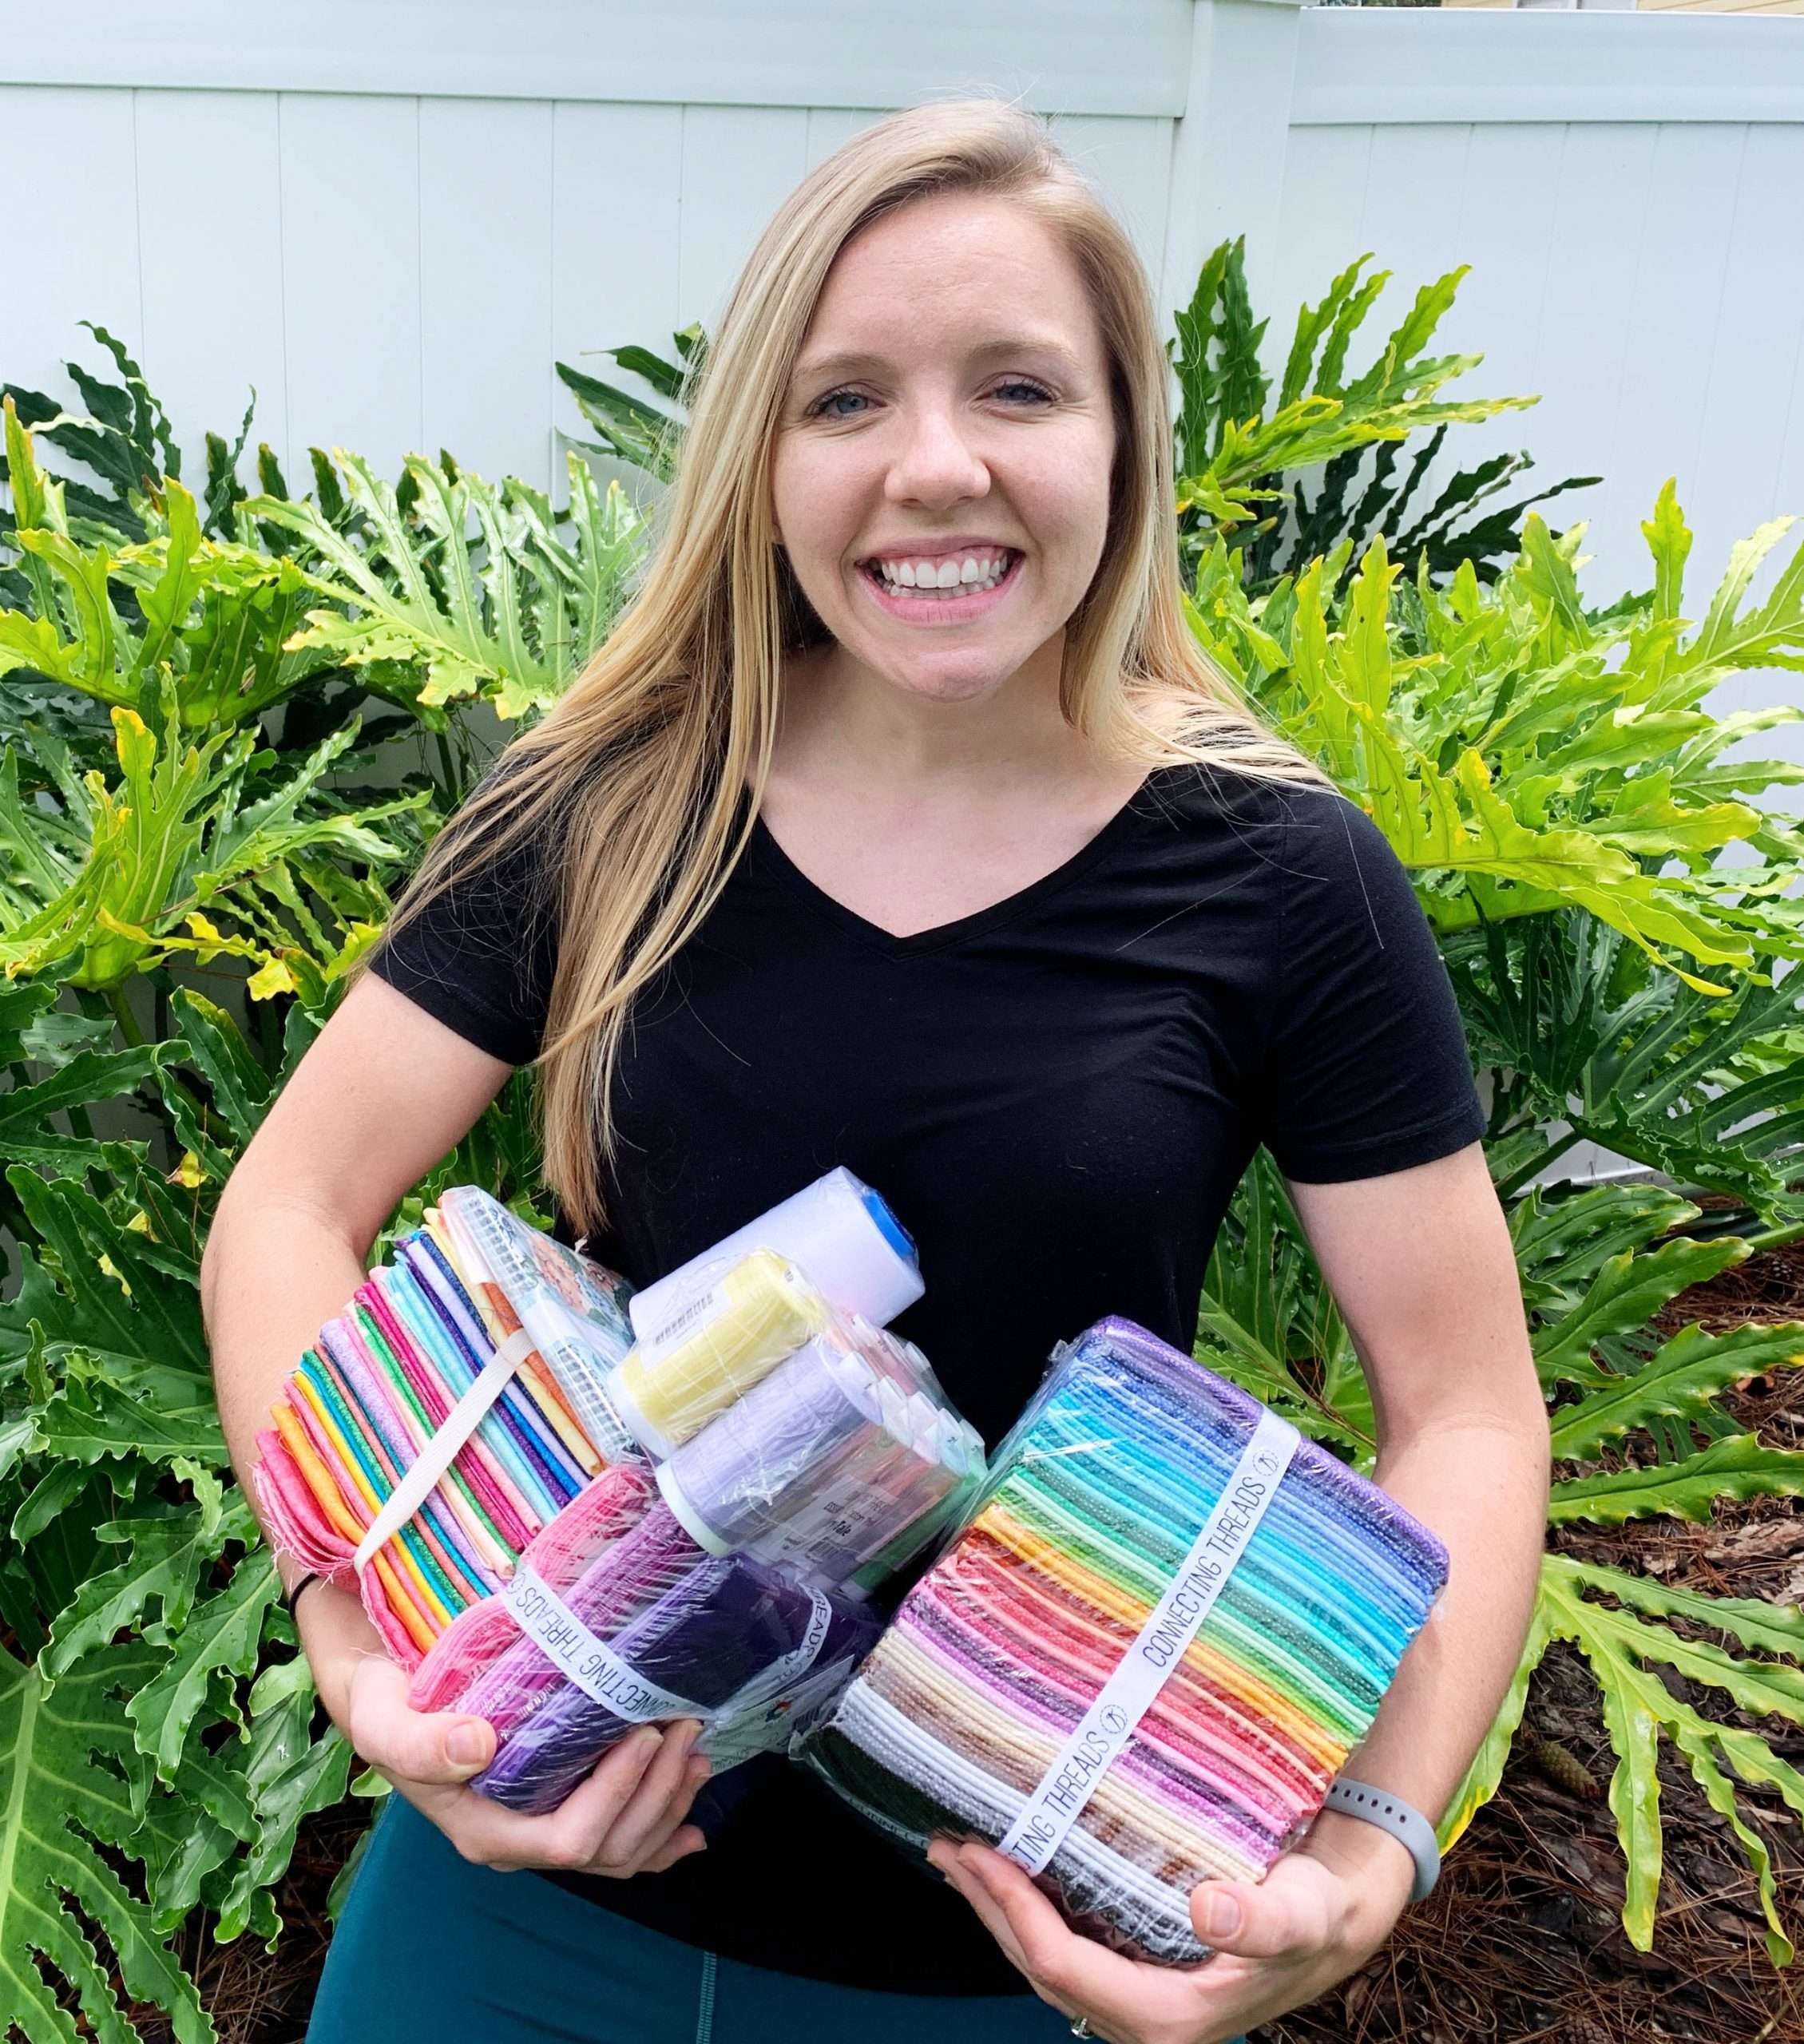
First off, let’s go back to the basics and learn how to make the blocks for our mini quilt. I used my AccuQuilt GO! fabric cutter and my 8″ GO! Qube. If you need a refresher on what the heck an AccuQuilt GO! is, then click this link and read my initial review about my very first time using it! I also have compiled a bunch of AccuQuilt Frequently Asked Questions and answer them in this article.
The 8″ GO! Qube creates hundreds of different block variations that all finish at 8″ (8.5″ unfinished, because seam allowance!). I chose to do the Diamond Star pattern, but you could literally use ANY 8″ finished square block design for this project!

The Diamond Star pattern comes free with the 8″ Qube and uses 4 of the different Dies from the Qube. I decided to make 4 blocks for my mini quilt, so each pass through the machine cut all 4 out at one time. SUCH A TIME SAVER!

My absolute favorite part of using the AccuQuilt GO! was that the dog ears for the flying geese get pre-trimmed and the blocks are SO precise, there is no need to square them up after piecing! (Another great time saver, and since squaring up blocks is the literal worst, I am one happy camper!)

Once you have cut your fabrics and sewn together your 4 blocks, it is time to determine the sashing and borders. If you are using your AccuQuilt, use Strip Cutter-1 1/2″ (1″ Finished) and cut them down to 8.5″ long since that is the size of each unfinished block. You can also use 1/2″ square (1″ Finished) to cut the cornerstone pieces. (Your version can forego the cornerstones altogether if you wish, remember, it’s your quilt, you write the rules here.)

If you are going to do the cornerstones, and do them scrappy like I did, I suggest laying out all your pieces before sewing your sashing/borders together so you can determine where you want to place each fabric. You can also just choose one color for all the cornerstones; I think that would look super classy!

After you sew all your sashing pieces and blocks together, you should finish with a 19.5″ square mini quilt. Gather your batting and muslin for the back (literally ANY cotton fabric will do – you won’t see it later) and get to quiltin’ your heart out!

I highly suggest using a technique for quilting that you’ve never tried before. I did some Baptist Fans because I think they look awesome, but I haven’t had the guts yet to try it on a big project. A mini quilt has much less risk, so GO BIG or GO HOME with your quilting on this project! If you want to quilt big stitch Baptist Fans like I did, head to Patchwork & Poodles for her amazing tutorial. You can also try matchstick quilting with your walking foot or Free Motion Quilting if you’ve never done that before!

If you want your mini quilt to be a wall hanging/pillow cover combo, you will need 2 pieces of back fabric that are each 19.5″ long by 12″ wide. On one long edge of each of these two fabrics, fold the edge 1/4 inch over twice and press – a pressing mat like this one is super helpful to get nice, crisp edges! Top stitch the edge so it looks nice & pretty. Bonus points if you use a cute decorative stitch to jazz it up!

Line up the raw edges of one of the back pieces with the top of your mini quilt, wrong sides together, and the other back piece along the bottom edges of your mini quilt. You should have a few inches of overlap between the two back pieces, where you can squeeze a pillow in and out of there! Sew around all 4 edges of your mini quilt to attach the back to the front.


Bind with your preferred method! I normally stitch it on one side by machine with my walking foot and then flip over and hand stitch the back. You can choose to put a pillow form into the opening, or to leave it as a wall hanging! Beau chose the pillow option for me!

The final step in making your mini quilt wall hanging pillow is to take some killer photos of your finished masterpiece, because I am sure it looks amazing! Send them to me and post all over instagram so we can all oooh and aaahhh!! Use hashtags #homemadeemilyjane and #accuquilt

Want more project inspiration? Check out these popular posts:
- Everything You Need to Know About AccuQuilt
- How to Make Customized Baby Gifts
- Using AccuQuilt for Designer Quilt Patterns
- Quilter’s Spray Baste Comparison
- Quilted Graduation Cap


