Paradigm Quilted Tote Bag Tutorial (Free Sewing Tutorial)
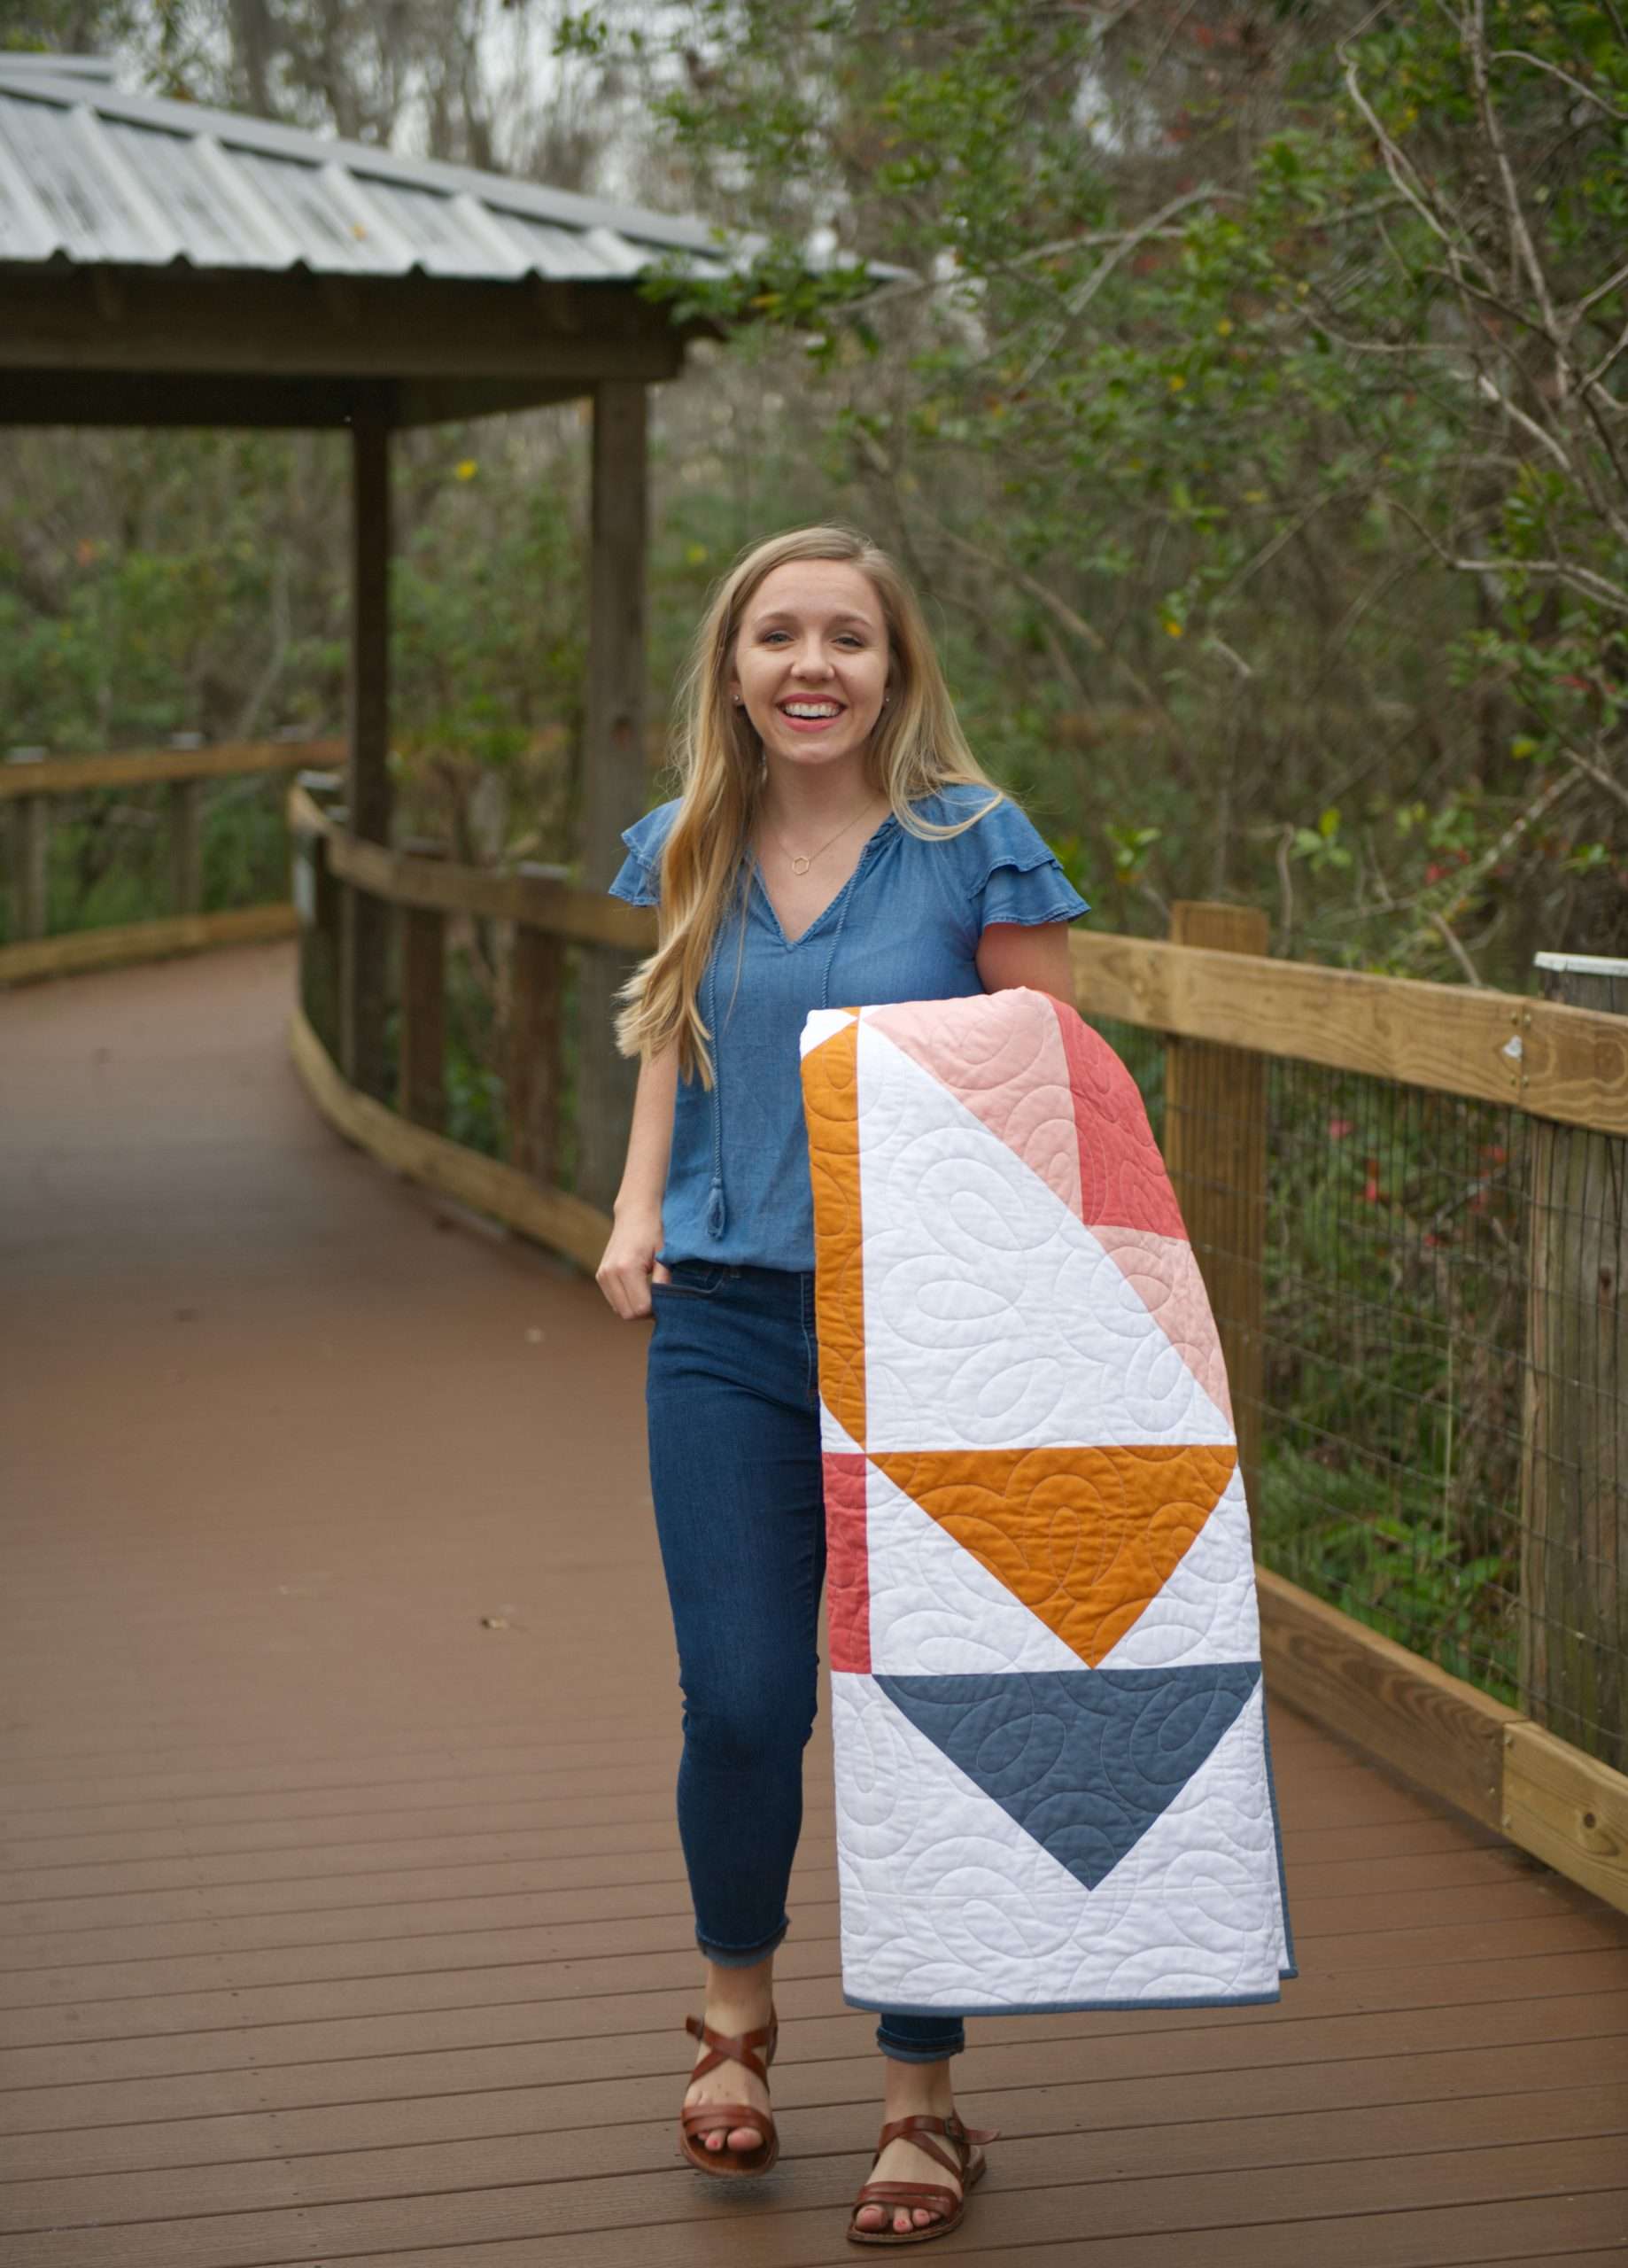
If you’ve ever wanted to turn a mini quilt into a tote bag, this easy & free quilted tote bag tutorial is for you! I recently made 2 Pillow-size Paradigm mini quilts and stitched them together into this cute & functional bag. A tote bag like the one in this tutorial is perfect for summer trips to the pool or beach. Or, you can use it as a cute way to bring your groceries home from the store!
This free Quilted Tote Bag Tutorial is perfect for sewists of any skill level, and particularly great for a beginner quilter who wants to start off with a smaller project to learn new techniques! I particularly enjoy how great it is as a way to use up scraps for the piecing of the quilt block too!
Free Quilted Tote Bag Tutorial
Watch this free quilted tote bag video tutorial, or scroll down below to see the instructions written out!
Ashley from @whalingcityquiltco first made the Pillow size Paradigm quilt while testing the pattern and she turned hers into the most adorable tote bag! So, of course, I had to make one too! I want to give a HUGE note of thanks to her for her help making this tutorial happen!

Getting Started by Gathering your Sewing Supplies
The supplies listed below are for making your quilted tote bag from a Paradigm mini quilt, but you can absolutely use any other mini quilt you choose! The Paradigm mini quilt comes to 20.5″ before sewing together, so adjust your own mini quilt accordingly.
To make a quilted tote from the Paradigm mini quilt, you will need:
- 2 Pillow size Paradigm Quilt Tops (or your favorite mini quilt!)
- Batting: 2 pieces, each at least 4″ bigger than your quilt top
- Fabric for lining: 2 pieces that are the same size as your mini quilt
- Fabric for Straps: 2 pieces of 4 1/2″ x 30″
- Batting for straps: 2 pieces each 1 3/4″ x 30″

The fabrics I use here are all Riley Blake Confetti Cottons:
- Songbird (background & straps)
- Alpine
- Bear Lake
- Peaches N Cream
- Lipstick
- Blossom Peaches n Cream (for lining)

Make Your Mini Quilts
First, start off by piecing your quilt tops as shown in the pattern. You can grab your own Paradigm Quilt Pattern here. I made 2 identical Pillow size quilt tops, to use one on each side of the bag. You can choose to make 2 different Pillow size quilt tops, or maybe even just piece one quilt top and do one large piece of fabric on the opposite side. You can use any mini quilt pattern you choose!
The next step is to quilt your quilt tops to batting. You don’t need to make a complete quilt sandwich with backing fabric, as the lining will cover up the batting! So just layer your quilt top to some batting and quilt however you prefer.
I chose to quilt mine with simple straight lines that were each about 1″ apart. If you want all my tips for quilting like this, check out 3 Quilting Hacks for Sewing Straight Lines.

Constructing the Straps
Next up we will make the straps! I use 2 pieces of 4.5″ x 30″ fabric and 2 pieces of 1.75″ x 30″ batting. Watch the video above to watch these steps in action.
Begin by folding one edge on each fabric piece under 1/4″ and pressing. I found that using a Clover hot ruler was particularly helpful for this step!


Next, lay the thin batting piece down the middle of the fabric, about 3/4″ away from the raw edge, and fold the raw edge side over the batting. Then fold the folded-over side on top. Stitch to completely enclose the batting. Add additional lines of stitching to reinforce the straps.
Once you have your 2 mini quilts quilted & trimmed, your lining fabrics cut to size, and your straps ready to go, let’s start sewing them together into a tote bag!


Constructing the Quilted Tote Bag Tutorial
The next step is to lay your quilted outer layers with right sides together and pin. Using a 1/2″ seam allowance, stitch around the both sides and the bottom, but leave the top open. Press your seams open. Repeat the same process for your lining fabrics, but leave a 6″ opening in the side or bottom of your lining fabric. You will use this opening later on to turn the bag right-side-out.
Make a Boxy Bottom for your Tote Bag
If you want the bottom of your tote bag to have a boxy bottom, you can make that happen in this step! Or, you can skip this step for a more 2-Dimensional bag.


Lay your quilted outer layer piece flat and cut a 2.5″ square chunk out of the 2 bottom corners. (You can cut out a larger square if you want your tote bag to have a larger base, or a smaller square for a smaller base!) Check out this article for a really great explanation of how adjusting the size of your corner cuts impacts your tote bag.


After cutting, you can pinch the seams towards each other to create the boxy bottom. Line the seam allowances up in the center and pin, then stitch using a 1/2″ seam, reinforcing by backstitching at the beginning and end of the seam. Repeat this process for your lining piece.
Turn the outer tote bag piece right side out for the next step, but keep the lining inside out.

Sewing the Tote Bag Straps into your Quilted Tote Bag
First, turn your outer tote bag piece so the right side is out. Line up the straps with the top of the bag, right sides together and raw edges together. Pin in place, then adjust the length of the straps as desired. You will likely want to shorten them at least a couple inches. Trim the straps and then pin back in place. Baste using a 1/4″ seam allowance and remove the pins.


Stitching the Tote Bag Together
Now comes the fun part! We’ll take our lining, wrong side out, and place the outer quilted piece inside the lining, so that the right side of the outer tote bag is touching the right side of the lining piece. Match both side seams together and pin, then pin all the way around the top of the tote bag. Stitch all around using a 1/2″ seam allowance.


Last Steps for the Tote Bag Tutorial
Using the hole in the lining fabric, turn the whole tote bag right side out! Then, Stitch the hole in the lining closed to seal off the opening. Finish your bag by top stitching about a 1/4″ away from the top of the bag.


