Tips & Tricks for Crocheting Your Own Sweater
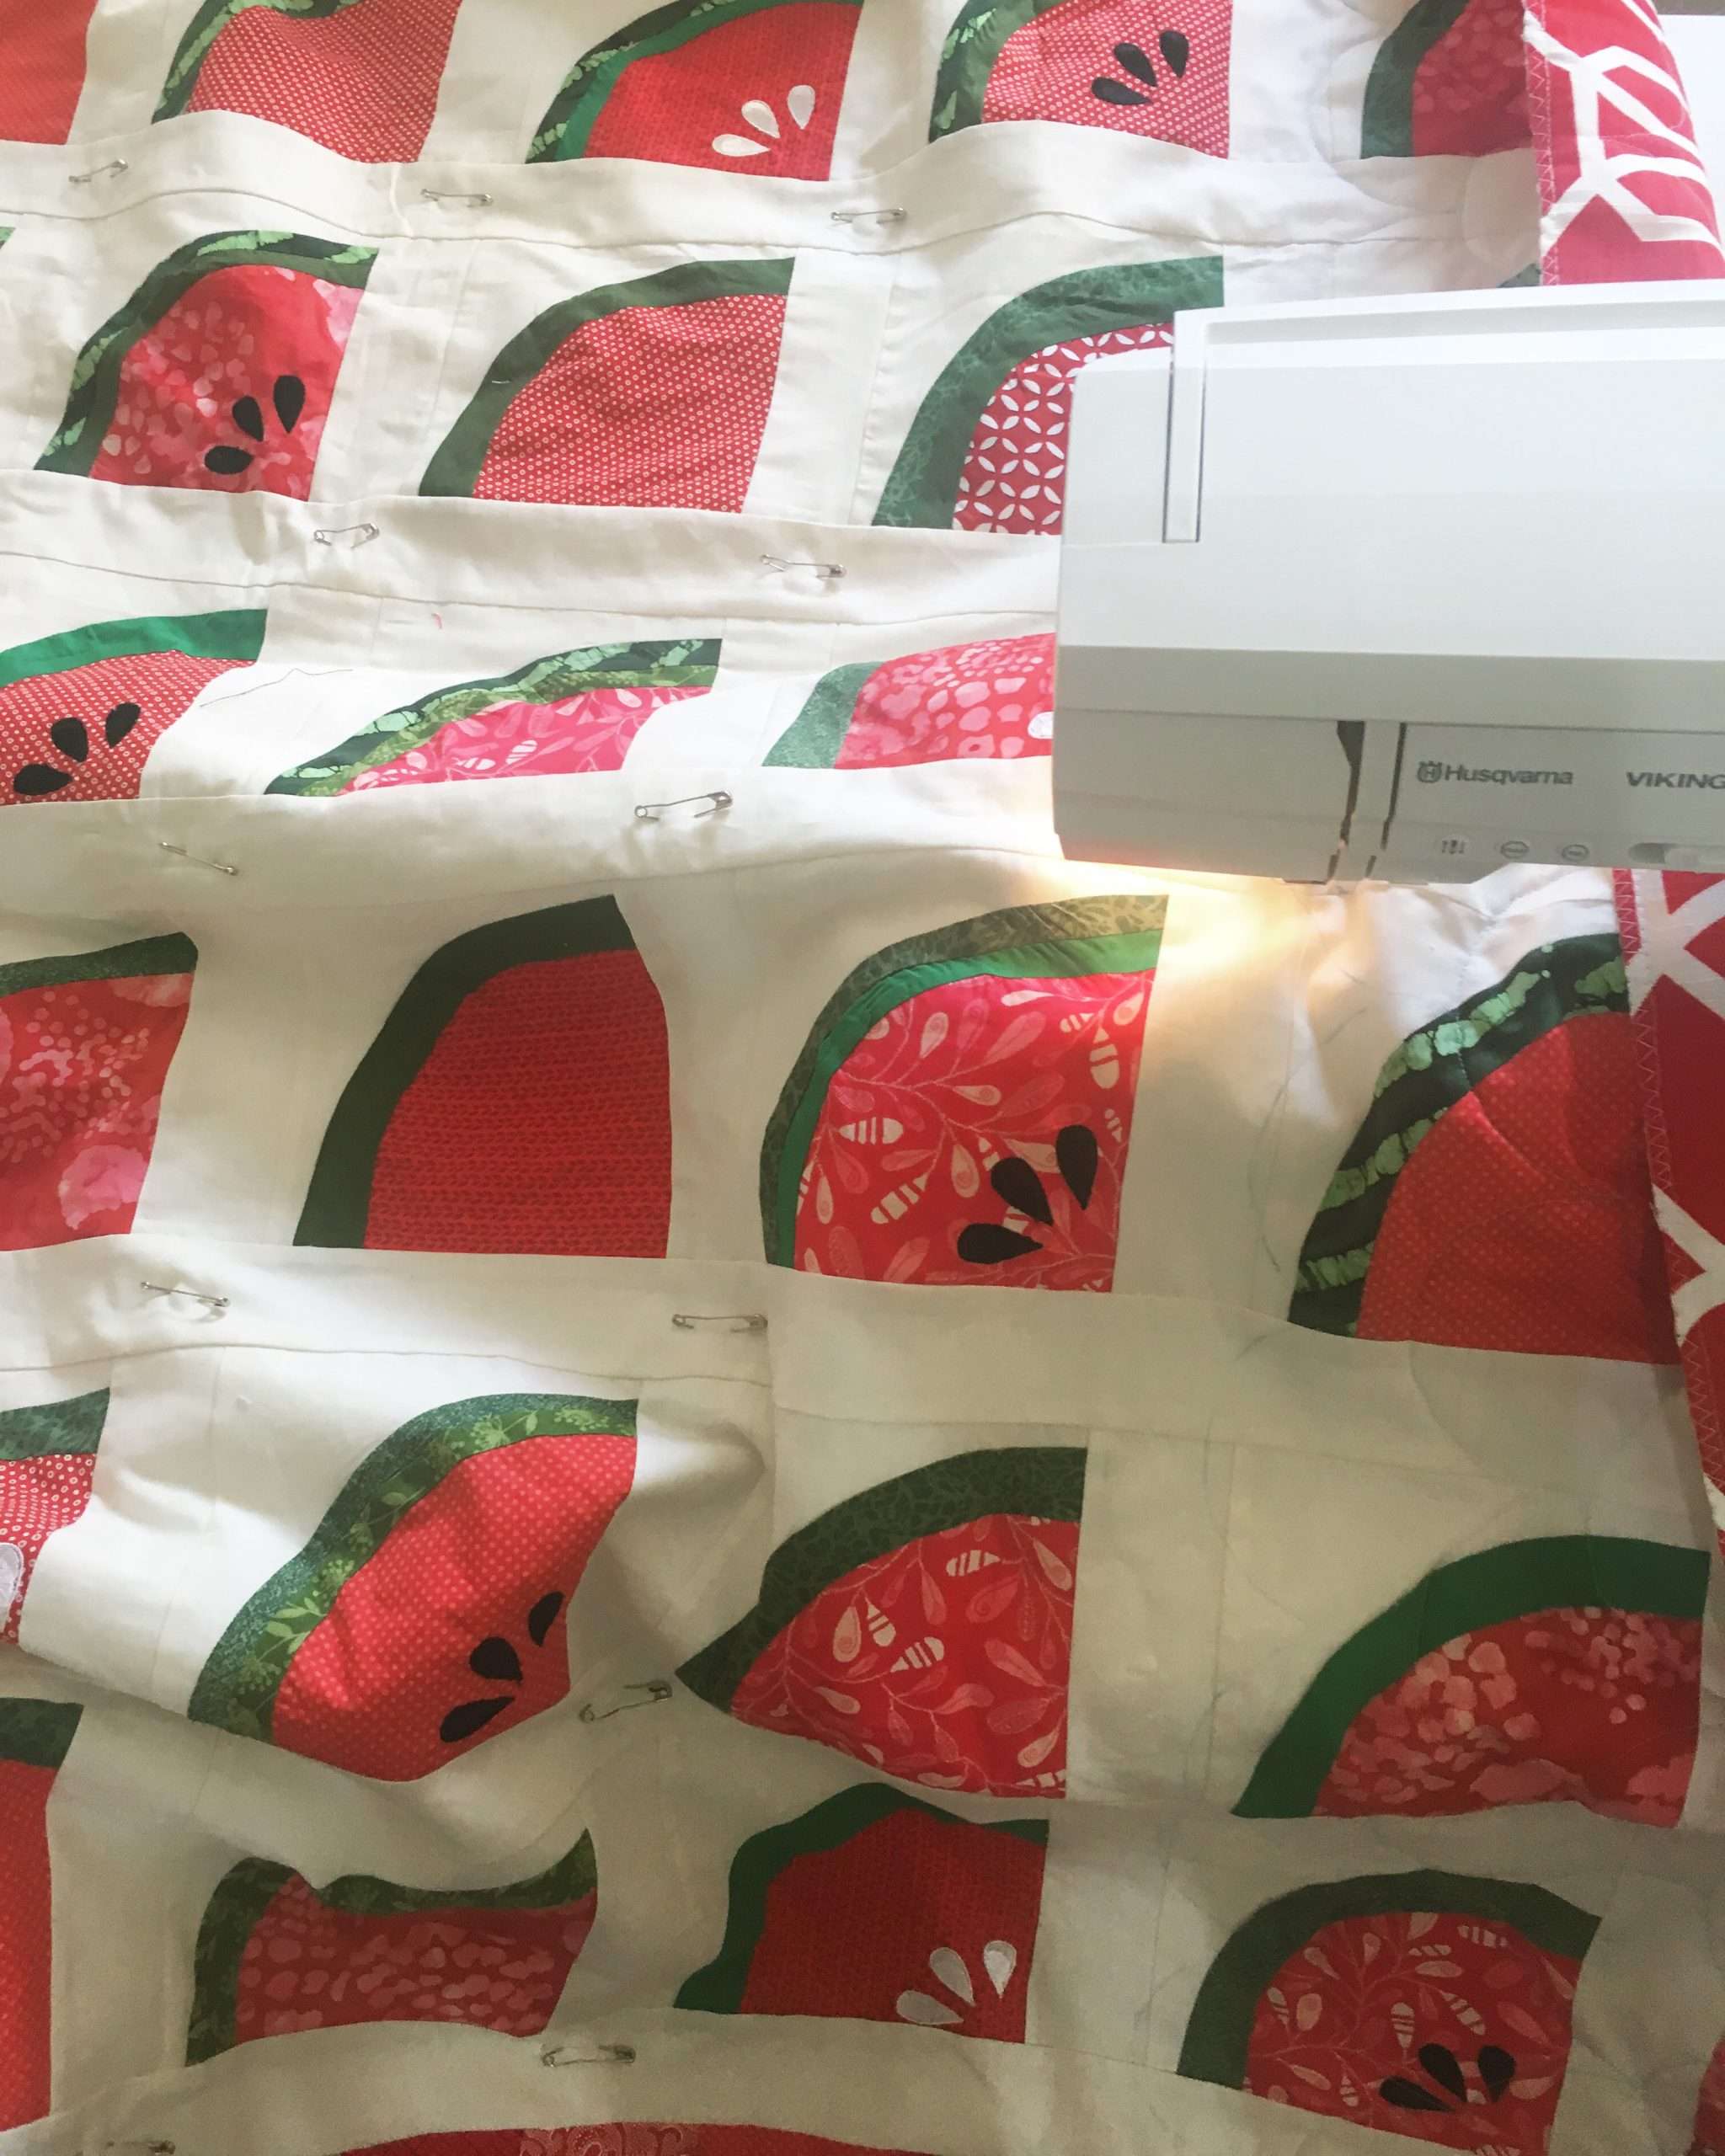
If you’ve been following along, you might know me as a hardcore quilter, and that’s not wrong, but over the past few months I’ve decided to dive in *head first* into the wonderful world of crochet! I started off a few months ago with dishcloths & scarves and have now officially completed my first CROCHET SWEATER!
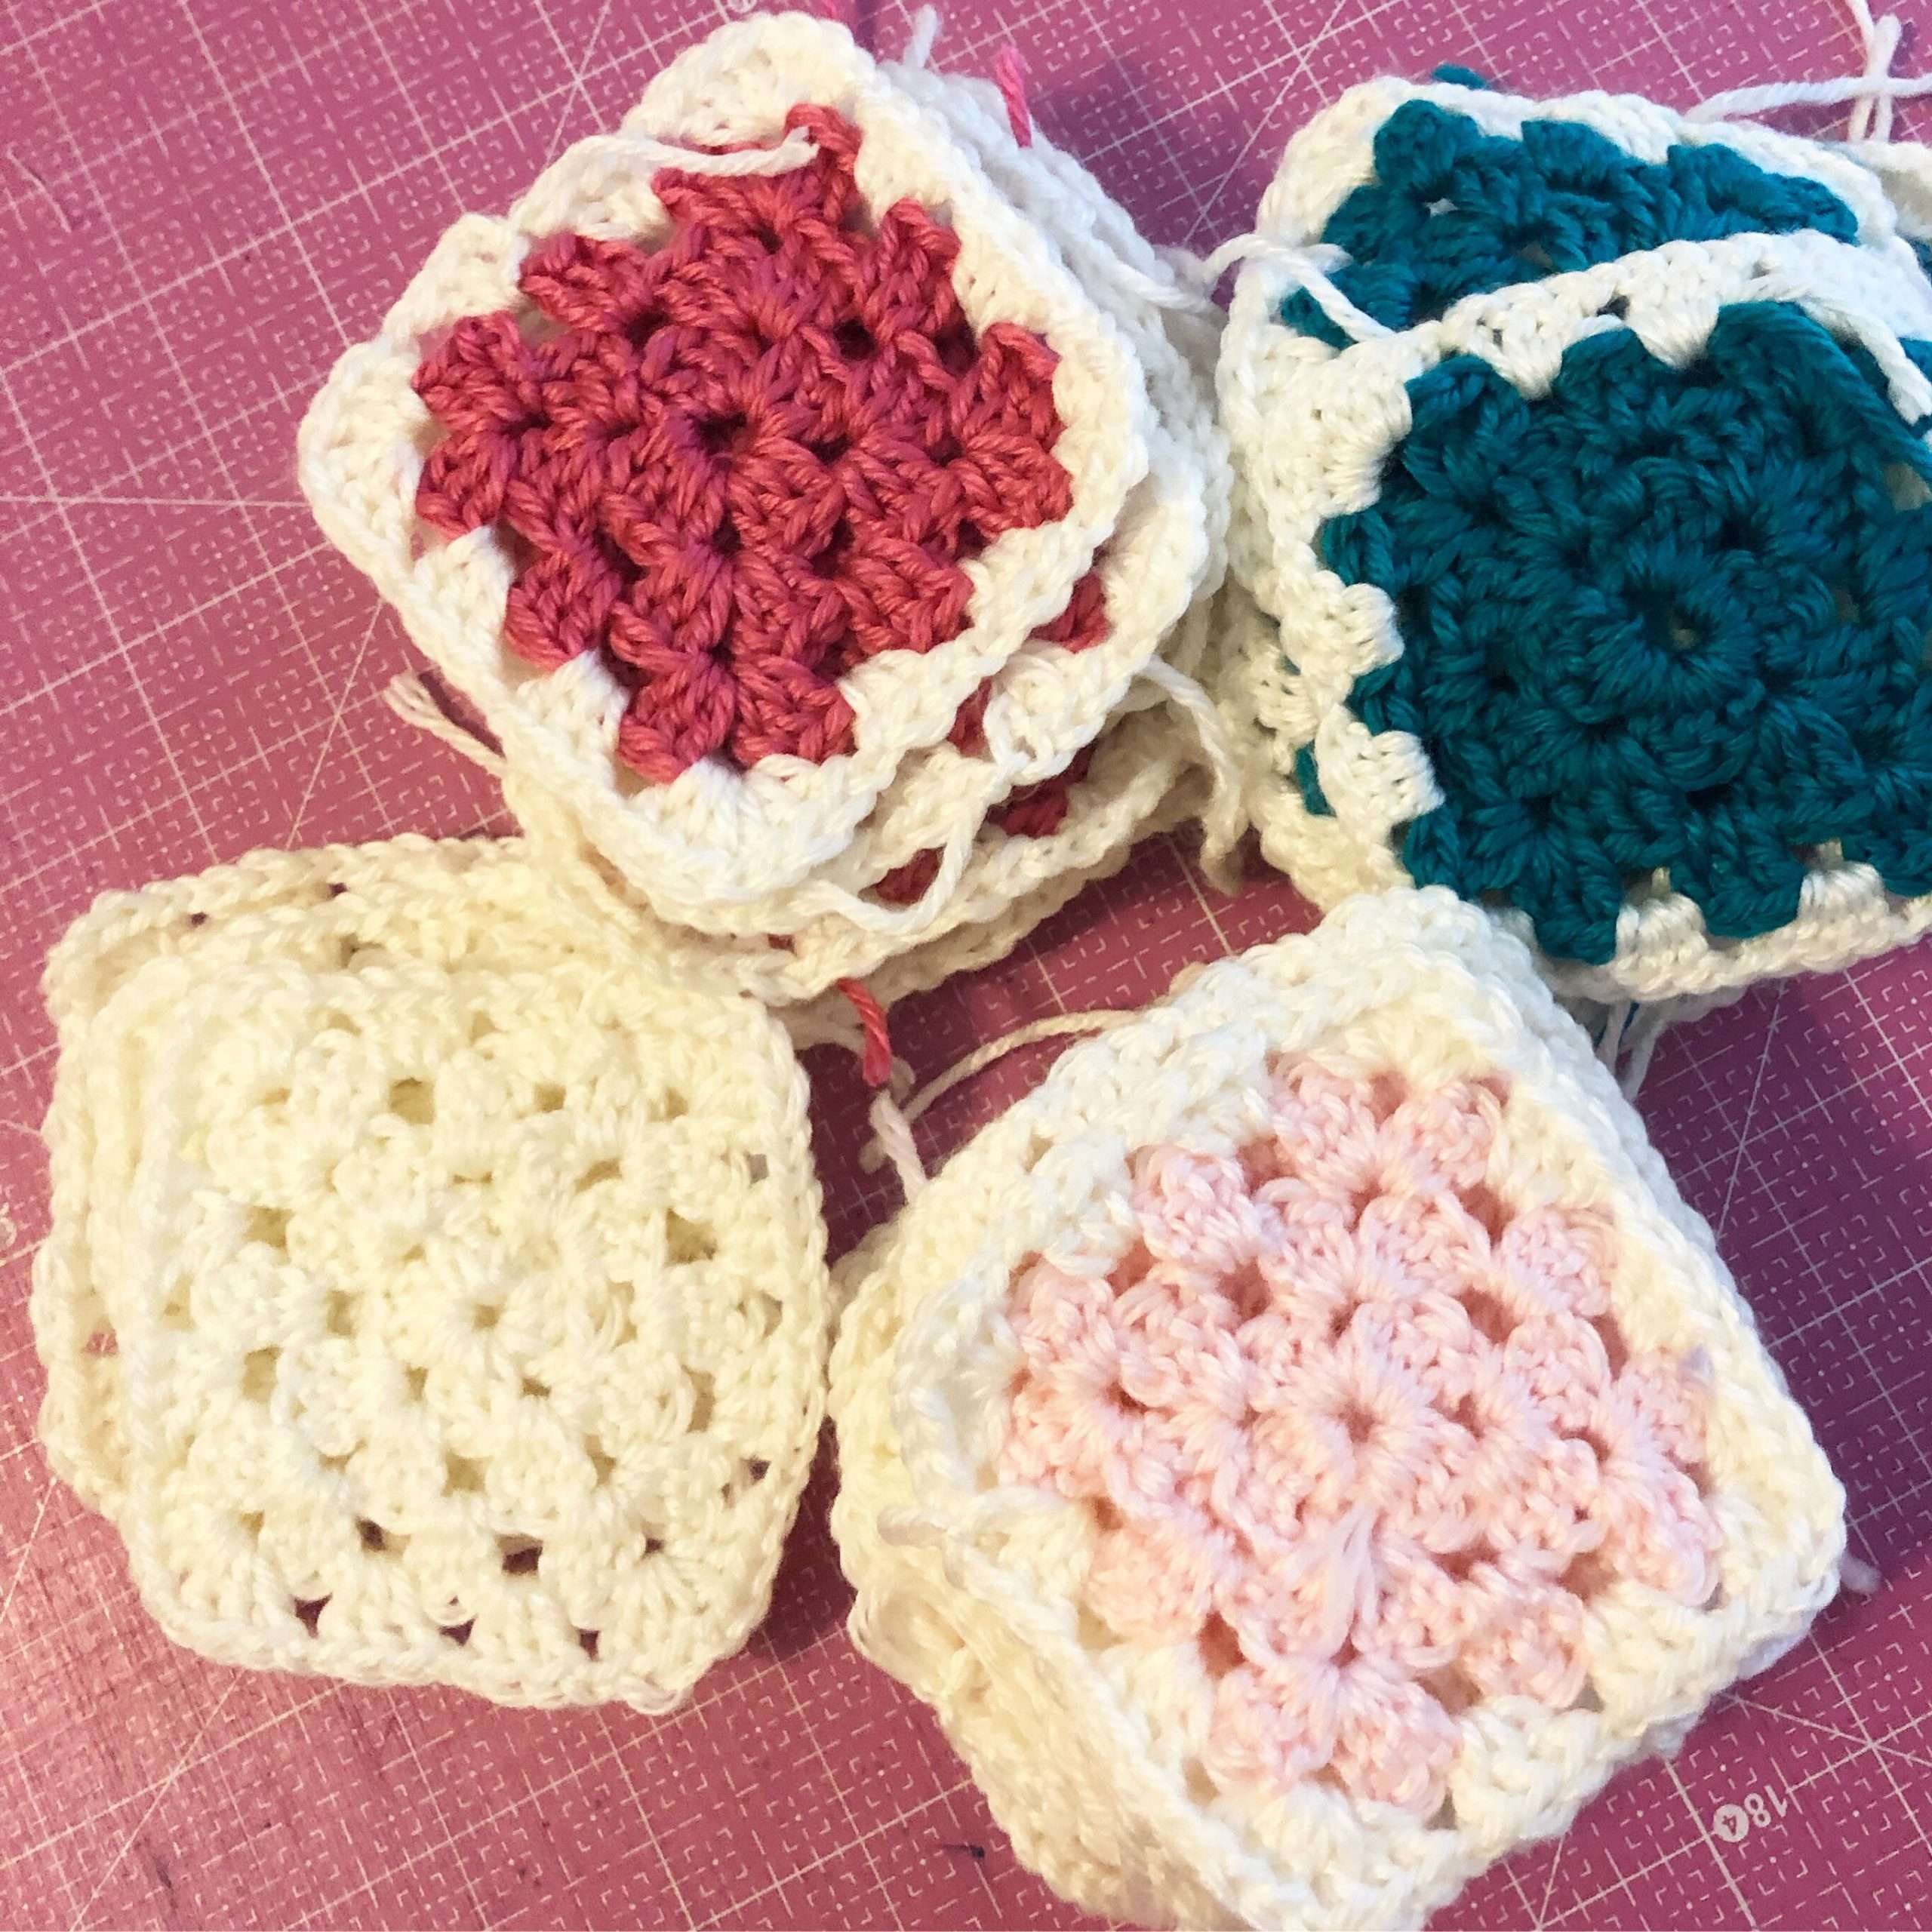
For a complete Beginner at crochet, you’ll want to check out this post: How to Learn the BASICS of Crochet. It explains tons about yarn, hooks, sizes, and lots of other commonly confusing things.

If you’re relatively new to crochet or maybe just not familiar with making your own sweater, this post is to share with you what I learned through making my first! I don’t necessarily recommend making a sweater as a first (or even second) crochet project if you’re completely brand new, but it’s pretty easy to pick up once you’re comfortable with a few basic stitches. Making a sweater for yourself (or as a gift for someone else) can be pretty time-intensive, but SO worth it in the end!
First off, the pattern: I used the Farrow Sweater pattern by Tanya of @ltblogged. It’s the first and only not-free crochet pattern I’ve used and I definitely do not regret it!
You can get the Farrow Sweater pattern here for 20% off using code EMILYJANE20!
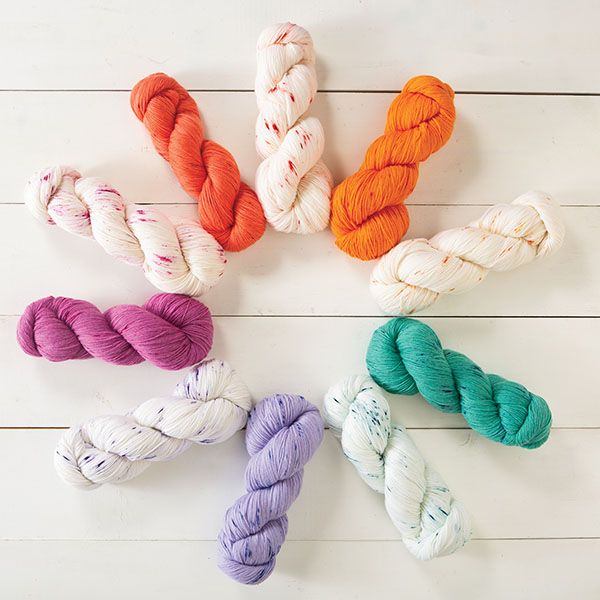
The pattern calls for specific yarn and hook size, but I did modify it slightly. I found this beautiful cotton yarn and noticed it is in the same weight category as the yarn in the pattern, so I decided it would be a good one to use!
Here are some other Sport weight yarns you might consider using if you are making the Farrow Sweater too:

Since I was using different yarn than the pattern used, I wanted to make sure to pick a good corresponding hook size. To do so, I made a swatch about 4″ wide, starting with a 3.5mm hook, after a few rows I switched to a 3.25mm hook, stitched a few rows, and then did a few rows with a 3.0mm hook. I compared how the 3 different sections looked and felt, and ultimately decided to use the 3.0mm for a dense stitch. In reality, any of the gauge options would have worked but I like to know what to expect before stitching out a super large portion! I chose the most dense option of my 3 trials, since I really did not want it to be see-through or require that I wear an undershirt, but on yours, you have full freedom to go for the look YOU want!

One thing I really like about the Farrow Sweater pattern is that instead of telling exactly how many rows or stitches to do, it will say a certain measurement it should reach, which made it super easy to use a slightly smaller gauge and still have a great fitting sweater! (It does still say the number of stitches/rows, but uses the measurements as a guide, which you will want to adjust based on the gauge you end up with.)

The Farrow Sweater pattern calls for 9 balls of yarn, but again, since mine was the Milla Mia Cotton instead of the one in the pattern, I got 10 just to be safe, and since LoveCrafts sells it in a 10-ball value pack. It turned out 10 was the PERFECT amount, but if you are going to make this I would suggest getting 11 or 12 so you have a little more flexibility if you decide to make it a little longer.
You can purchase the 10-ball value pack of Milla Mia Cotton here. The color shown is “Seaweed”.
Here’s a peak at exactly how much yarn I had leftover after finishing sewing all my final seams together! EEK that’s a close call, but I love how it ended up being so close to no-waste!

If you decide to make your own sweater, I highly suggest using Ravelry to track your project progress! I recently made myself a ravelry account, and downloaded the Alpaca App on my phone – now I can browse tons of patterns, see other people’s projects, and track my own projects! Check out my Farrow Sweater project on Ravelry here!


One last note: LoveCrafts has a really great YouTube channel! Check it out here for some wonderful beginner-friendly tutorials!

Never miss a post! Be sure to subscribe to the newsletter and follow @homemadeemilyjane on Instagram.
Want more project inspiration? Here are a few popular posts:
- How to Learn Crochet Basics
- Learn to Make a Quilt from Start to Finish
- FREE Explore Quilt Pattern
- 7 Quick and Easy Quilt Patterns
- The Ultimate Guide to Hand Quilting Essentials
