4-at-a-time Half Square Triangles
Half Square Triangles can be made lots of different ways, and this post will show you a step-by-step guide to making 4 Half Square Triangles at one time.
I personally prefer the 4-at-a-time method for making Half Square Triangles because it does not involve sewing on the bias. That does however mean that you still need to be careful while pressing your blocks, as to not stretch or distort them later on.
This post will show you what steps to take to make 4 Half Square Triangles at one time, as well as two different methods of trimming Half Square Triangle Quilt Blocks, and even how to calculate what size starting square to use when using the 4-at-a-time HST method.
Make 4 Half Square Triangles at One Time
To make 4 Half Square Triangles at one time, you begin by taking two squares of fabric and placing them right sides together. Next sew with a scant ¼” seam around all 4 edges.

Now’s the fun part. Take your rotary cutter and ruler to cut two diagonal lines across your larger square, to create 4 triangle shapes. Each of those shapes open up to be a Half Square Triangle.


Trimming Half Square Triangles
You can trim your Half Square Triangles either before or after pressing, depending on what your preferring trimming method is.

Trim Before Pressing using the Clearly Perfect Slotted Trimmers
You can easily trim off the dog ears through the slots in the ruler, and use the edges to trim all 4 sides of the square in just 2 cuts. Watch the full video to see how I use the Clearly Perfect Slotted Trimmers.

Trim After Pressing using a Square Ruler
There are lots of neat rulers that make it easy to trim your Half Square Triangles after pressing, such as BlocLoc rulers and Fons and Porter’s Square Up ruler. You can also use practically any square quilting ruler as long as it has a 45 degree diagonal line on it.
After the triangle is pressed to a square, match the diagonal line on the ruler up with your seam, and trim your first two sides. Then rotate your quilt block and line up the edges and the diagonal line to finish trimming your two remaining seams.

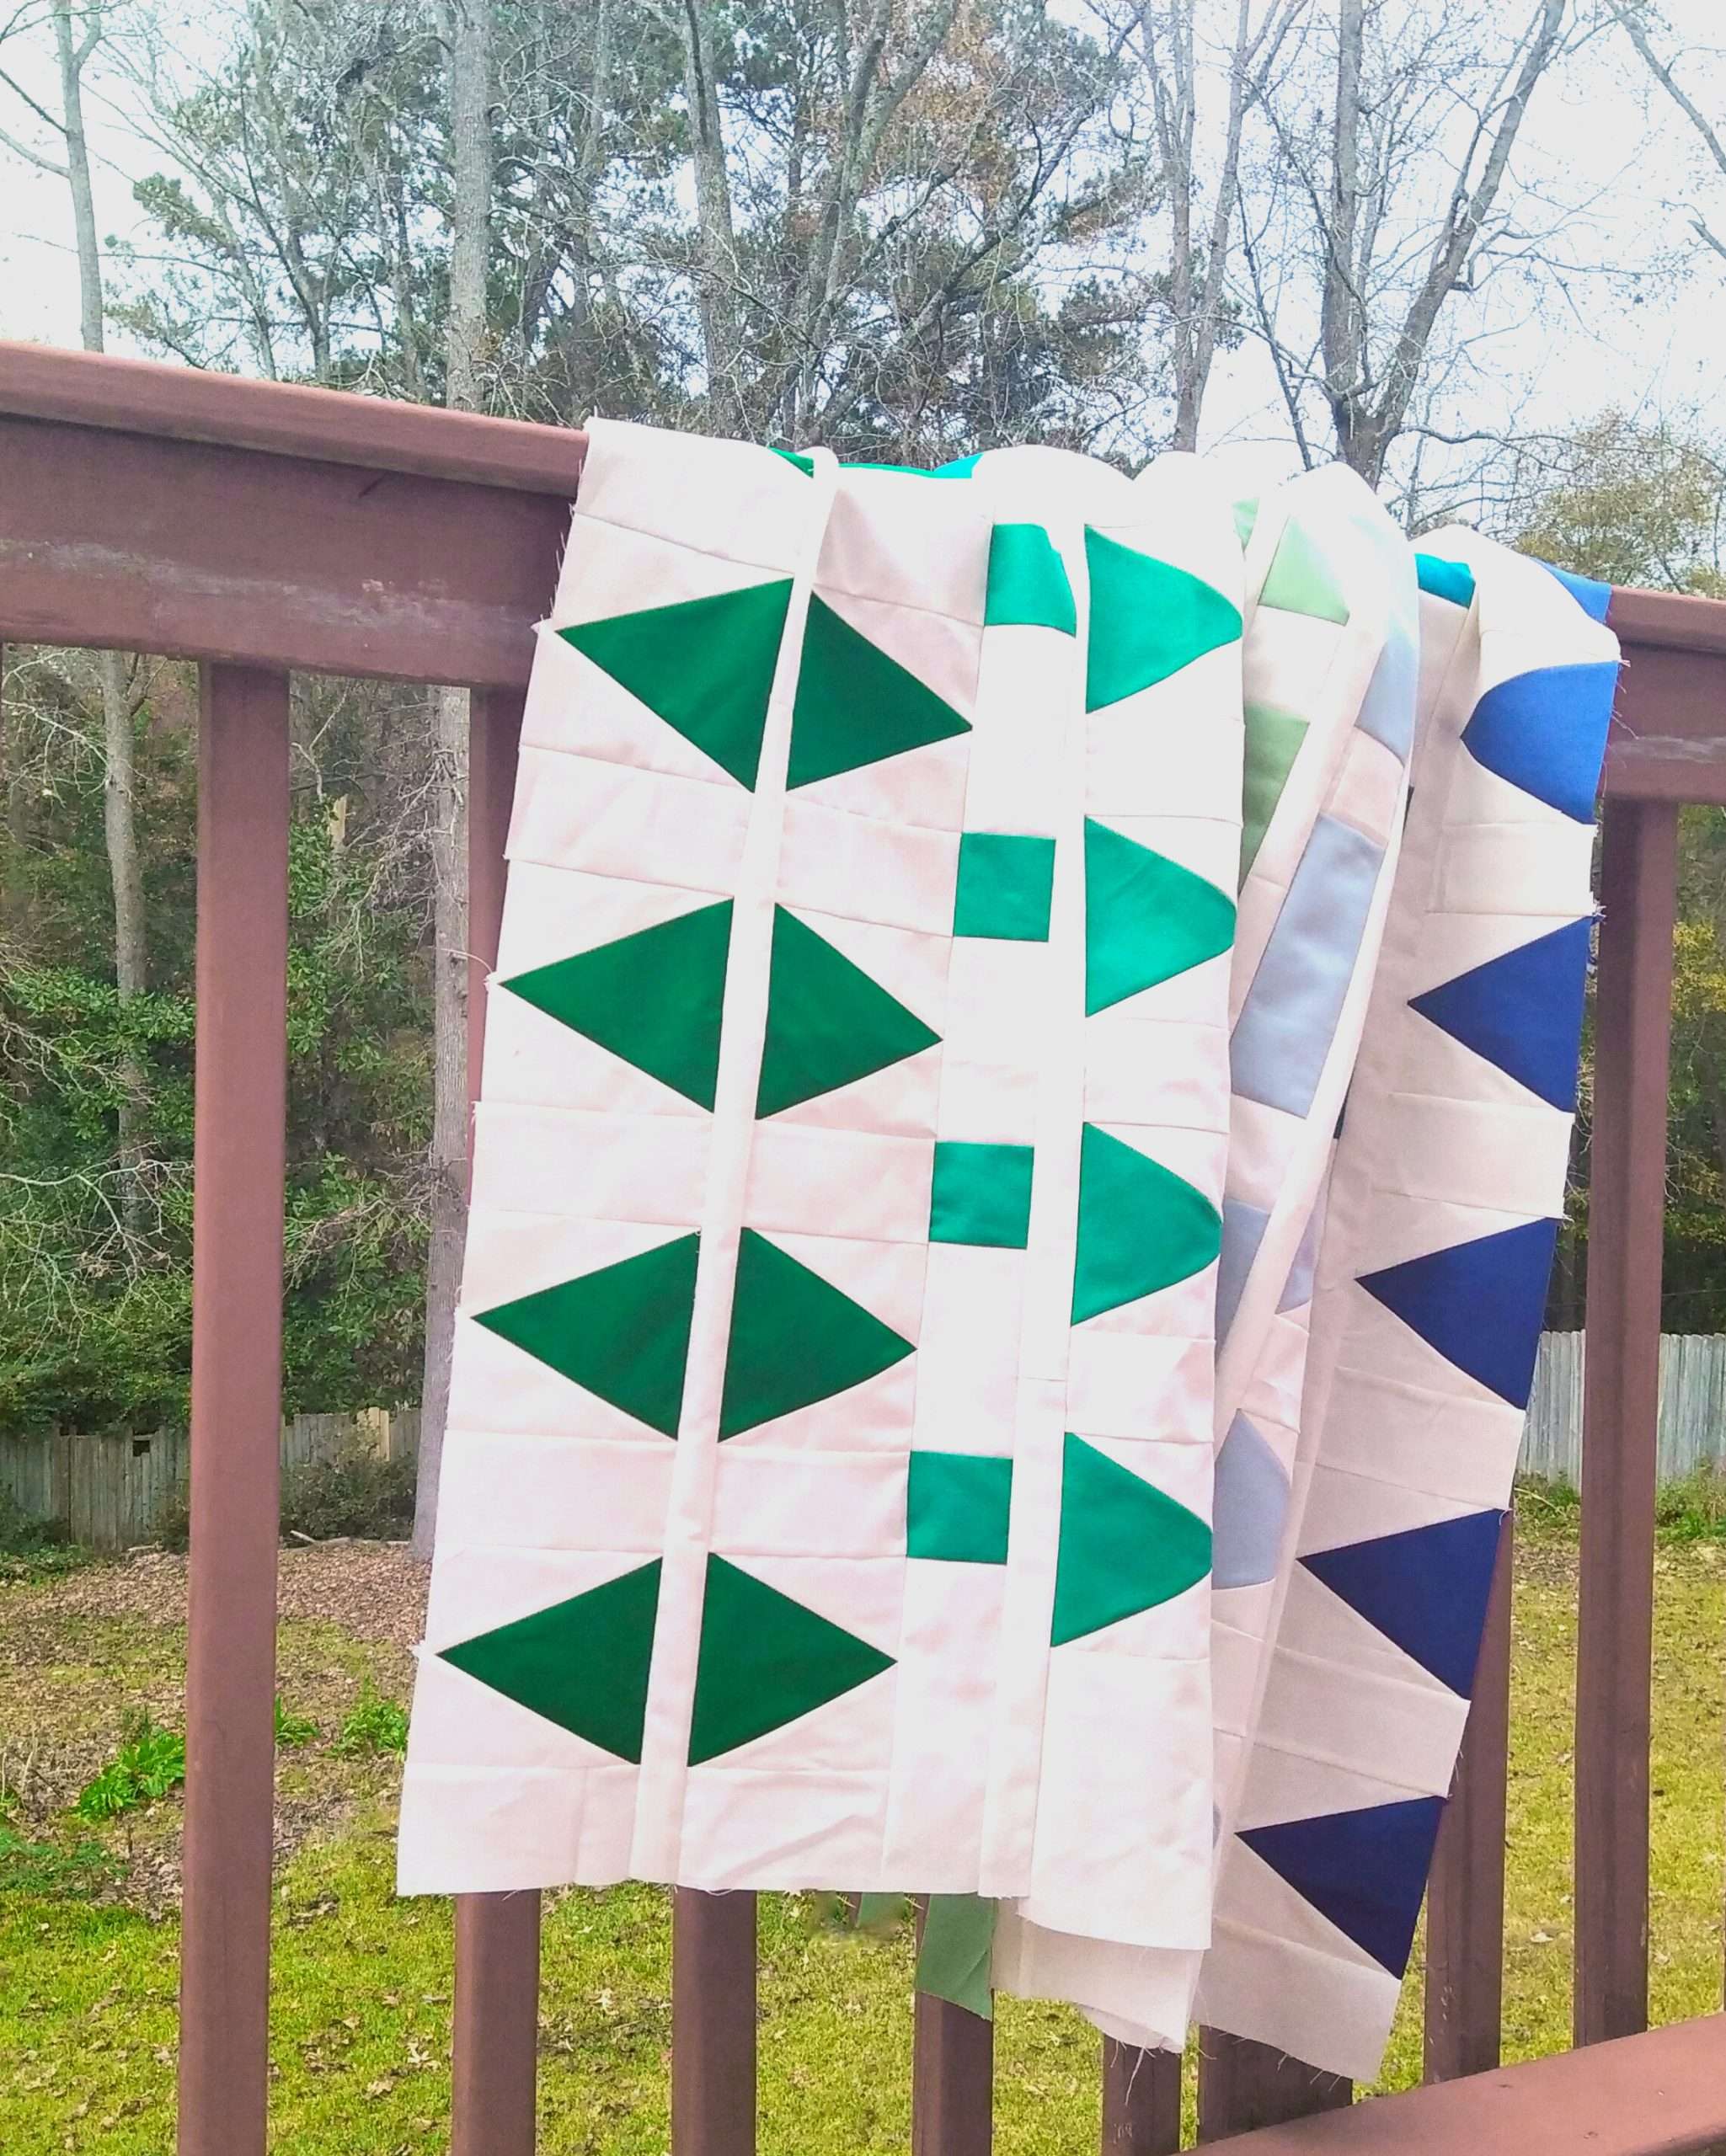
The fabrics used in this quilt top are:
These are affiliate links. I’d be honored if you would support me by purchasing through them!
- Spritz Sangria
- Spritz Carnation
- Spritz Persimmon
- Spritz Marigold
- Chambray Lt. Marigold
- Chambray Lt. Orange
- Solid Magenta
- Solid Sangria
How to Calculate Your Fabric Square Size
Typically, if you are following a pattern, it will tell you exactly what sizes you need to cut! If you feel comfortable following a pattern, you might like the Connector Quilt Pattern!
If you want to make a 4-at-a-time half square triangle but don’t know how to calculate what your starting square size should be, you can use this neat formula. If you want this cheat-sheet for later, feel free to print it out or PIN IT to your Quilting Pinterest Board!


Never miss a post! Be sure to subscribe to the newsletter and follow @homemadeemilyjane on Instagram.
Want more project inspiration? Here are a few popular posts:
- Connector Quilt Pattern
- How to Make a Quilt from Start to Finish
- Quilt Binding Part 1: Prep Work
- AccuQuilt Basics
- Triangular Quilt Pattern


