How to Sew Curves Perfectly Every Time
Have you ever struggled to sew curves while making a quilt design? Me too! But I’ve learned some secrets for how to sew a curve that I am just so excited to share with quilters like you! This article shares the easy way to sew curves for making a patchwork quilt!
Learn my tips for cutting & sewing curves perfectly every time, and gain confidence in the quilting technique of sewing curves. Of course, sewing larger curves is a bit easier than tighter curves, but by the end of this quilting tutorial you’ll be ready to take on any kind of curve!
If you prefer to learn how to sew curves from a video, check out all my curve sewing tips here:
This article contains affiliate links to some of my favorite quilting tools; the affiliate links allow me to make a small commission on purchases made after clicking on the links, but does not alter the shopping experience for you!
One of the first quilts I ever made was a double wedding ring quilt, which involved lots of sewing curves. It was a gift for my “big” (mentor & all-around amazing human) for her wedding. I distinctively remember placing the online order for the quilt kit while sitting in my sorority house in college, and never once did I think it was intimidating or that I wouldn’t be able to do it. But BOY was it a challenge!!
I had no clue what I was doing! Since then, I’ve had a lot more practice and learned quite a few tricks! I’m excited to share those quilting tips & tricks with you today as we sew curves together and make some Drunkard’s Path Quilt Blocks.

When Sewing Curves, Start with Starched Fabric
Starting off by starching your fabrics before cutting can add ease to the sewing process for curves later on! I personally use a spray starch such as Best Press to prepare nearly all fabric before cutting, and find it particularly useful when working with curved fabric pieces.
I always spray my fabric with Best Press and then iron flat with a nice hot iron. The heat from the iron dries the starch so I am ready to get started cutting out my quilt pattern pieces!

Cut Precise Pieces for Sewing Curves
The first curved pieces quilt I ever made involved me making my own templates to use out of cardboard. And with every cut, I inevitably shaved off a tiny sliver of the template. It was difficult and a bit messy and definitely far from perfect! I think starting off with more precise fabric pieces would have really helped make a more precise quilt overall. There are two main methods to cutting your curved fabric pieces, and I’ll share tips for both.

Using a Fabric Cutting Machine
It’s no secret that I personally am a HUGE fan of using AccuQuilt to cut as many fabric pieces as possible for nearly any quilting project. But, I really really can not stress it enough when it comes to sewing curves! Cutting out curved fabric can be tricky, but not when you use a die cut fabric machine like AccuQuilt! These are a few of my favorite dies for curved piecing with AccuQuilt:
One thing I love about using AccuQuilt to sew curves is how it marks notches to use to line up the centers of each shape! The notches really make lining up the centers of each piece to simple and fast!

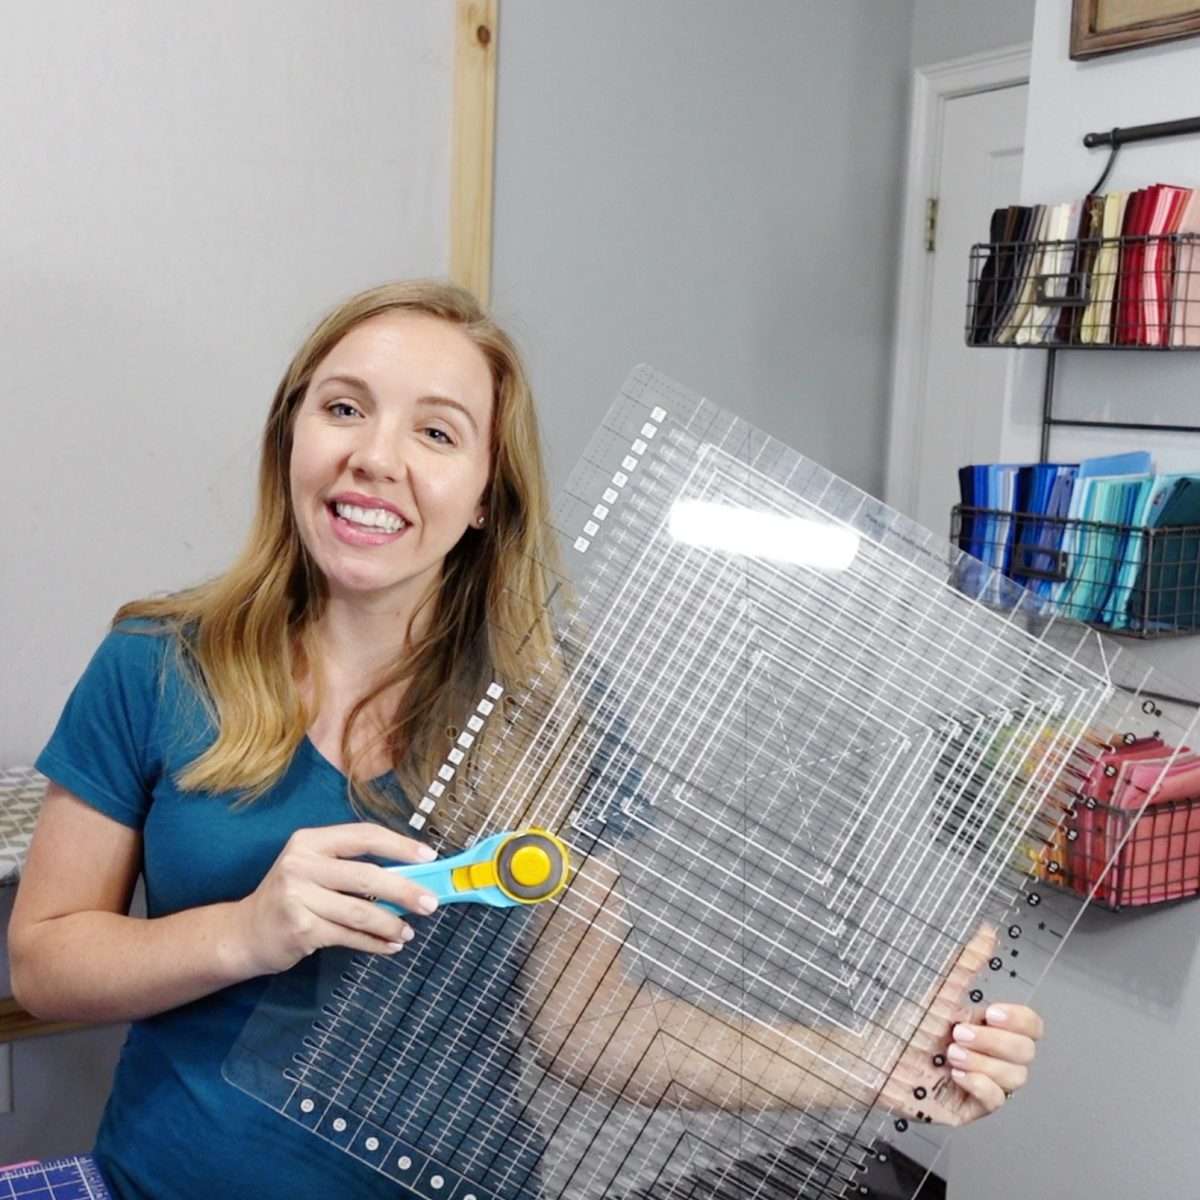
Using a Rotary Cutter
If you prefer to cut using a rotary cutter, be sure to be precise with your cutting and find a way to mark the center of your curves! There are lots of neat templates out there that can make cutting with a rotary cutter easier, rather than using cardboard or paper!
If you cut out your curves with a rotary cutter, you’ll also want to mark the center of each piece. You can mark each fabric piece by folding it in half and pressing a small crease at the center.

Check out some of these options for quilting rulers and templates:
- Color Girl Quilts Classic Curves Ruler
- Double Wedding Ring Templates
- Quick Curves Template
- Clamshell Template
- Applecore Acrylic Ruler

Baste Curves in Place with Glue or Pins
Now this is the tricky part… before you sew your curved fabric pieces together, it is helpful to baste them in place. You can baste the curves in place using a couple different methods. Some people prefer pins but I find personally, I get tired of pins rather quickly and had issues with puckers in the fabrics and stitches when I used pins. Instead, I’ve switched to using glue to baste my curved fabrics together!

Glue Basting Curved Fabric Together
Glue basting your curves is exactly how it sounds! You simply use glue to temporarily adhere the curves together. I use this glue stick to draw a thin line on the inner curve. Put glue only in the seam allowance, and manipulate the fabrics to stick into place until you stitch them down. It’s important to note you want acid-free glue so as not to inadvertently damage your fabrics. I recommend using a glue stick, or if you prefer you can also use Elmer’s school glue! You might consider using a skinny tip bottle like this for more precision if you are using liquid glue.
Check out the video above to see the whole technique in action, but the important thing is that the centers and ends of your curve match up, and then you press along the entire rest of the curve.

If you are using a glue stick, simply pressing in place is enough to hold it until you stitch the curves together. But, if you are using liquid glue to baste your curves, it is recommended to iron the fabrics after glueing in order to set and dry the liquid glue completely before sewing your stitches on your sewing machine.
Regardless of which type of glue you use, it’s important to keep the glue within the 1/4” seam allowance and smooth it out to remove any puckers in the fabric before stitching it in place.

Tips for Sewing Curves on your Sewing Machine
Sew Slowly
When it comes to sewing curves, it is NOT a race! The slower you sew, the more likely you are to have nice even curves without any puckers or wonky stitches.
Use the Needle Down feature on the Sewing Machine
It helps if you keep your needle in the “needle down” position while sewing your curves. This means that when you stop sewing briefly to adjust your fabric, the needle remains in the fabric to hold it steady while you adjust.

Press it Flat
Once you’re done sewing, gently ease the fabric toward the outer curve, and press flat. You can use steam in your iron, or even a bit more Best Press to really get it to lay flat! I also recommend using a tailer’s clapper to set the seams so they are extra crisp and flat!
Finish Sewing your Quilt Block
Regardless of whatever quilt block design you’ve chosen to make with your curved piecing technique, you’re now ready to finish sewing the blocks together! Enjoy the process!