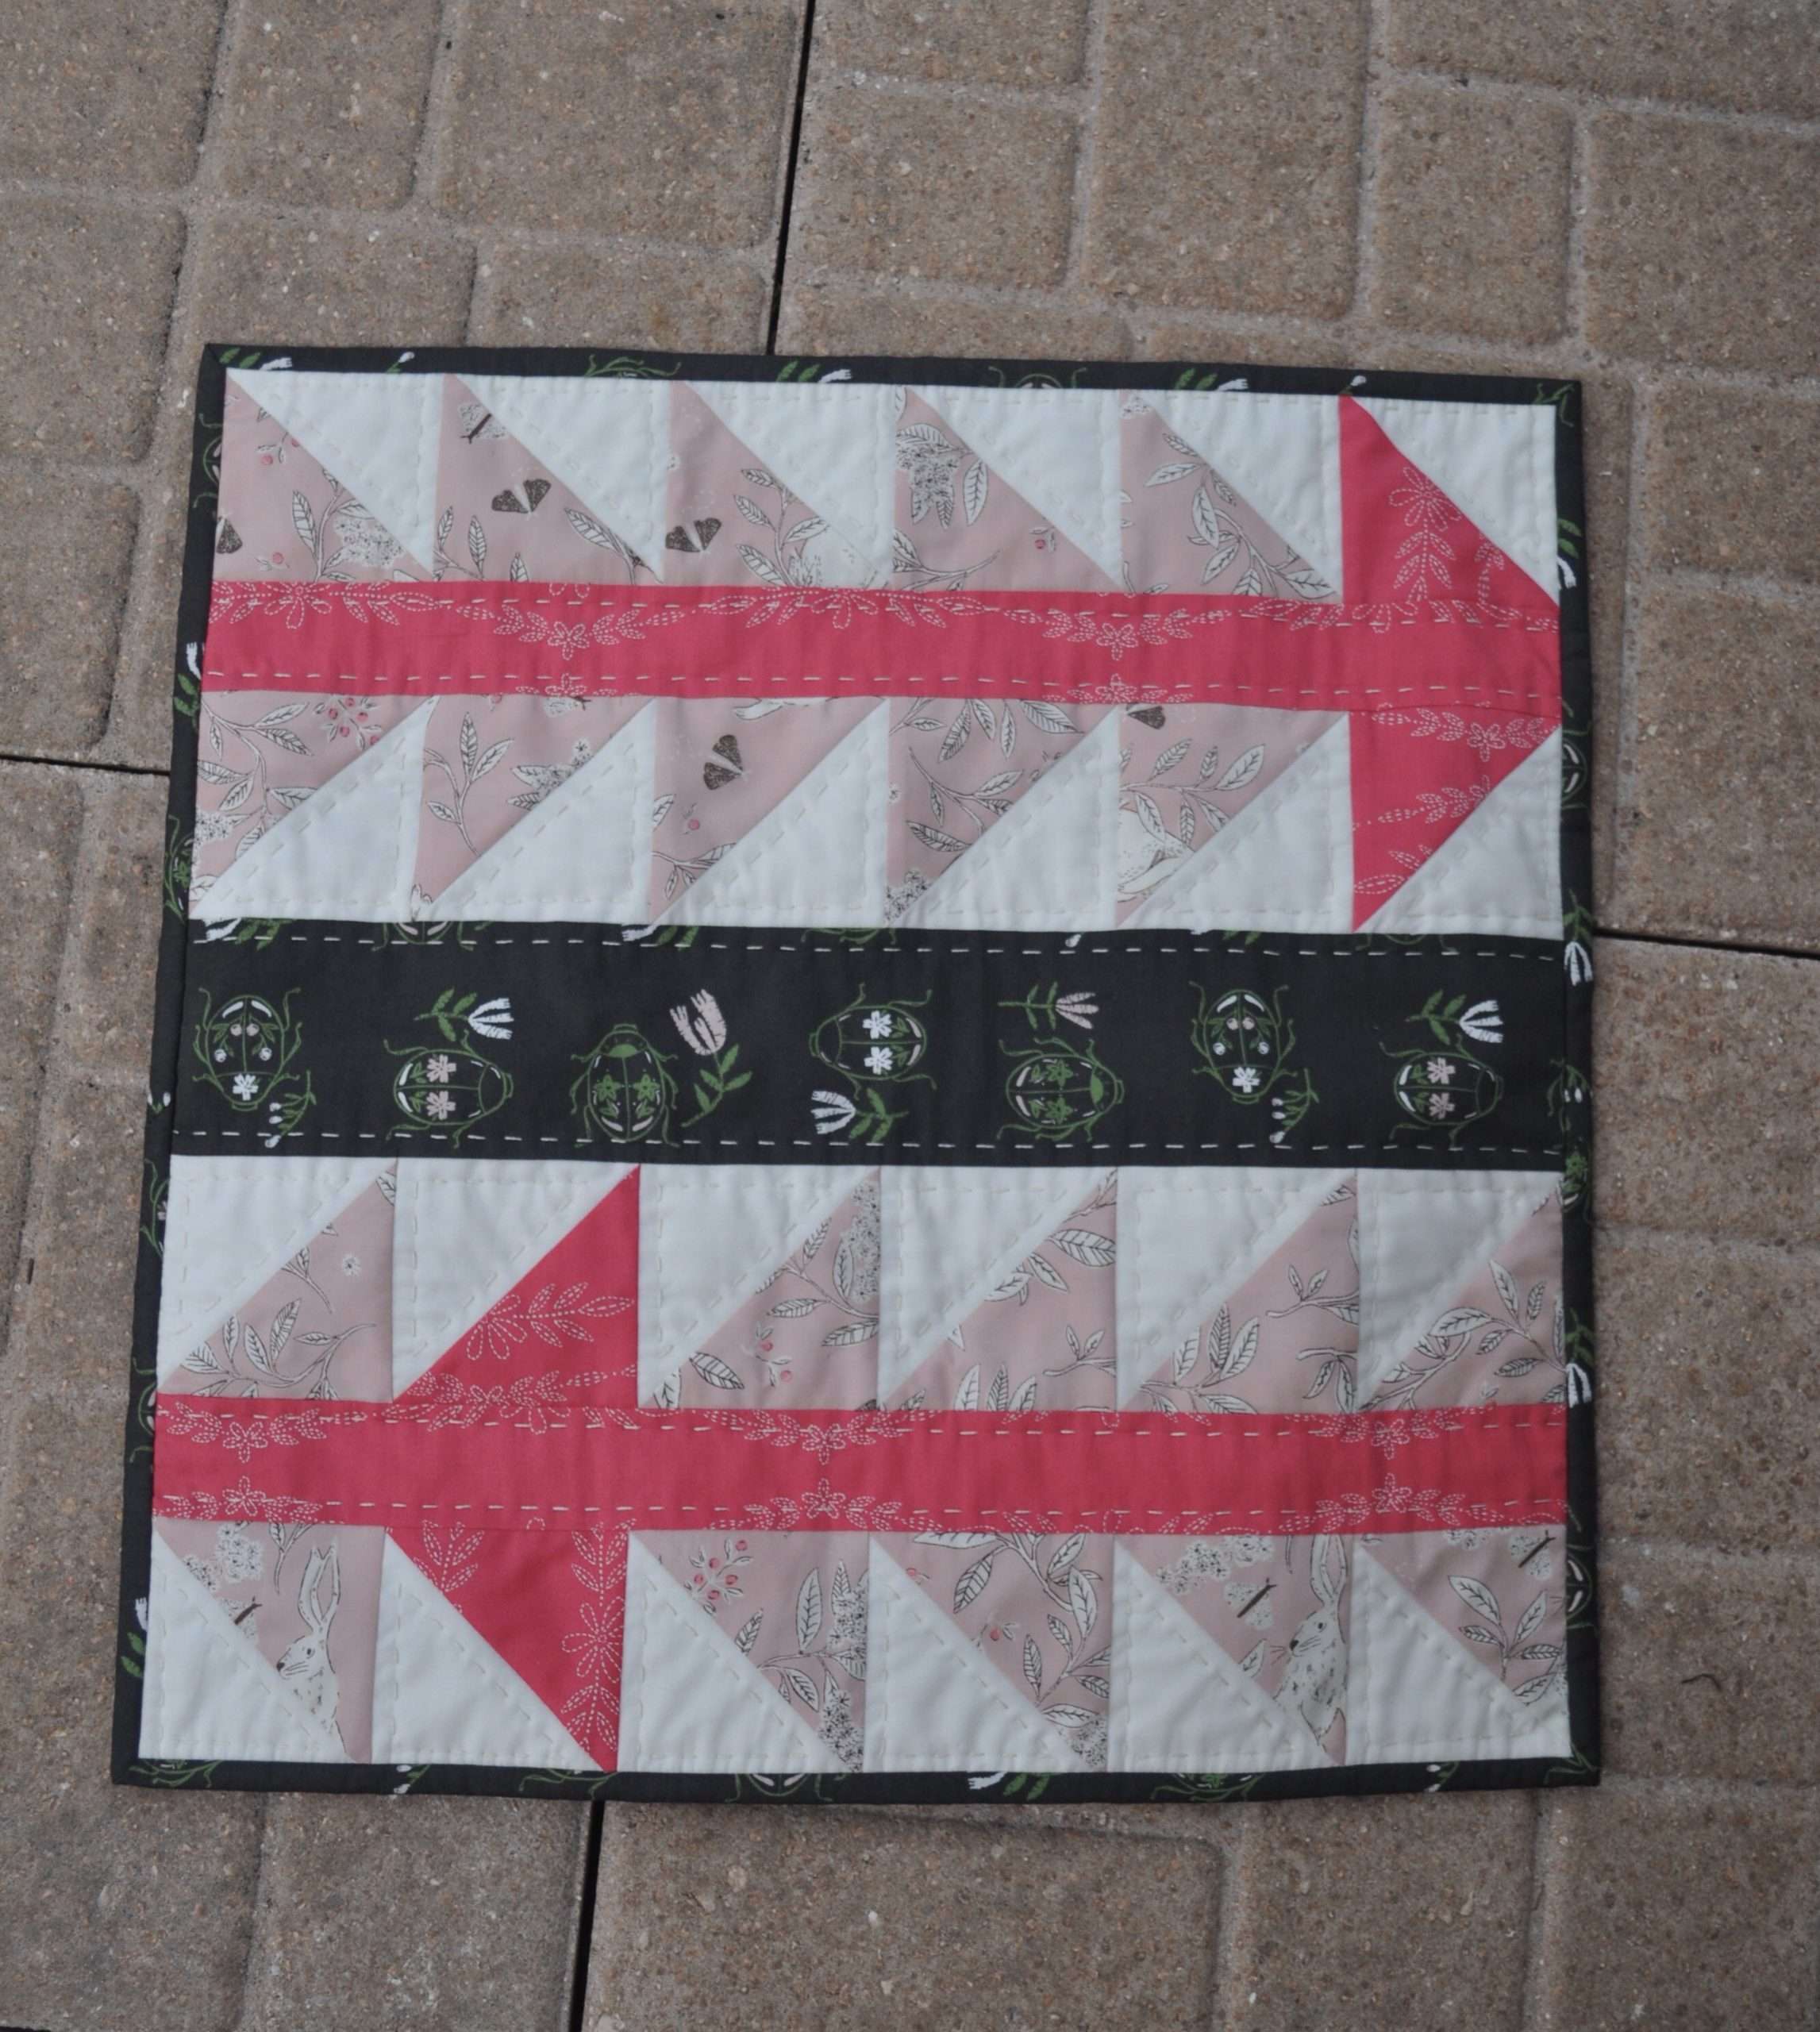
A Beginner’s Chain Sewing Guide to Quick Piecing
If you’re new to quilting, there’s a chance you aren’t yet familiar with the concept of “chain sewing”. Chain sewing is one of my favorite techniques for quickly piecing many blocks at one time. To put it simply, chain sewing saves time & thread! To chain sew, you simply sew a bunch of pieces one after the other without snipping the thread in between until you’re done.
If you want to see chain sewing in action, check out this fun video:
This article contains affiliate links; these links allow me to make a small commission on purchases made after clicking on the links, but does not alter the shopping experience for you!
Why do Quilters Chain Sew?
Quilters like me love chain sewing for a couple reasons, but mostly it’s for the efficiency & time savings! You can make many blocks very quickly once you get into a good rhythm of chain sewing, and it helps mentally by only doing 1 step at a time.
Chain sewing saves thread too, as you have very little wasted thread in between each piece that you sew!
5 Tips for Chain Sewing
1. Check your 1/4″ Seam
This might sound a little tedious, but before you start sewing, it’s a good idea to test out your quilting seam allowance. Turn on your machine, use a fresh needle if it’s been a little while since you’ve changed it, and make sure you’re using your favorite foot for quilt piecing. Sew a trial 1/4″ seam and measure to make sure it’s accurate, and then adjust your needle position on your machine if needed.

2. Make a Test Block before Chain Sewing
Before you start sewing a bunch all at once, it’s a good idea to make a test block. Even if you are following a pattern, making just 1 block from start to finish first will help make sure you understand the process and can fix any mistakes while they’re still small mistakes. (rather than having to seam rip a whole pile of blocks!)

3. Stack up Your Piles (or pin)
Now that you have a really clear idea of the order & process you’ll be using for the rest of your quilt blocks, make a stack of the pieces you will sew first for every block. You may choose to pin them together first if you like, but I personally save a lot of time just by laying the stacks side-by-side and then arranging them right sides together and lining them up as I sew.

4. Check for Directional Prints
I personally don’t tend to use directional prints all that often, but if you are using a print like stripes or another design where you want the fabrics to be pointing in the same direction, be sure to check for that before sewing. It helps to align them all how you want them before beginning the chain sewing process.

5. Use a Leader
Before I start sewing my stack, I like to sew across a small scrap of fabric, known as a “leader”. Once you’ve stitched on the leader, you’re ready to start chain sewing your quick block pieces together!

Chain Sewing How-To Video Tutorial
To see exactly how I chain sew my fabric pieces into quilt blocks, see my full video tutorial here.

For more quilting inspiration and tutorials, check out these other posts:
- 4-at-a-time Flying Geese Tutorial
- How to make Magic 8 Half Square Triangles
- Learn to Bind a Quilt
- How to use an AccuQuilt GO! Fabric Cutting Machine

