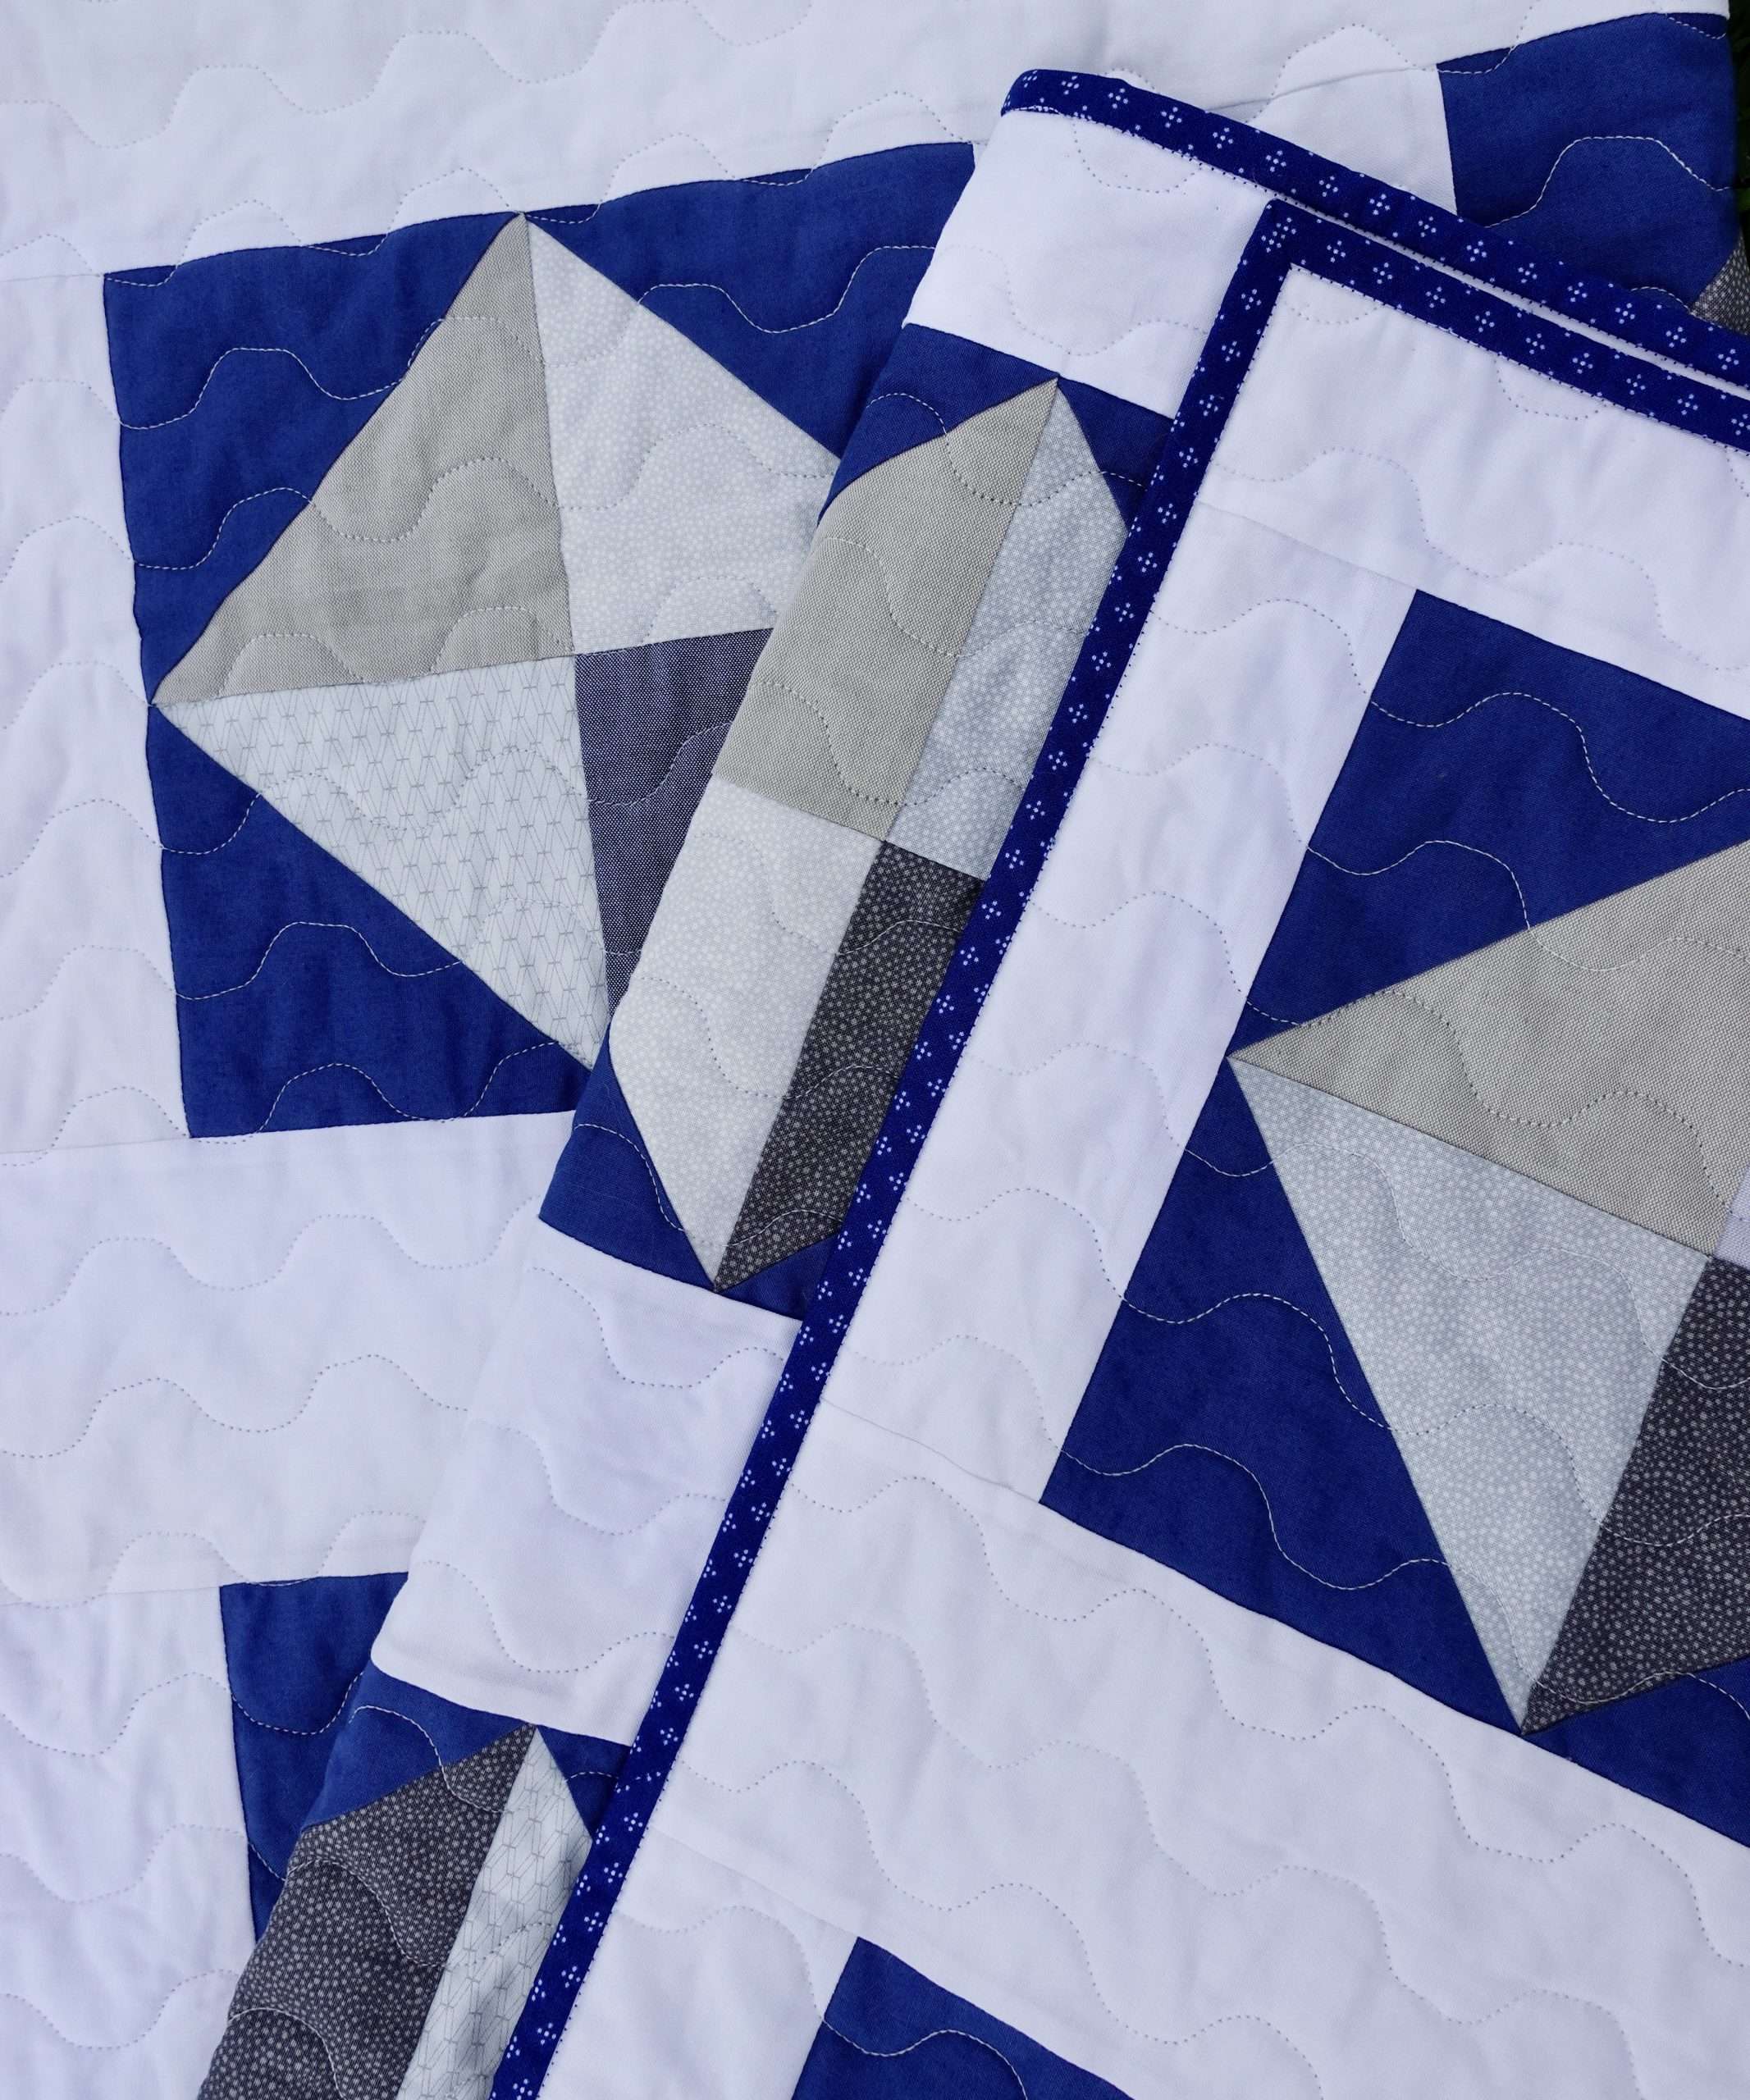
The Simple Way to Make Half Rectangle Triangles
If you’re looking for a fun and easy way to create stunning quilt blocks, you might want to try making Half Rectangle Triangle (HRT) blocks. While these blocks look complex, they are actually simple to make using Tri-Rec rulers. With a bit of fabric, a sewing machine, and the right tools, you can create beautiful HRT blocks that will add a touch of modern fun to your quilt.
Check out this video tutorial to watch how I make these simple Half Rectangle Triangles using rulers or even AccuQuilt:
What are HRT Quilt Blocks?
HRT quilt blocks (short for Half Rectangle Triangles) are the wonky cousin of the basic Half Square Triangle quilt block. They can be made in a variety of sizes and shapes, and there are a handful of ways to make them! This tutorial will walk you through the simple 1:2 ratio Half Rectangle Triangle using a one-at-a-time method.

Various shapes and sizes of Half Rectangle Triangles
As I just mentioned, this tutorial will share how to make HRTs with the shape of a rectangle at a 1:2 ratio, meaning that the height is twice the width. Within the quilting world, you may also find patterns or designs that utilize Half Rectangle Triangle Quilt blocks with a 1:3 or even 1:4 ratio! The possibilities are truly endless when it comes to this very fun, unique shape!
Materials you’ll need for making HRT Quilt Blocks?
- Fabric
- Rulers, templates, or cutting machine with relevant die (more details below)
- Rotary Cutter
- Cutting Mat
- Sewing Machine
- Thread
- Iron
Prep Your Quilting Fabric for Making Triangles
Before we begin cutting the Triangles, it is super helpful to prepare your fabric with spray starch or best press.
When piecing any triangles for a quilt, you’ll be sewing along the bias. The bias is a term used to refer to the diagonal of the fabric grain. If you grab a piece of fabric, you can pull it diagonally and see how much it stretches; it doesn’t stretch nearly as much if you pull straight on grain.
To accommodate for sewing on the bias, I find that prepping my fabric really helps to stabilize it and keep it from stretching while I am working with it. Watch the video linked above to see how I use Best Press to prepare my fabric. I do this for ANY project that will involve sewing on the bias.

Cutting out the Half Rectangle Triangles
I should start off by mentioning that there are a few different ways to make a HRT and this way just happens to be my favorite because it doesn’t require tedious trimming after sewing. This is the most simple, strightforward way to make HRTs!
Another common way to make this same block is to use two rectangle pieces of fabric and sew diagonally twice, making two HRT blocks at one time and then trimming it down to size. However, this tutorial is not that method. This tutorial shows you how to use simple ruler shapes to cut your pieces precisely. And, with a little sewing practice, you’ll find that you won’t need to trim your blocks using this method.
You could use a handful of different rulers to make HRTs using this method, or alternatively, you can also use AccuQuilt if you prefer. Learn more about AccuQuilt here!

Which rulers to use?
My favorite ruler for making these HRT blocks is this one by Planted Seed Designs. Alternatively, Creative grids makes a larger size option that is also very nice – use Creative Grids perfect Rectangle ruler CGRTMT3! This one makes HRTs up to 6.5″ and the Creative Grids is a bit larger and goes up to 9.5″. You can also get the Creative Grids ruler from Fat Quarter Shop through this affiliate link.
The rulers from Planted Seed Designs come as a set to make Triangle in a Square blocks, which is another super fun block – it includes both the center triangle shape as well as the background shape too. The ones from Creative Grids are sold separately, so you could just buy the outside triangle shape for your HRTs.
Which AccuQuilt Dies to use?
The AccuQuilt shape that you’ll want to look for is called “Triangle in a Square – Sides” and AccuQuilt actually makes this shape in a wide variety of sizes! You can find this specific shape in any of the Angles Companion sets for the Mix and Match Qubes.
- 4″ Angles Companion Set – makes 2″ finished HRTs
- 5″ Angles Companion Set – makes 2.5″ finished HRTs
- 6″ Angles Companion Set – makes 3″ finished HRTs
- 8″ Angles Companion Set – makes 4″ finished HRTs
- 9″ Angles Companion Set – makes 4.5″ finished HRTs
- 10″ Angles Companion Set – makes 5″ finished HRTs
- 12″ Angles Companion Set – makes 6″ finished HRTs

Cutting on Grain
Fabric Grain is particularly important when making Half Rectangle Triangle quilt blocks. You’ll want the 90 degree angle your triangle to be straight on grain, which means those two edges will not be stretchy. Alternatively, this means that the long edge of your triangles will have some stretch, so be extra careful not to distort the edges while handling, sewing, and pressing.
If you are cutting out a lot of pieces for many HRT quilt blocks, I like to begin by cutting WOF strips and then rotate the rulers to get the most shapes from the fabric without wasting.
Right and Wrong Sides of Fabric
A cautionary tale: if your fabric is not a solid, you’ll want to be very careful to watch out for the right and wrong sides of the fabrics. It is very important to cut out the correct number of LEFT side triangles and RIGHT side triangles for whatever design you are trying to accomplish. The easiest way to do this is to cut out with your triangles with the fabric folded, so you automatically get both sides of the fabric at the same time.

Tips for Piecing Precise Half Rectangle Triangles
1. Be gentle
When you’re ready to actually start sewing the fabric pieces together, you’ll want to be very careful not to stretch them, as the fabric is cut on a bias edge. Place them right sides together, leaving a little 1/4″ space at the top, so you have the seam allowance for your quilt block.
2. A sharp needle is a must
For best results while piecing your quilt blocks, I recommend using a sharp new needle in your sewing machine. If you are using quilting cotton fabric, a size 75 or 80 needle is perfect. (A bigger needle will also work if that’s what you have on hand.)
3. Use leaders and enders
If you find that your little triangle tips get sucked into your sewing machine while you sew – I have some tips to keep that from happening! My sewing machine tends to “eat” the corners and we definitely don’t want that happening!
First, use Leaders & enders – Leaders and enders are just bits of scrap fabric you can stitch on prior to sewign your actual pieces. They will keep the threads up and hold them in place before you feed your pieces into the machine. And an ender is the same thing just after you stitch your piece. The ender from one set can serve as a leader on the next if you don’t trim the thread. 😉

How to Piece the HRT Quilt Block
Begin by lining up a left and a right side triangle with right sides together. Have the tip of the side overlap 1/4″ for seam allowance, and stitch together. Press the seam open, and you’ll notice a little point at the top of the piece.
Trimming the Half Rectangle Triangle Quilt Blocks
When making HRT quilt blocks with this method, I personally found no need to trim or square up the blocks after sewing. But of course, if you want to square them up, you can now use an acrylic quilting ruler to make each block the perfect size. Be sure to pay close attention to the 1/4″ seam allowance at the points of the triangle while you are trimming.

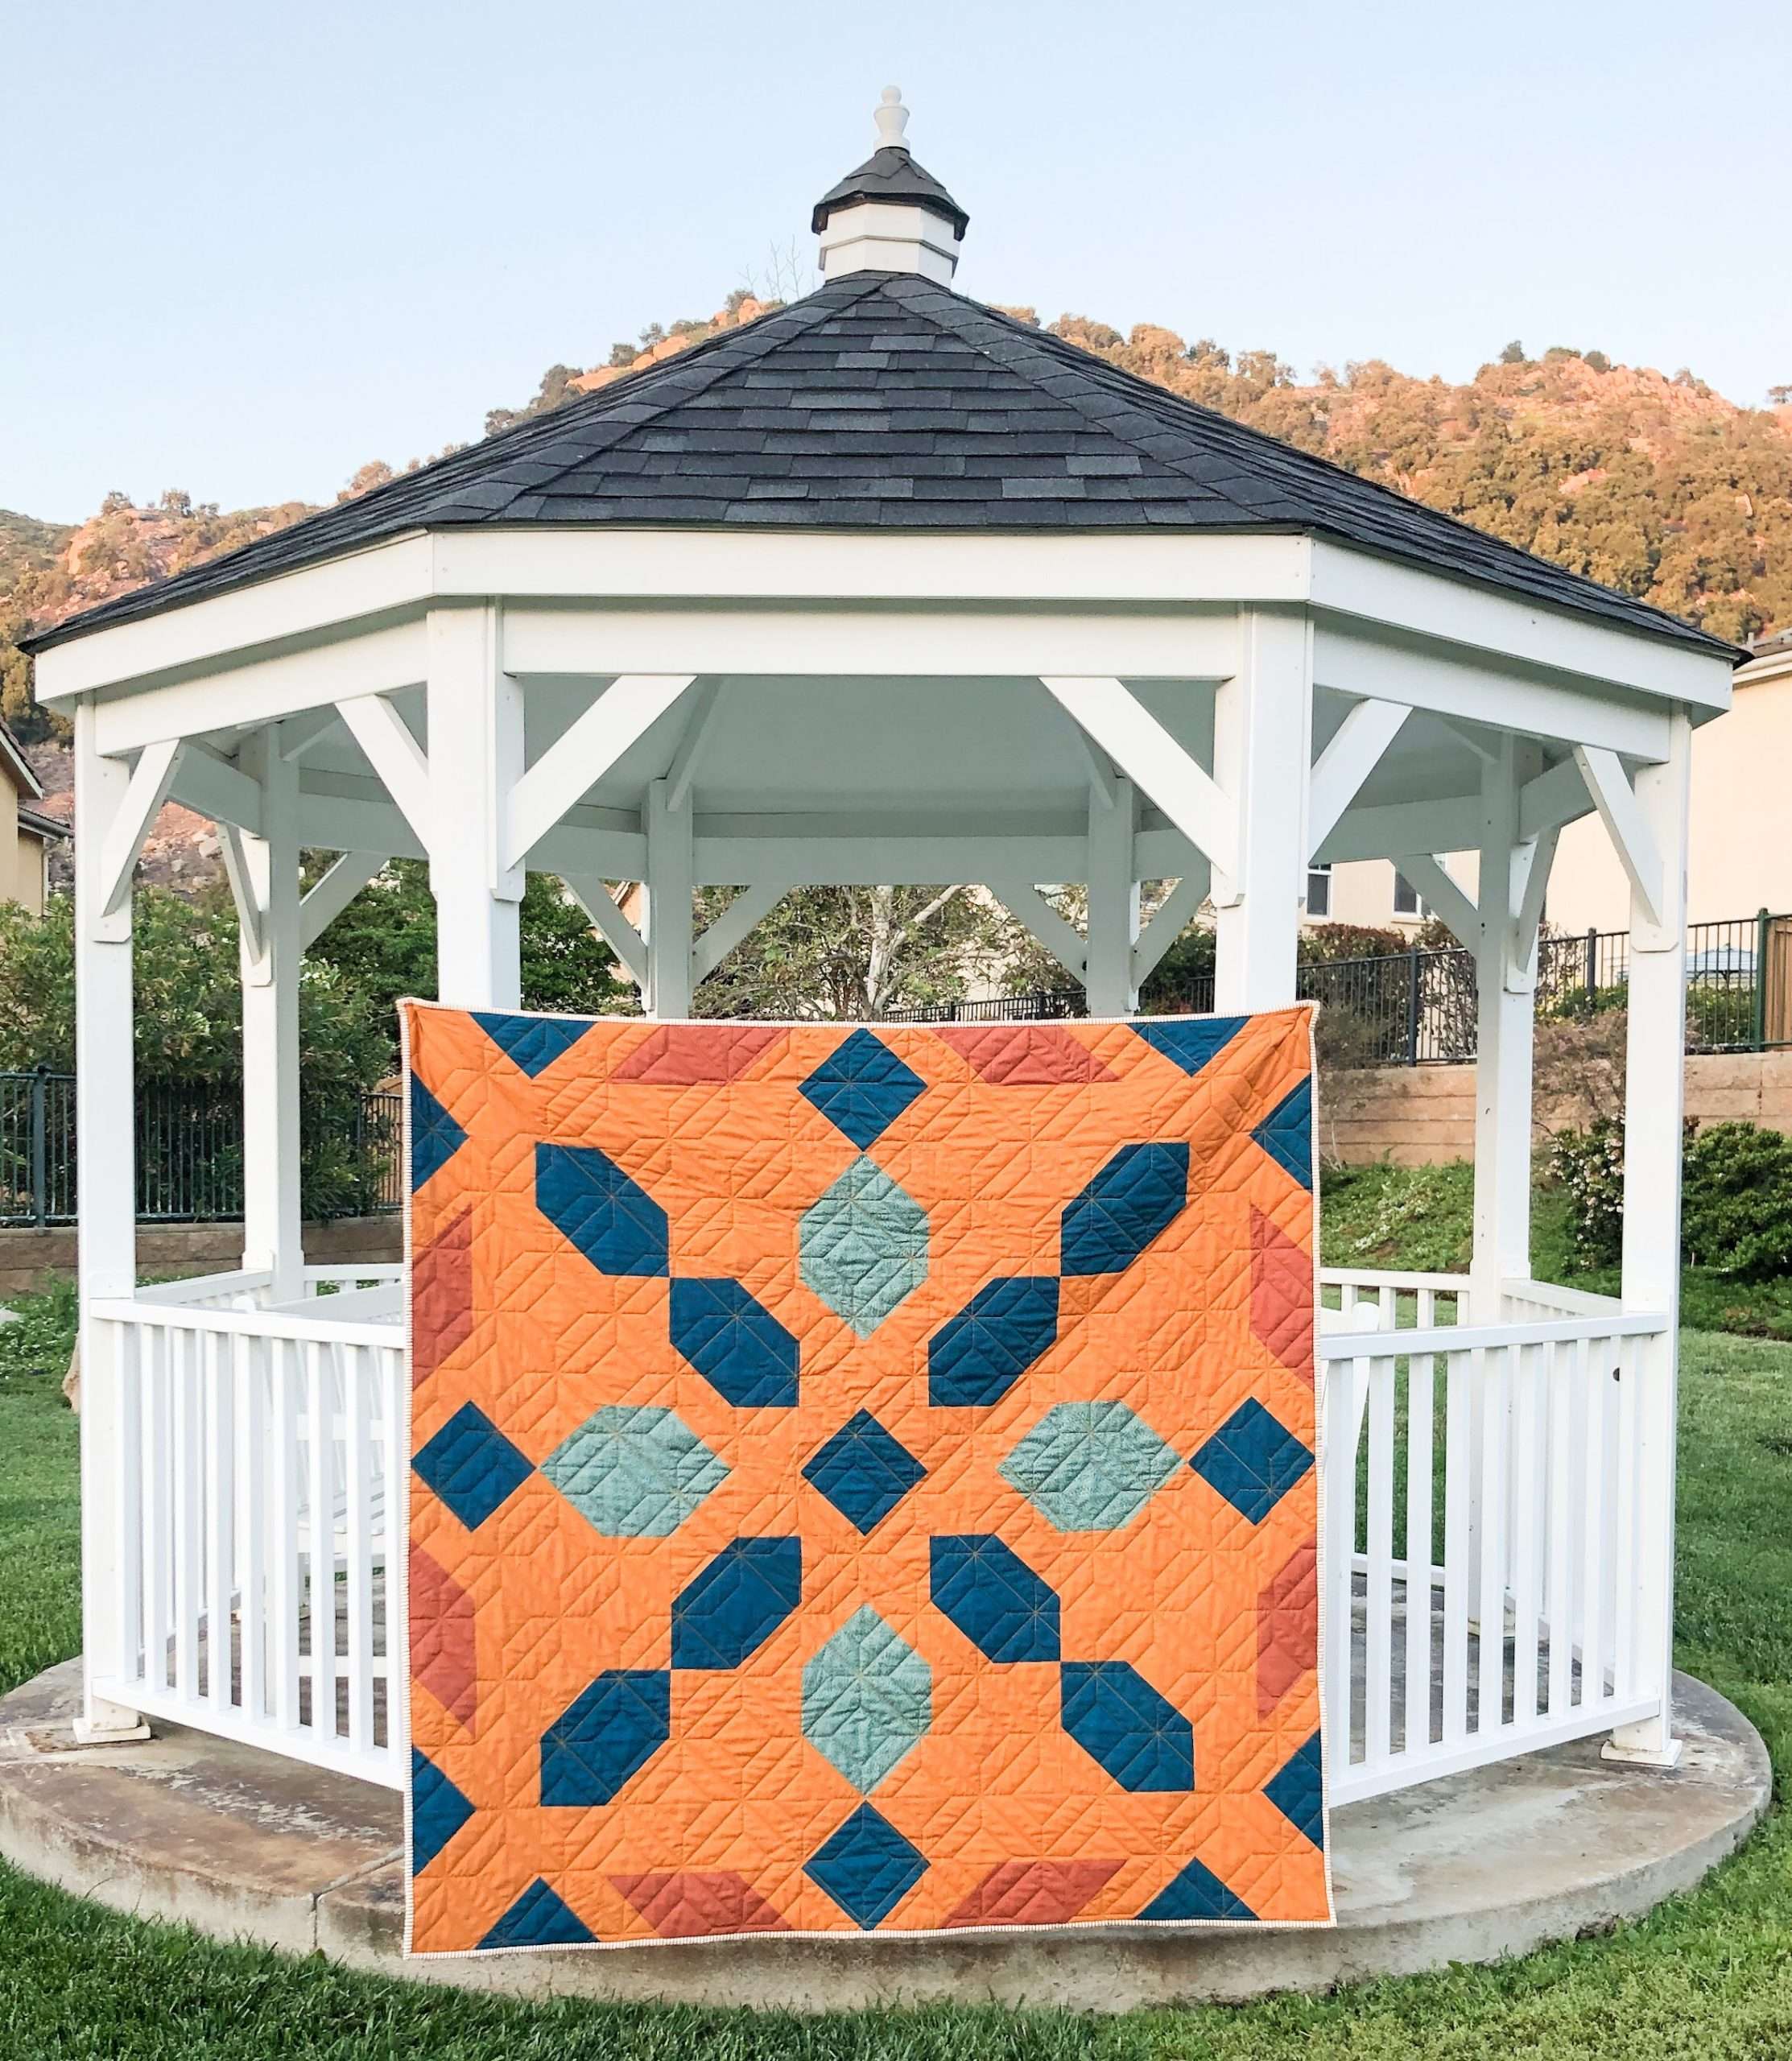
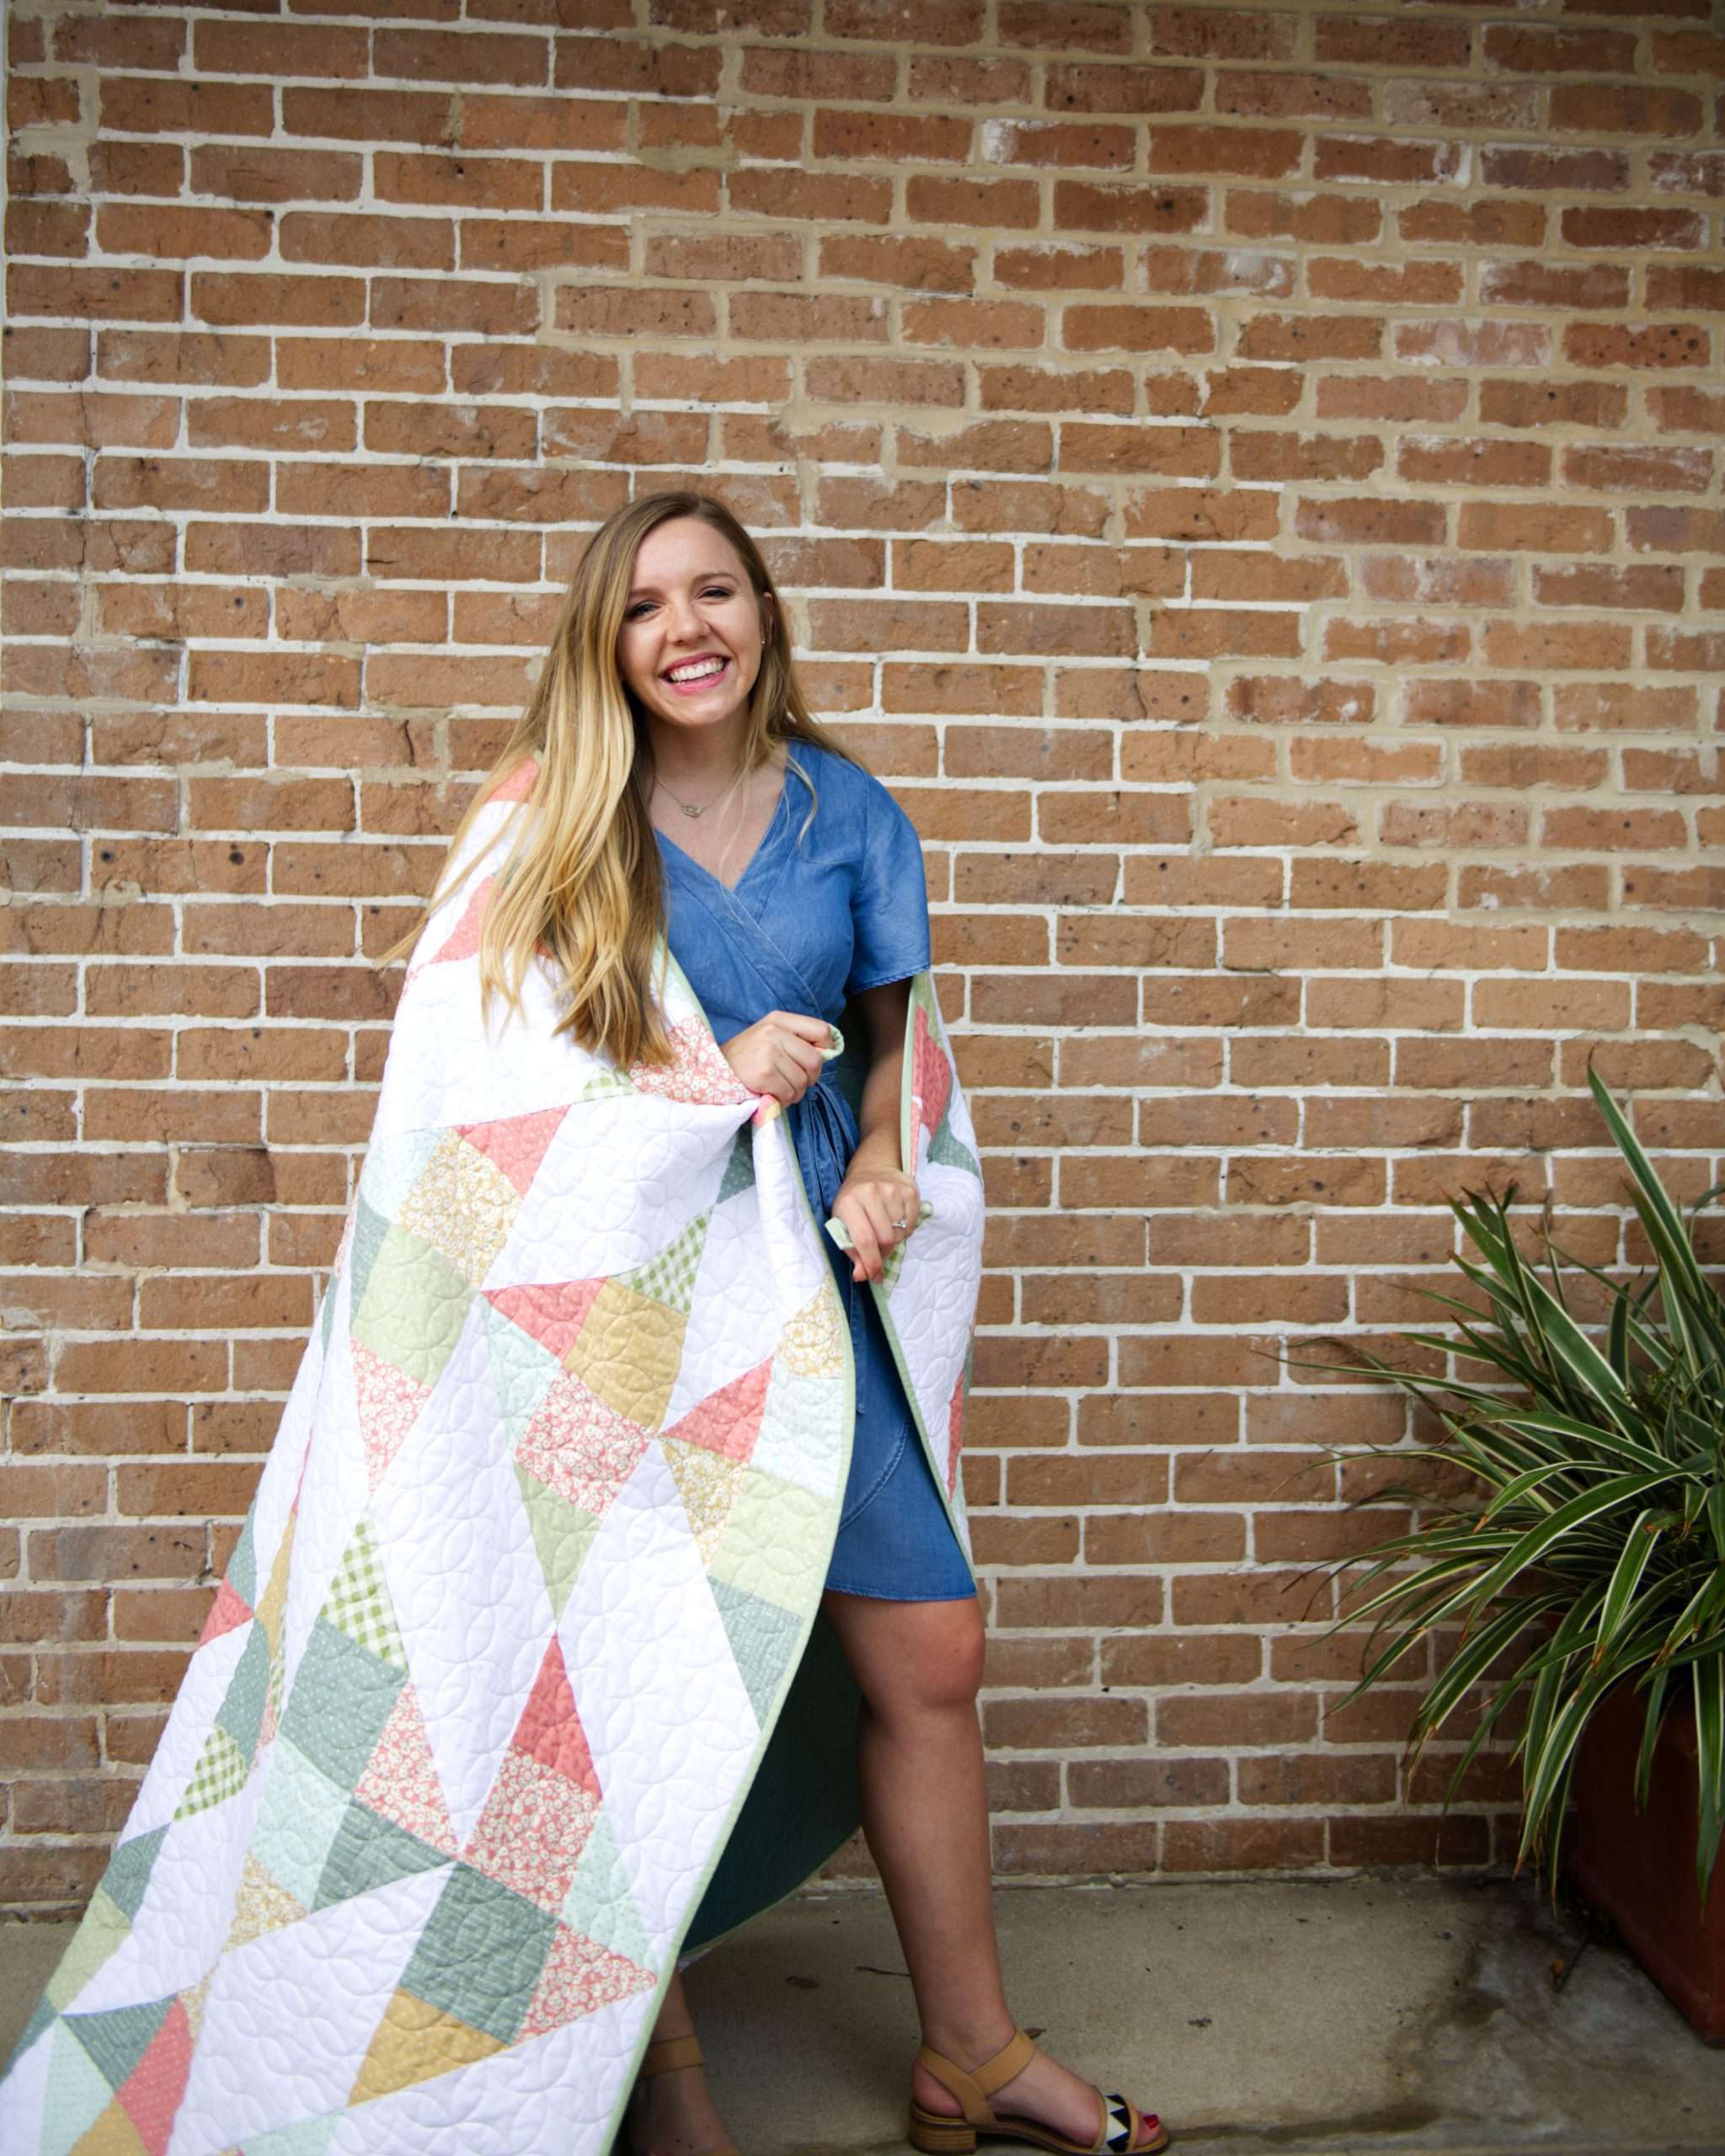
Putting HRT Blocks into a Quilt
The Half Rectangle Triangle Quilt Block is a fun one for many different designs! You can play around with them yourself to create something fun, or check out my Jubilant quilt pattern! The Jubilant pattern includes 3 sizes and features a fantastic way to master these HRT blocks! You can use this Triangle in a Square Ruler Set for making your Jubilant Quilt.