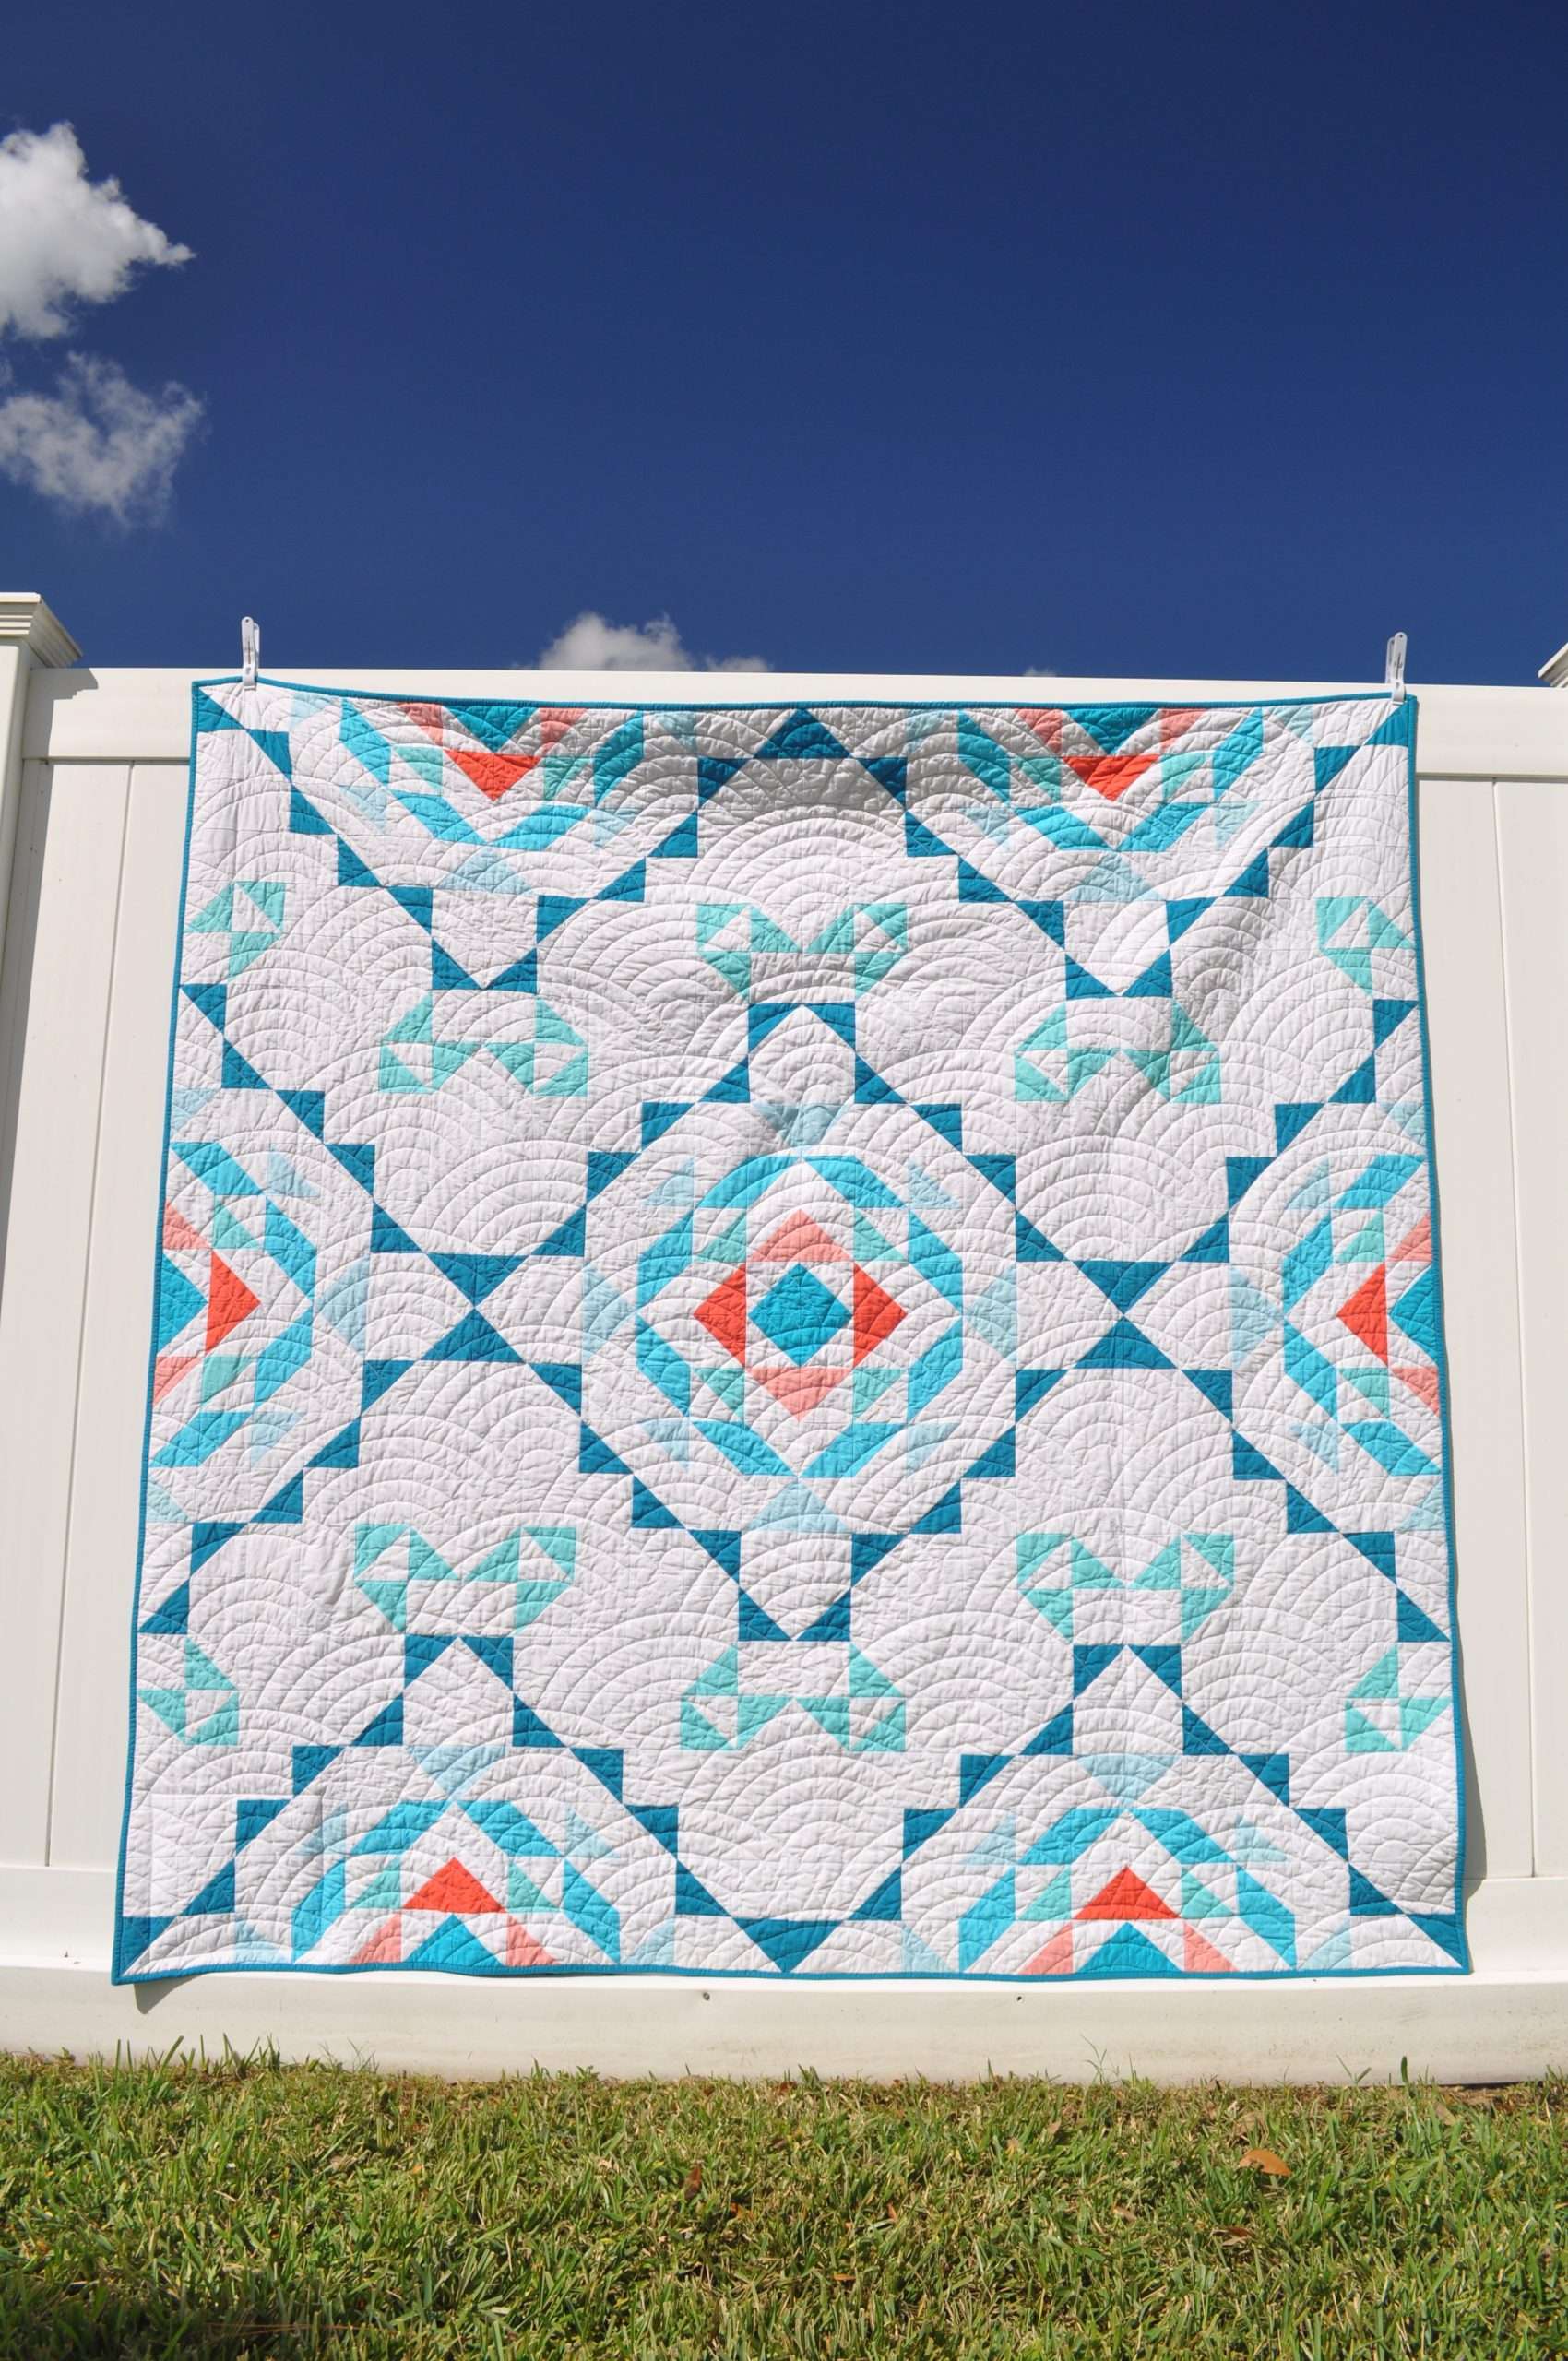
The EASY way to make a Mariner’s Compass Quilt Block
I’m typically the type of person that chooses simple over complex about 99% of the time, which is why it was so odd for me to want to try making a Mariner’s Compass quilt block. The Mariner’s Compass block features a lot of crazy points, weird angles, and also involves sewing curves – all things that would normally scare me away! BUT I made the quilt block, and it wasn’t even all that hard! I have a secret weapon to share with you that made this intimidating Mariner’s Compass quilt block actually super easy! Are you ready to know my secret to making this complex quilt block super simple?
I used AccuQuilt for the Mariner’s Compass quilt block!
Below I am sharing all the tips & tricks I wish I knew before I started making this quilt block, and you can see just how EASY it can be!

This article contains affiliate links; these links allow me to make a small commission on purchases made after clicking on the links, but does not alter the shopping experience for you!
The easy quilting shortcut to making the Mariner’s Compass block is to use a die cut machine like AccuQuilt to cut out super precise pieces for you!
I personally am a little bit obsessed with my AccuQuilt GO! Machine, and if you want to learn more about what the machine does, how it works, or anything like that, check out this post: Everything You Need to Know about AccuQuilt.

Tip #1: Choose Fabric Placement Before Cutting
I don’t know about you, but I tend to just “wing it” a little too often… This pattern works best with a *bit* more planning! I suggest choosing what fabrics will go where before you start cutting
Just look at how my cutting table looked like while I was determining how and what to cut. If you actually plan your blocks before grabbing out all the fabrics, you might have a chance of keeping your sewing space at least a little more neat & organized!
Using a pattern like this one might help you in this planning stage.

Tip #2: Use Smaller Cutting Mats
Since the AccuQuilt die for Mariner’s Compass comes as a Block on Board (BOB) style die, you get all the shapes on one large 10″ x 24″ die. Maybe it’s because I didn’t do a real great job planning, but I found it easiest to cut the specific colors when I used a smaller mat to focus on different sections of the die at a time.
I used a 6″ x 6″ cutting mat for a couple of the areas, and the 10″ x 10″ mat for some others. If you want a mat that covers the whole die at once, you’d use a 10″ x 24″ mat. If you do use the large mat, I’d suggest referring to tip #1 above, and laying out all your fabrics on their specific places first, and then just running it through the machine once (4 layers each for most of the shapes).

Tip #3: Keep your Mariner’s Compass pieces in order!
The die literally labels each piece with an alphabetical letter, so when you take the pieces off the die right after cutting them, arrange them so you know what letter each shape is. (I personally didn’t do that the first time, and believe me when I say I learned my lesson!) You can use simple scraps of paper ripped up and write letters on each one – or you might have a fancier method.. just do what works for you to keep the pieces labeled by their assigned letter.

Tip #4: Go Slow on your Mariner’s Compass Quilt Block
Complex fabric shapes and blocks like the Mariner’s Compass are not meant to be a quick finish! Enjoy the slower pace and process of this unique style of patchwork. It took me about 2 hours to cut and piece just one Mariner’s Compass block from start to finish, and I truly loved every second of it!


Tip #5: Get ready for Sewing Curves
OK so this one really isn’t even a tip, more so maybe a warning? Encouragement? yes, let’s go with encouragement! The Mariner’s Compass quilt block features a couple places where you will get the opportunity to practice sewing curves! I found that starching my fabric prior to cutting (like I always do) and using lots of pins helped make the curves go more smoothly and actually, I was surprised by how great my curves turned out! Just take it easy and use lots of pins!!
Sewing these curves actually makes me want to make more quilts that involve curves too! Stay turned for more curves in my future!

If you enjoyed these quilting tips, you might enjoy these other articles too:
