How to make a Mini Quilt Zipper Pouch
In this tutorial I will use the Triangular quilt pattern to show you how to turn a mini quilt into a zipper pouch!
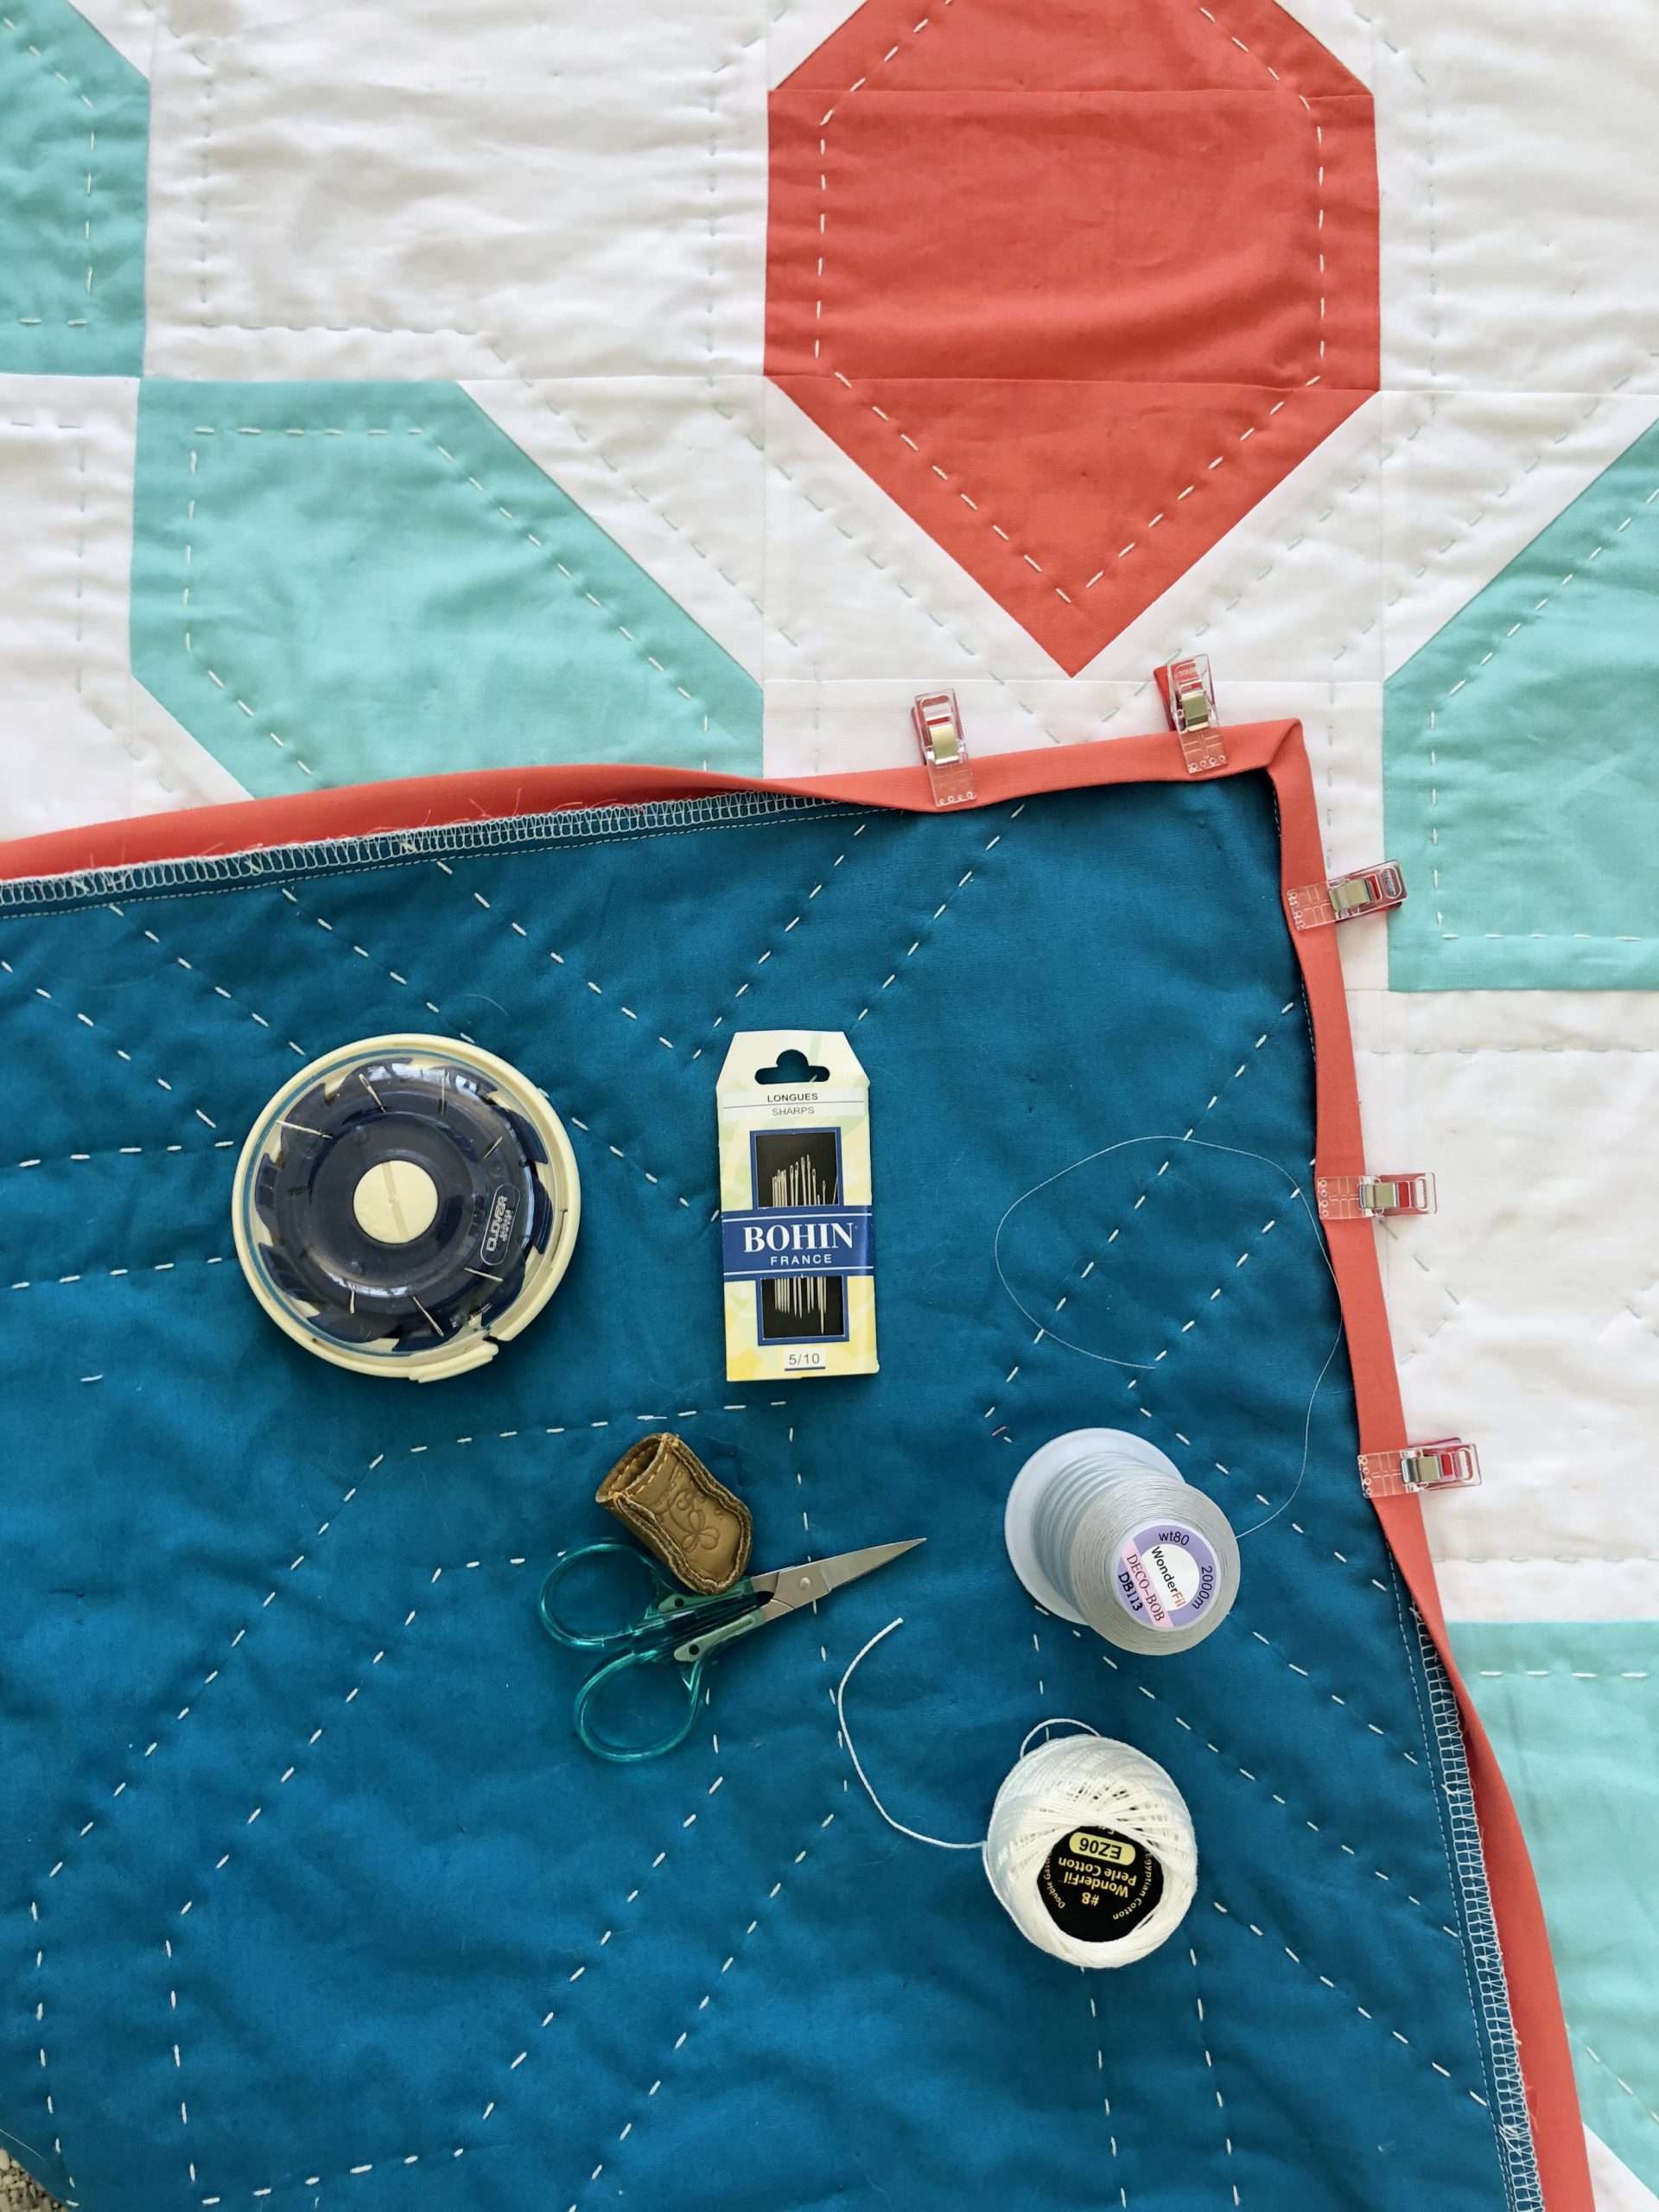
Quilted zipper pouches are great for a variety of things, and this is the perfect size to store sewing tools such as rotary cutters, extra blades, or small quilting rulers. Take your quilting on the go with a homemade pouch to carry it in!
If you want to see the video tutorial for turning a mini quilt into a pouch, check it out here:
This article contains affiliate links; these links allow me to make a small commission on purchases made after clicking on the links, but does not alter the shopping experience for you!
Supplies to make a Mini Quilt Zipper Pouch:
- Mini Quilt, already quilted to batting – 12.5″ x 20.5″
- 2 pieces Lining Fabric – 12.5″ x 10.5″
- Zipper tab fabric – 2″ square
- Zipper – 13″
First, Make a Mini Quilt
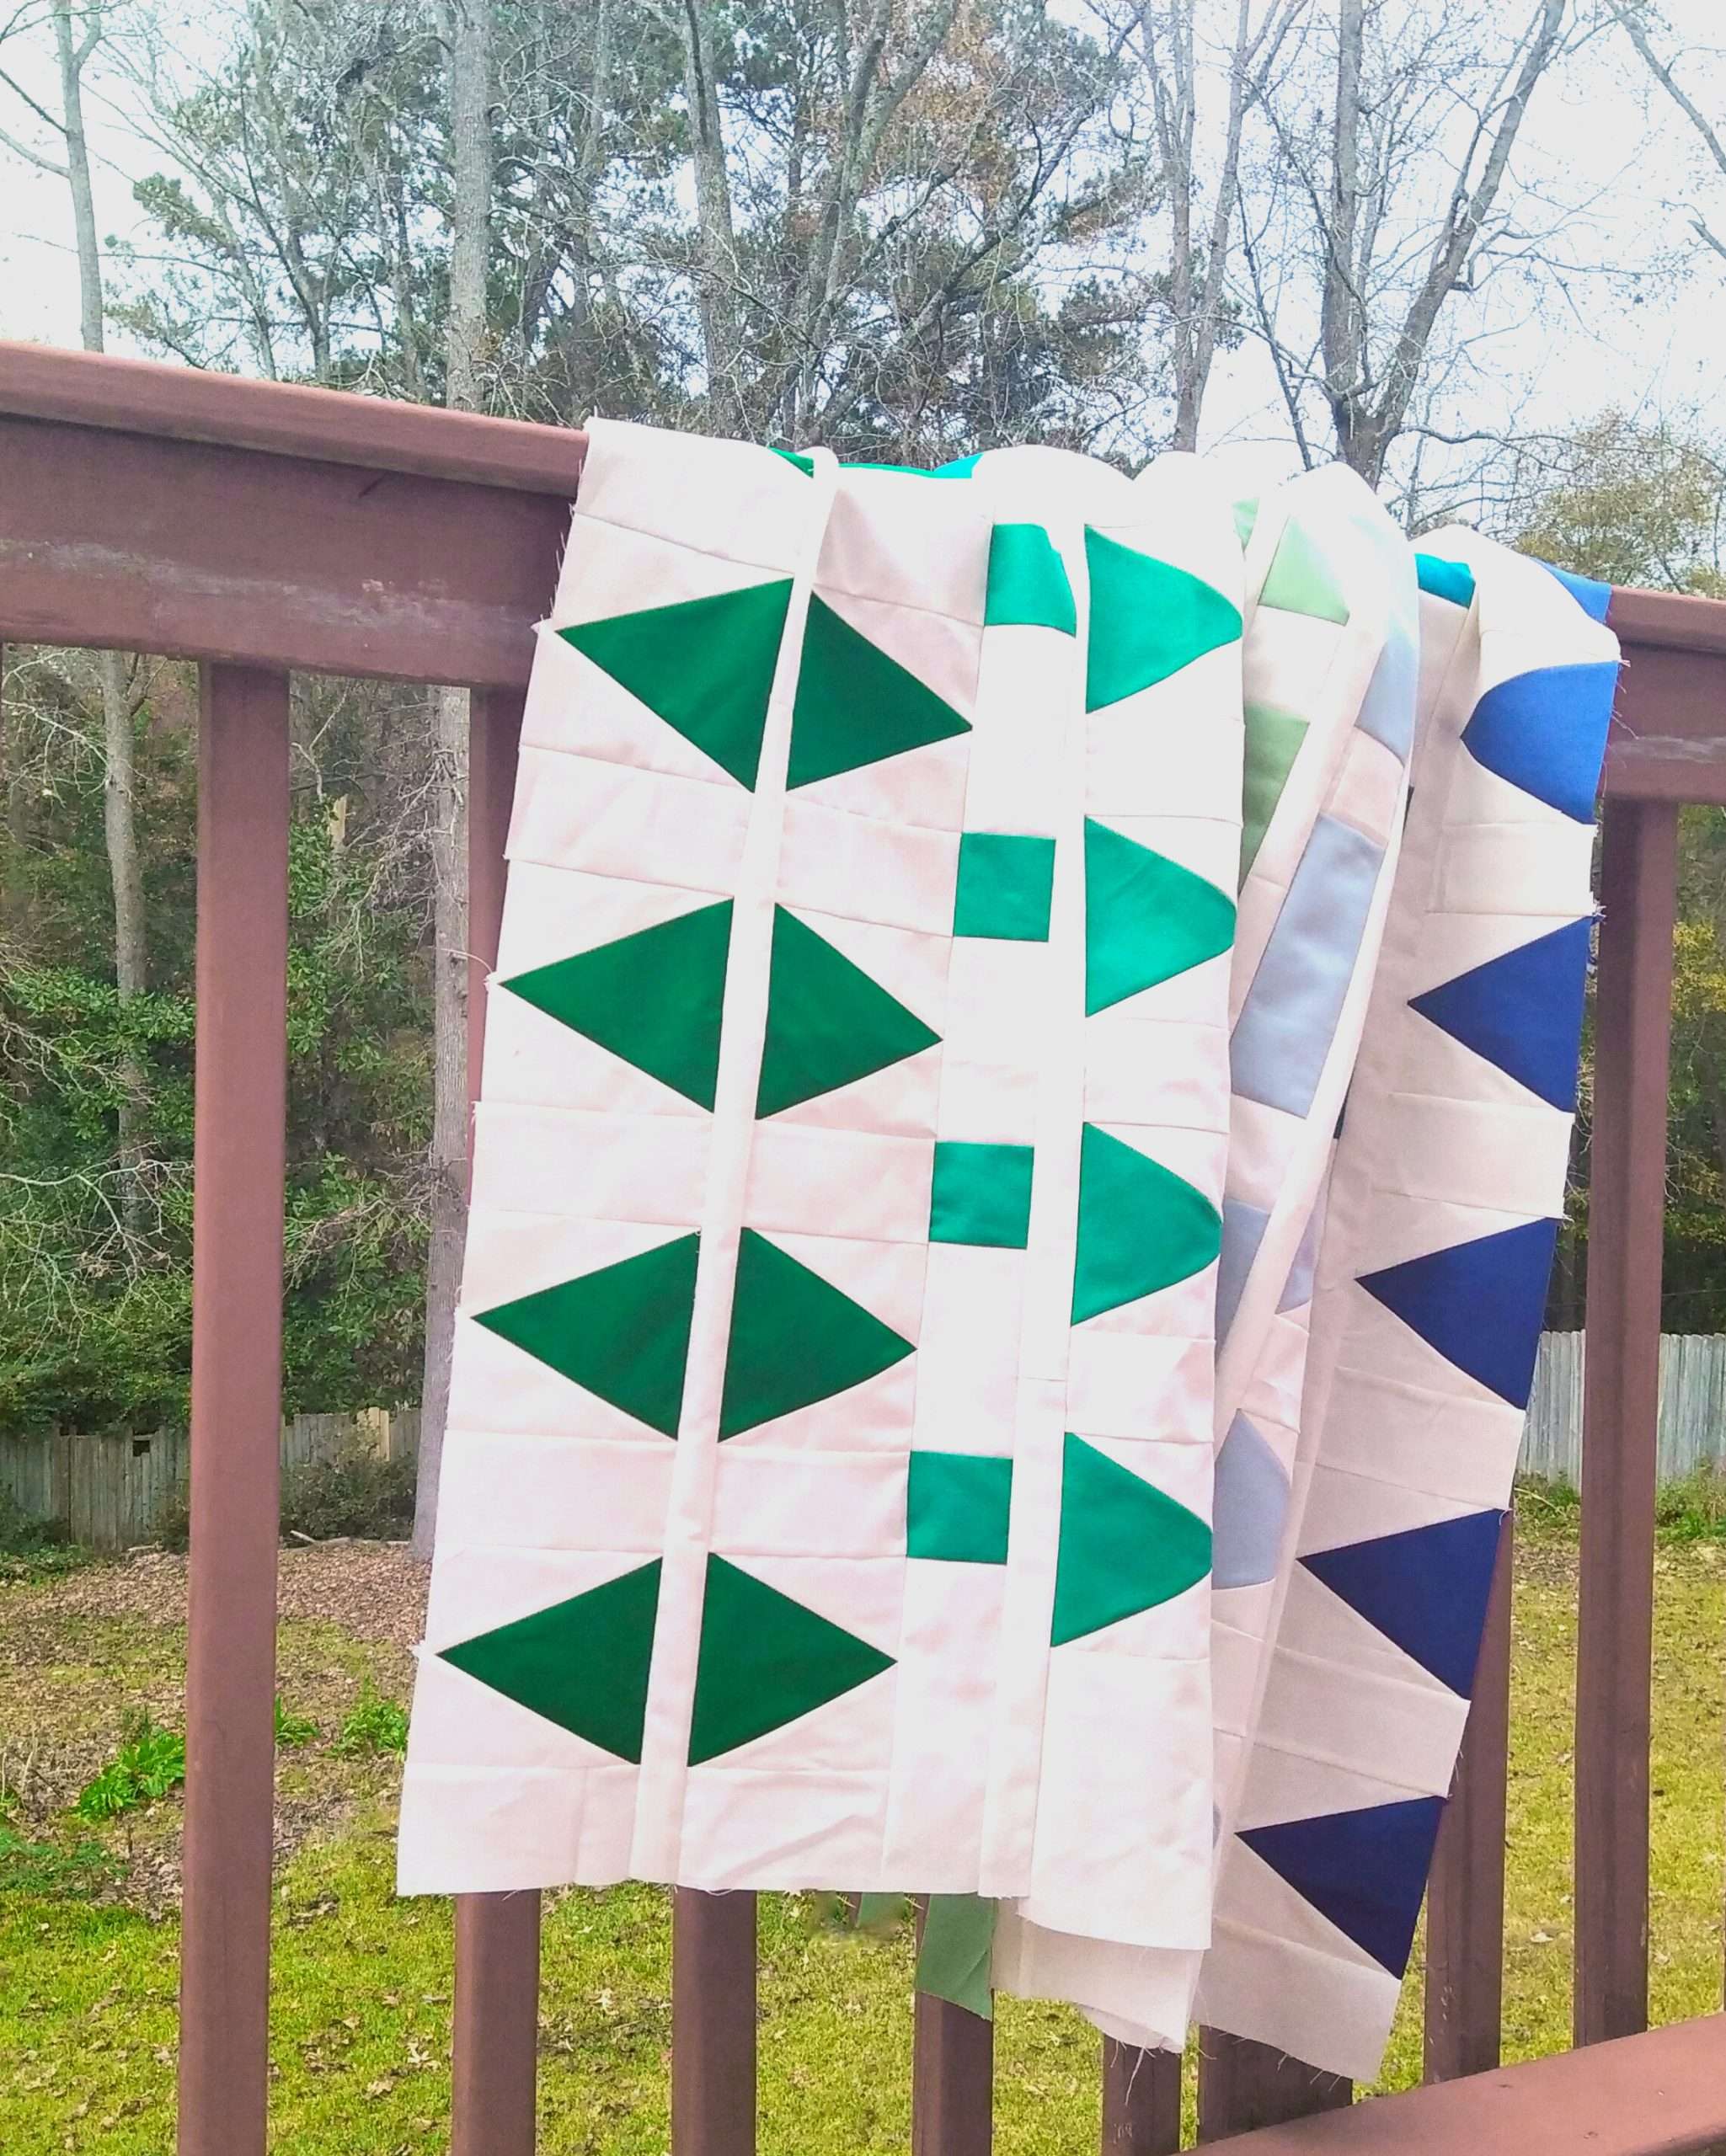
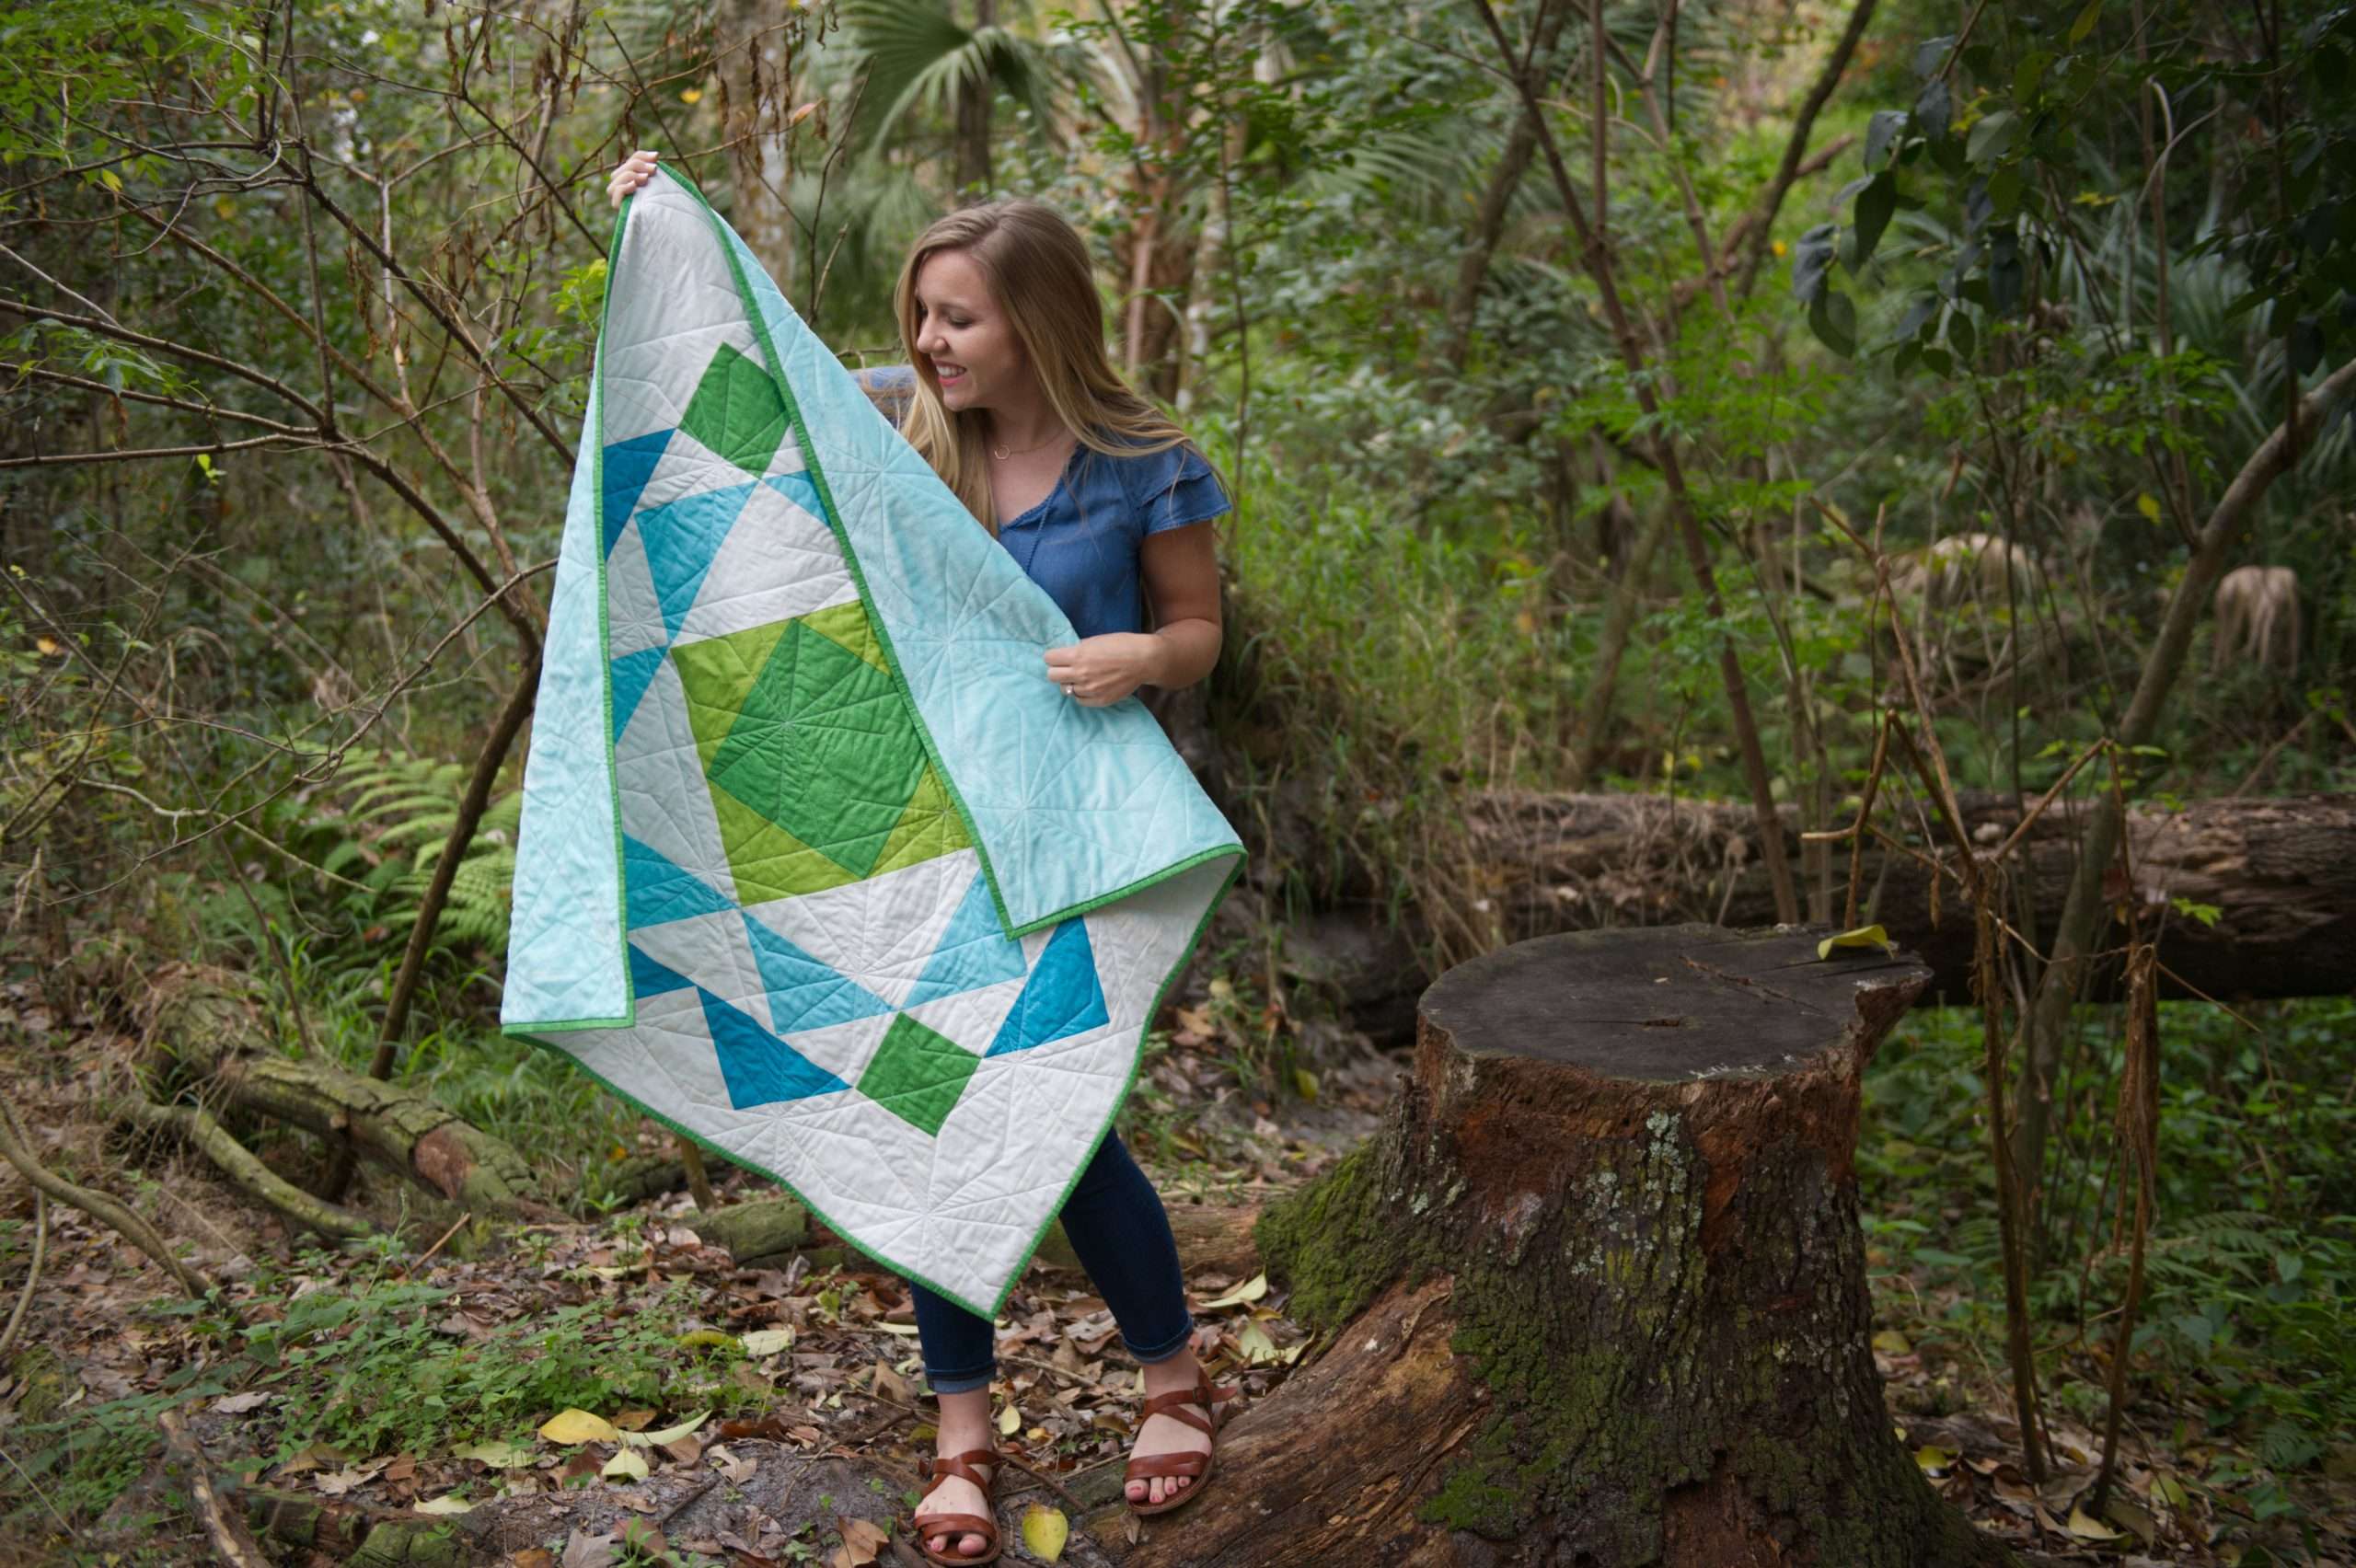
I began by making the Wall Hanging size Triangular Quilt. But, I made a small adjustment to it. Instead of making the full wall hanging size, I left off 1 row of the blocks. My adjusted mini quilt came to 12.5″ x 20.5″ for the purposes of making the zipper pouch. You can use your 5 leftover blocks to make coasters or a mug rug if you want!

For a fun little video showing me quilting this mini quilt, check out this Reel on Instagram! I basted the quilt top to a scrap piece of batting using Odif 505, and then quilted channel lines 1/2″ apart.


The fabrics I used on my project were all Riley Blake Designs basics. These are the exact fabrics:
- Confetti Cottons Riley White
- Confetti Cottons Rainforest
- Hashtag Teal
- Confetti Cottons Seafoam
- Confetti Cottons Jade
- Texture Glacier
- Blossom Apricot Blush
Turn the Mini Quilt into a Zipper Pouch
Begin by prepping your zipper. I like to baste the corners back to keep them out of the way, and then I also sew a fabric piece to the end of the zipper. The tab is a 2″ square of fabric folded in half towards the center, and then each side folded in, creating a 1/2″ wide piece to put the zipper end inside. Watch the video above to see more detail of that step, as well as the following steps too.


Baste the zipper right side down along the edge of the mini quilt, and then place a lining piece right side down on top. Use the zipper foot on your sewing machine to sew the layers together using a 1/4″ seam allowance. Leave about a half inch at the end of the pouch to account for seam allowance.


Once the zipper is sewn onto the quilt and lining fabric, top stitch to give it a nice crisp finish, and then repeat for the opposite side of the zipper.


Next, turn the piece inside out, open up the zipper, and line up the edges of the quilt top as well as the edges of the lining pieces. Stitch around the sides and lining, leaving a 4″ opening to turn it right side out. (see the video for a visual – I forgot to snap a picture of that step!)
Turn the entire pouch right side out through the opening in the lining, and then stitch the hole up using your sewing machine or hand stitching.

Once your mini quilt zipper pouch is complete, you can fill it with your favorite sewing tools and bring your quilting supplies on the go! Visit my Amazon storefront to see all my favorite sewing tools and supplies.