Free Tutorial: How to Make a Custom Baby Blankie
Do you want to learn how to make the perfect baby shower gift in just a couple hours? I will show you how to whip up a personalized Custom Embroidered Baby Blankie that any mom is sure to love!

Here is what you need to get started:
- 1 Yard Cotton print of your choice
- 1 Yard Shannon Fabrics Cuddle fabric
- Embroidery/sewing machine
- Stabilizer
- Thread
Personalizing the Design
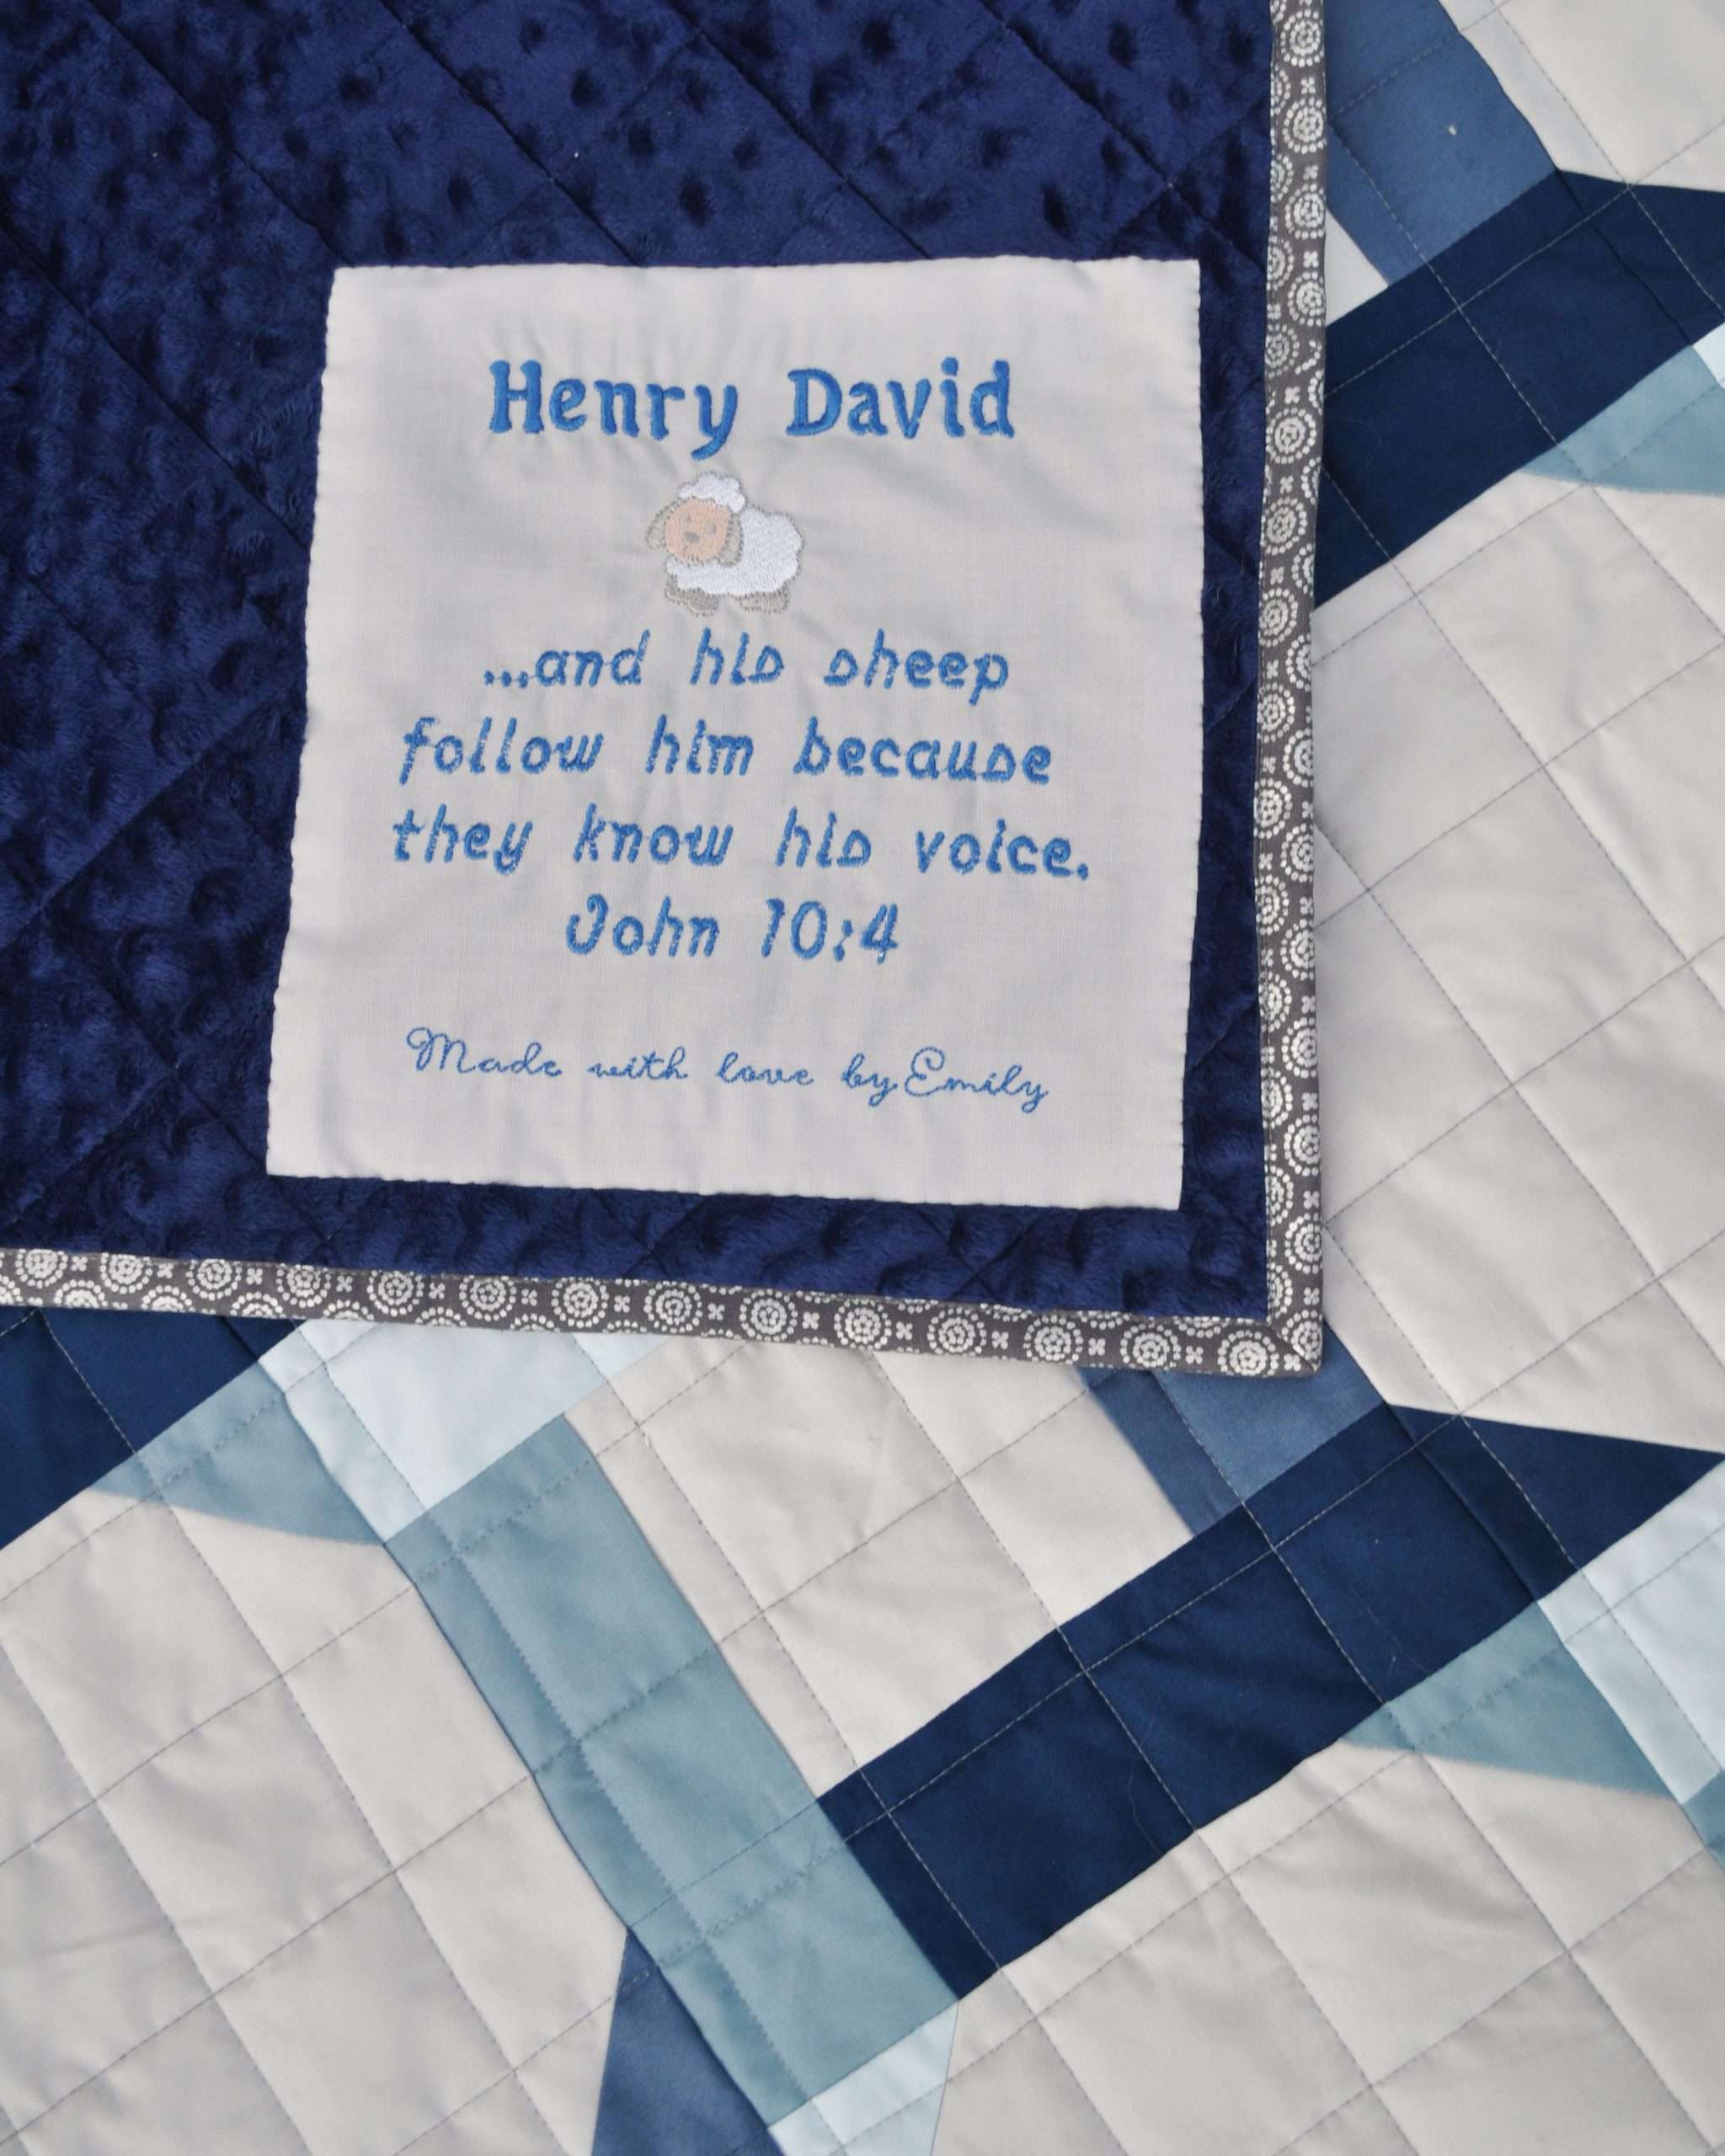
In order to add the personalization to the front of the baby blankie, create your design and embroider it out onto your cotton fabric. To create my design I used the Premiere Plus 2 software program, and the “letters” tab to easily type in the words and adjust spacing, sizing, and font.

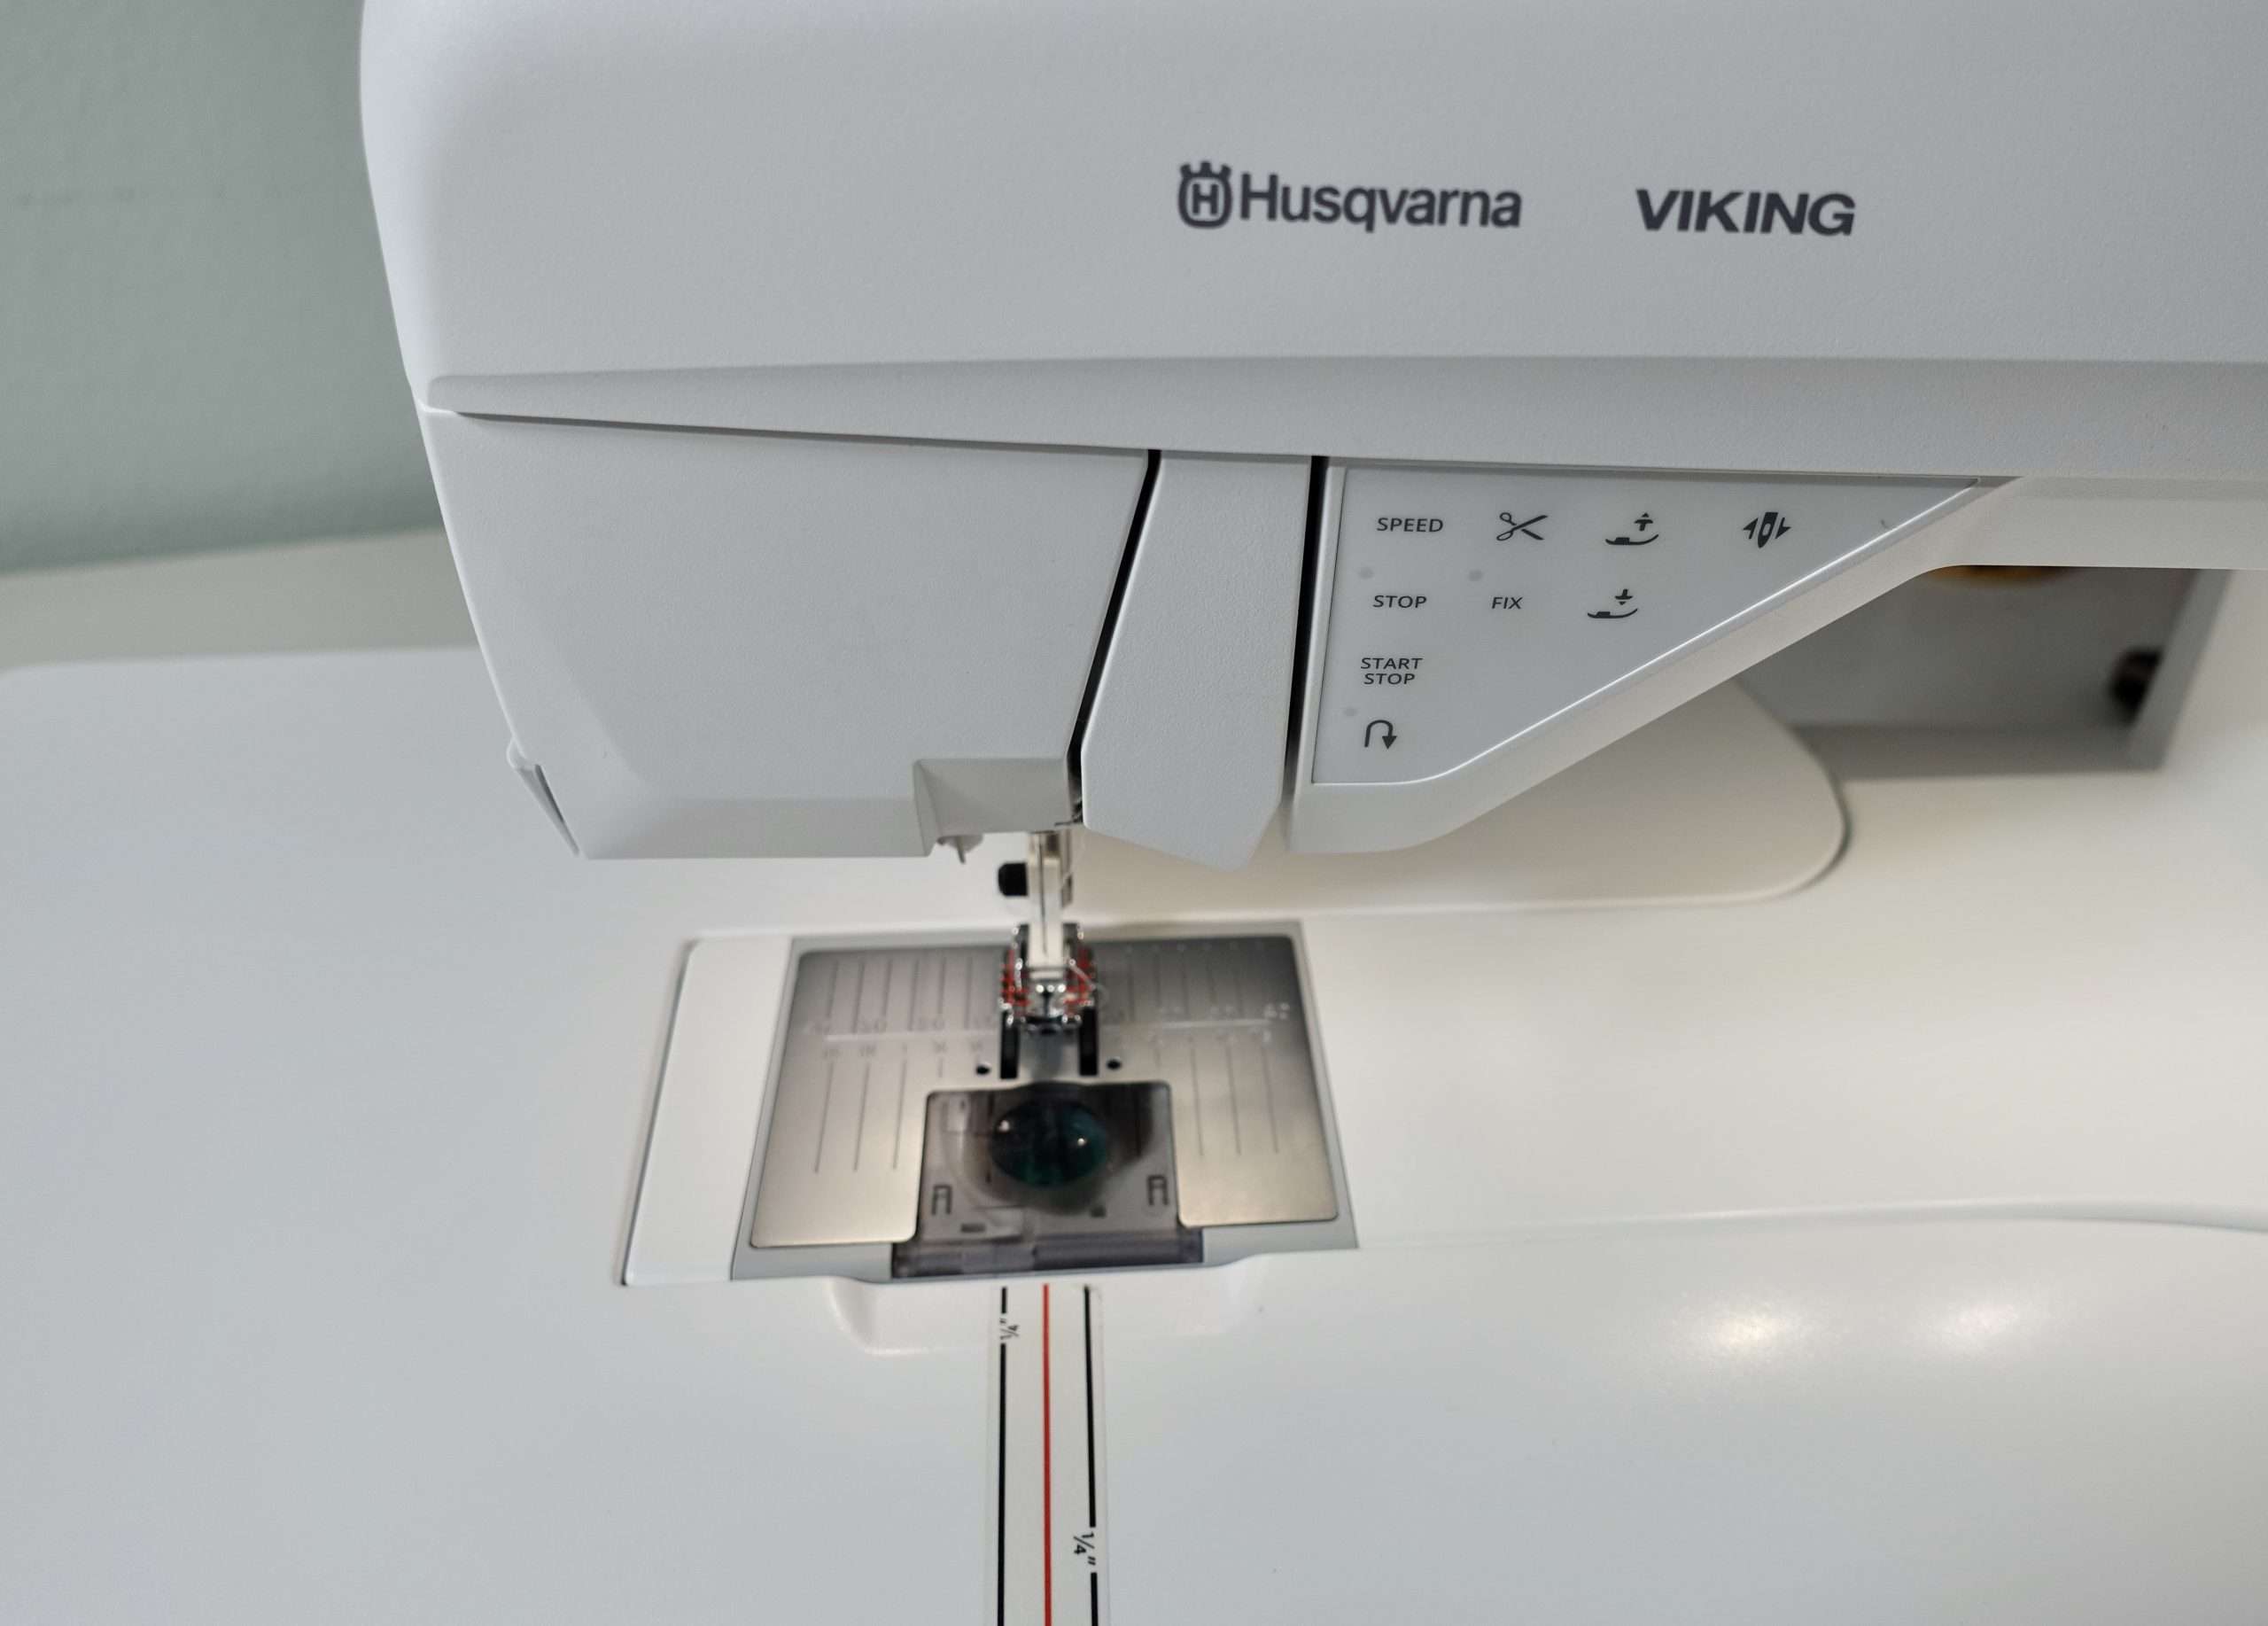
Once I finished designing the embroidery, I sent it via WiFi to MySewNet and was easily able to pull it up on my HUSQVARNA VIKING DESIGNER BRILLIANCE 80 machine.
With your design ready, you’ll want to prep your fabric and stabilizer. Personally, I like to put both my fabric and my stabilizer into the hoop – but do whatever method you like best! I used a 120 x 120 hoop for this project, and also Sulky Easy Tear stabilizer with my cotton fabric.

Next, get your thread set up and let the embroidery machine do its magic!
I like to use pre-wound bobbins to make it easy!


Now that your embroidery personalization is complete, you’ll want to construct the actual blanket!
Constructing the Baby blankie
If your sewing/embroidery machine is like mine and can do both sewing AND embroidery, this is when you take off the embroidery unit and put it back to normal sewing mode.
Cut the selvage off your cotton print and one selvage off your minky fabric. Your minky will likely be much longer than the cotton, so carefully put the two fabrics together, line up the trimmed edges, and pin all the way around the cotton fabric every 3 inches or so.
You can do this by placing your minky fabric on a flat surface, right side up, and putting your cotton on top right side down, and pinning around all 4 edges. Your minky is likely much longer than your cotton, I like to pin first and then trim off the excess.

Trim off the extra minky, and then sew a 1/2inch seam around all edges of the fabrics, leaving a 6 inch opening for turning. Pro tip: using a walking foot helps tremendously!
Turn the blankie right sides out through the opening and adjust the edges until they lie flat. Turn the edges of the small opening under 1/2inch and press on low heat. Next, sew a 1/4inch seam all around all edges of the blankie, making sure to start with where the opening is.

Now that you’ve top stitched around the whole blankie, you’re done! Now you can enjoy it, gift it, and snuggle with it!
Never miss a post! Be sure to subscribe to the blog and follow @homemadeemilyjane on Instagram.

Want more project inspiration? Here are a few popular posts:
- Embroidry Machine Buying Guide
- Beginner’s guide to AccuQuilt
- Custom Homemade Baby Shower Gifts
- Tote Bag Pattern Hack

